
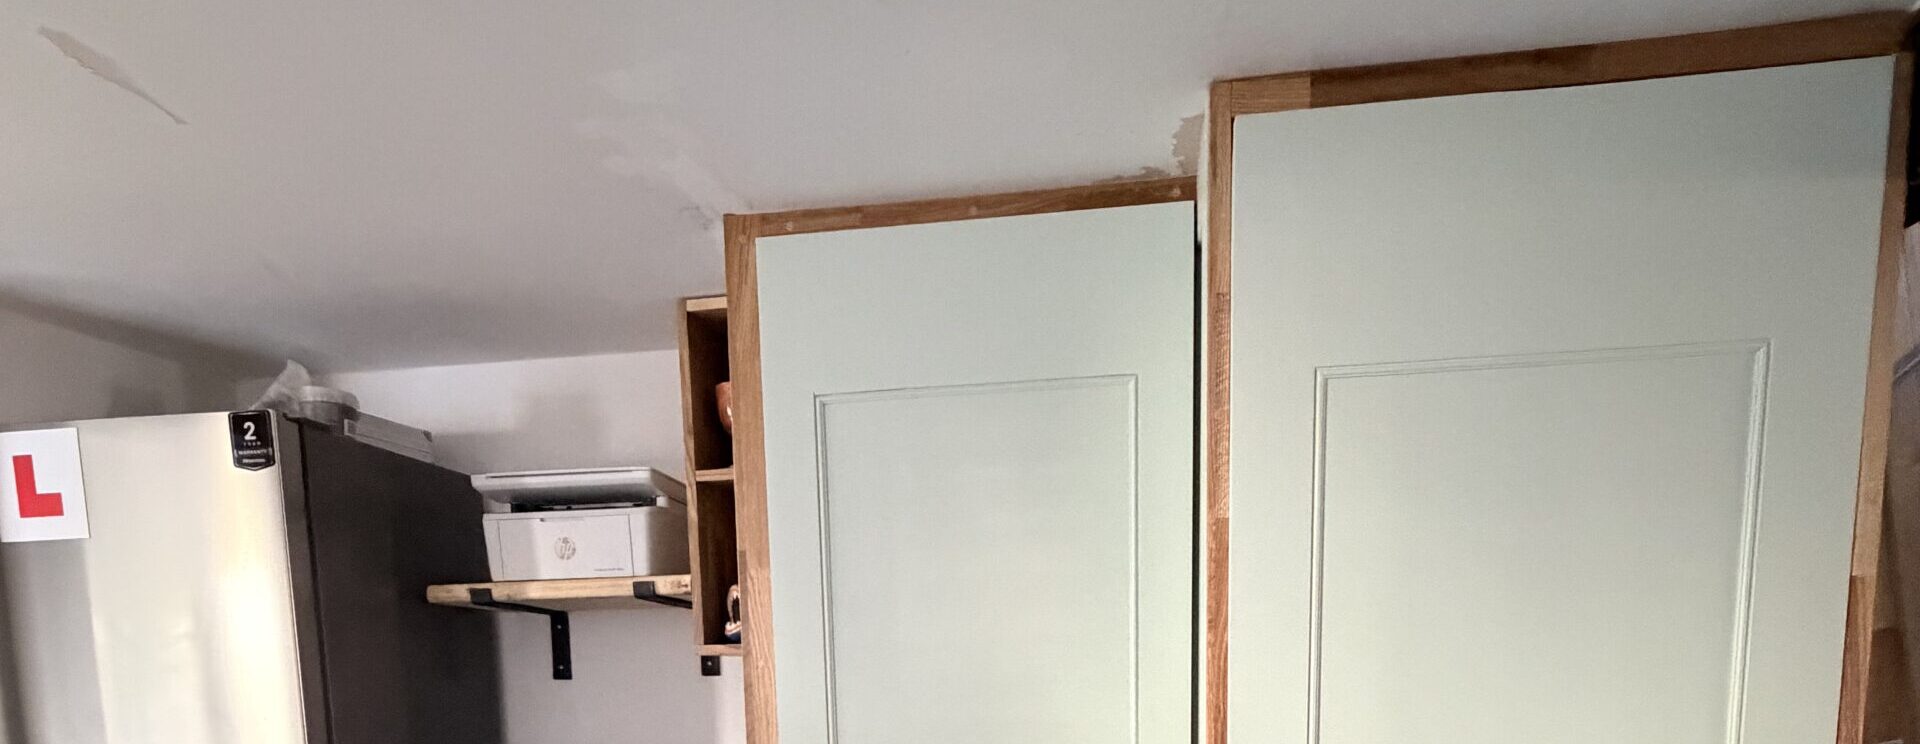

So, a while back I did a project to build three large built in cupboards in my living space. It was an awesome learning experience as it was the first time that I had taken on something as big whilst only having about half the skills that I ultimately needed to get the job done.
As I found, with new skills came the need for some new tools and on that project I needed quite a few new tools!
One of those tools was a Plunge / Track saw. I already had quite a few different types of saws e.g. Mitre, Circular, Jig and Table – but, during the planning it because very clear to me that due to the amount of large sheet material that I was going to have to cut – I needed a track saw.
Now, I know that cutting sheet material is possible with a good circular saw – and they can be partnered with a track similar to a plunge saw – but, from what I had read circular saws are in the main designed for rip cuts and whilst you can do more accurate and cleaner cutting with them it takes preparation and perhaps some skills with the tools that I just didn’t have.
With a Plunge Saw things are a little more forgiving – you have the track, the saw sits on the track and by and large it will cut accurately on the line of the track again and again.
So with that in mind I started looking at tool options. The first thing which I learned was that generally speaking for a good quality cordless track Saw you can expect to pay a reasonable sum of money (depending on brand and features).
At the time, I wasn’t sure how much I was actually going to use the tool once I had finished the cupboards – so I initially opted for the cheaper end of the spectrum and purchased a P-PS 18/165 Li BL – Solo Professional 18V Brushless 165mm Plunge Saw which came with a pair of 1.2 meter rails and a really good discount on the battery.
This tool was a game changer for me! No other way to describe it.
It took a little getting used to and the supplied track (which I later replaced with an Evolution set) was temperamental – but it opened my eyes to how much safer and more accurate cutting sheet material was with a Plunge saw. I also found that cutting acute angles was so much simpler – put the track down along your line and cut – boom, pretty much perfect cut every time.

To be clear, I loved this little saw (well, I say little – it ran like a beast on a 18v 4ah battery) – and I still have it in my tool collection – but as time went by (and when I say time – around 7 months of almost constant use) I noticed that it was beginning to show its limits.
Being fair to the tool I suspect some of these limits were as a result of me dropping it a few times – but after about month six I noticed that the cuts were ever so slightly out. Not by much – maximum a couple of millimetres but enough to be the difference between something fitting or not.
I checked everything – was it the blade? Had I kinked the bottom plate in one of my “oh fuck, dropped the saw again” moments? Was it the track? – All seemed fine – it just wasn’t cutting as well as it did from new.
This led me onto what was the final nail in the coffin of the tool – I decided that I was going to change the blade as it had done a lot of mileage in seven months and, I found that trying to get hold of one (I wanted the Einhell branded blade) was like trying to find Unicorn shit.
It was at this point I decided that given I now knew how useful having a Plunge saw was – I was ok with spending a little more money on a new tool as it would get the use.
My Selection
I did shop around a little bit – normally my go to Brand is DeWalt, but with a few other tool purchases I had made during the built in cupboards build from brands such as Milwaukee I was softening in my staunch loyalty to the “Big Yella” company as a few of the “Big red” tools I had picked up were amazing (those I will review at a later point).
After looking around – I did come back to DeWalt though mainly because of the battery eco-system.
Now, hear me out – I know that the Batteries are usually a prison for anyone who uses tools and if someone isn’t willing to escape and try something new becomes the reason why folks tend to miss out on brilliant features on other brands. However I really liked the look of the DCS520NT – and with it being a 54v Flexvolt tool I already had a set of 9ah 54 volt batteries.
To give you an idea of the cost of change – in order to switch over to use the Milwaukee saw the following is the comparable model (although an 18v tool):
-
Milwaukee M18 FPS55 18V FUEL Brushless Plunge Saw – Body, 2x 5.5Ah High Output Batteries, 2x 1400mm Guide Rail with Joining Bars and Bag, Charger & PACKOUT Case – £899.99
When compared what I spent on the DeWalt DCS520NT – which came as a kit with:
- T-Stak case.
- x 1 1.5 Meter Guide Rail.
- The Saw itself.
I purchased another rail, rail bag and rail connector which brought the total to – £647.00.
If I had to purchase the batteries then the DeWalt would have been more expensive – but that is my very point about the battery eco-system, if you already have them it’s hard to justify moving over.
Now – is the Milwaukee potentially a better tool? Yes, but is the DeWalt both cheaper (if you already have the batteries) and can do the same job just with less features – also yes!
However, that being said – from what I had previously read a number of people observed online that some of the perceptions around the Milwaukee being the better tool could be down to personal preference.
DCS529NT – My Review
The DeWalt DCS5020NT is a native 54v Flex Volt tool with comparable performance to that of a traditional corded 240v machine. This has been evident to me when comparing it to the overall performance of the Einhell Solo (see above) as it doesn’t struggle with hardwood and there is no noticeable change in tone of the motor when going through more dense materials (I have used it on 18mm Oak and it didn’t even blink) .
Features
Standard features on the tool are:
- An anti-kickback function which stops the saw jumping back off the rail at you or climbing the material – there is a little knob in the base plate where you can activate this function – which clicks into place a little ‘lip‘ which ties the saw to the rail. It’s a nice feature but not one that I personally use that often and from what I have read others don’t either. It is also a little more fiddly to use than the equivalents on brands such as FessTool.
- The tool uses a ‘parallel plunge‘ motion – which is different to other plunge saws. It took a little getting used to (which has also been remarked upon elsewhere by other reviewers). Basically using your thumb you flick up the safety release and you kind of keep your hand straight and bring your arm down to activation the plunge motion. It’s almost like the blade comes into land on the material like a plane landing.At first I wasn’t sure if I liked it – but having now used it a few hundred times it feels totally natural and I personally feel that I am more in control of the tool without having to re-position my hand as much as I did when using the Einhell.
- On the back of the handle – just below the safety release there is a variable speed control rotator dial. Personally I have not used this and use the tool balls out all the time, but I can see the point in it – being able to vary the speed of the blade means that you can reduce material burn on different materials and prolong the life of the blade – but, I guess mainly due to the type of material that I have been using – I’ve never dialled down the blade speed.
- Wireless tool control – I don’t have this capability, but basically it means the Saw can be paired with a compatible dust extraction system so when you activate the saw the extraction turns on at the same time.
- Low profile guard – DeWalt claims that the guard (which is the rather stylish Dark grey plate which covers the blade on the right hand side of the tool) captures 90% of dust.
My own personal experience of this is “liar, liar pants on fire” as without dust extraction this thing does blow up a storm on materials such as MDF – but what I will say is there is a lot less remedial dust within the blade enclosure and top of the base plate after use when I compared it to the Einhell.
Technical Specifications
The following table contains the official technical specifications for the DCS5020NT – I have also included some AI driven battery estimates based upon both a 54v 6 and 9ah battery.
| Tool Property | Specification |
| Voltage | 54V (Cordless) |
| Motor | Brushless |
| No-Load Speed | 1,750 – 5,000 rpm |
| Blade Diameter | 165 mm |
| Blade Bore (Arbor) | 20 mm |
| Bevel Capacity | 47° (Left) |
| Max Depth of Cut at 90° | 59 mm |
| Max Depth of Cut at 90° (with rail) | 55 mm |
| Max Depth of Cut at 45° | 44 mm |
| Max Depth of Cut at 45° (with rail) | 40 mm |
| Expected Runtime (54V 9.0Ah Battery) | Up to 465 linear feet (~141m) of 19 mm (3/4″) birch plywood cuts |
| Alternative Runtime (54V 6.0Ah Battery) | Up to 290 linear feet (~88m) of 19 mm (3/4″) birch plywood cuts |
Personal experience of using the tool
I have mainly used the saw on its track using 90 degree cuts – I haven’t as of yet tried out the bevel functionality – and am unlikely to as I tend to use my table saw for those.
What I have used a lot is the depth gauge which limits the plunge depth when going through materials.
Whilst the controls for the depth (and bevels) are clearly marked and readable – but – I have personally found the depth gauge to be out by about 1 – 2 mm when used on the track.
I suspect that could be a combination of me not being totally accurate in my depth measurements – but what does stand out is that the controls are plastic, feel flimsy (and slip during tightening as there is no positive stop between positions) – so it is worth checking these settings on a sacrificial piece before going the whole hog on something expensive.
I also found that the dials on the base plate which are used to secure the saw to the track have to be adjusted with a tool – I could not do it with my own hand strength alone. The holes on these controls do allow for a Phillips head – but don’t use that, use a flat head as the Phillips started to mangle them. However, what I will say is that once adjusted to the rail – the tool was rock solid with little to no wobble at all.

Actual use of the tool (e.g. cutting) is a dream – it really is a beast. The stock blade provided with the unit is a 42 tooth Extreme Runtime blade which I have been using on a different materials for about two months now and it produces superb results.
It has gone through Pine, Oak, Ash and MDF (yuck) like it wasn’t there producing a very clean finish with little to no tear out at all.
I have not had to change the blade as of yet – but from reading what other have said online – it’s a bit of a awkward fudge. There is a bit of prep work that you have to do which makes the process more fiddly when compared to other tools.
On the top of the saw there is a leaver, with a button. There is also the plunge safety switch.
To change the blade (in order to access to the Arbour bolt) – you have to:
- Bring the saw down into a fully plunged position.
- Press down the button next to the leaver on the top of the saw to allow the lever to pass into the plunge lock position.
- Twist the lever to it’s furthest position which will then locks the saw down in the plunge position.
- Then use the supplied Allen Key to loosen the Arbour bolt whilst holding down the top button which locks the spindle so the blade doesn’t spin.
Got that? No, most of us haven’t either. It sucks. DeWalt … do better!

The rails which the tool runs on are sadly DeWalt specific – they do have the advantage that you can run the saw down either side from each end and come in at 1.5 meters (so with two you get 3 meters of cutting length), but if you have already invested in a existing rail system (as I did) then you’re out of luck. I also found that the DeWalt connector for joining rails (which is about £30.00) – is generic so if you have the Einhell connector then that will work as well (hoo hum).
They are however good rails and once ‘cut in‘ (e.g. you have trimmed the splinter guard down) are very accurate. One tip that I have here is join the rails together and cut them in as one piece so the cut is consistent all the way down.
The DeWalt rail bag is a great thing! It opens up into two sections where you can store each rail and secure them in with their own Velcro straps. There is also a rather large pocket on the outside front of the bag which has ample storage for rail clamps and the connector bars.
Final thoughts
It’s a great tool. In fact – if you have DeWalt 54v Flexvolt batteries I would say that it is the only tool for you as it was for me.
Is it the best Plunge / Track saw on the market – no. There are others out there which are better. Is it one of the most powerful – yes, I think that there are only two brands which have something which beats the raw battery capability (FessTool and Makitia)
If you don’t currently have a Plunge Saw system and are not bothered about adding in a new battery system – perhaps look at Milwaukee or elsewhere, however if you have existing compatible batteries – then this is the tool for you.
It’s accurate, easy to use, solid and tough as hell!
If you’re interested in seeing it in action – have a look at this post on my Instagram channel!


