
Bear with the intro to this post as it jumps around a little bit!
A little while ago I decided that I was going to buy a new sofa. I never had quality sofa and had tended to opt for slightly cheaper Ikea efforts (not that there is anything wrong with Ikea – just the last one I really skimped on and pretended to like it for two years).
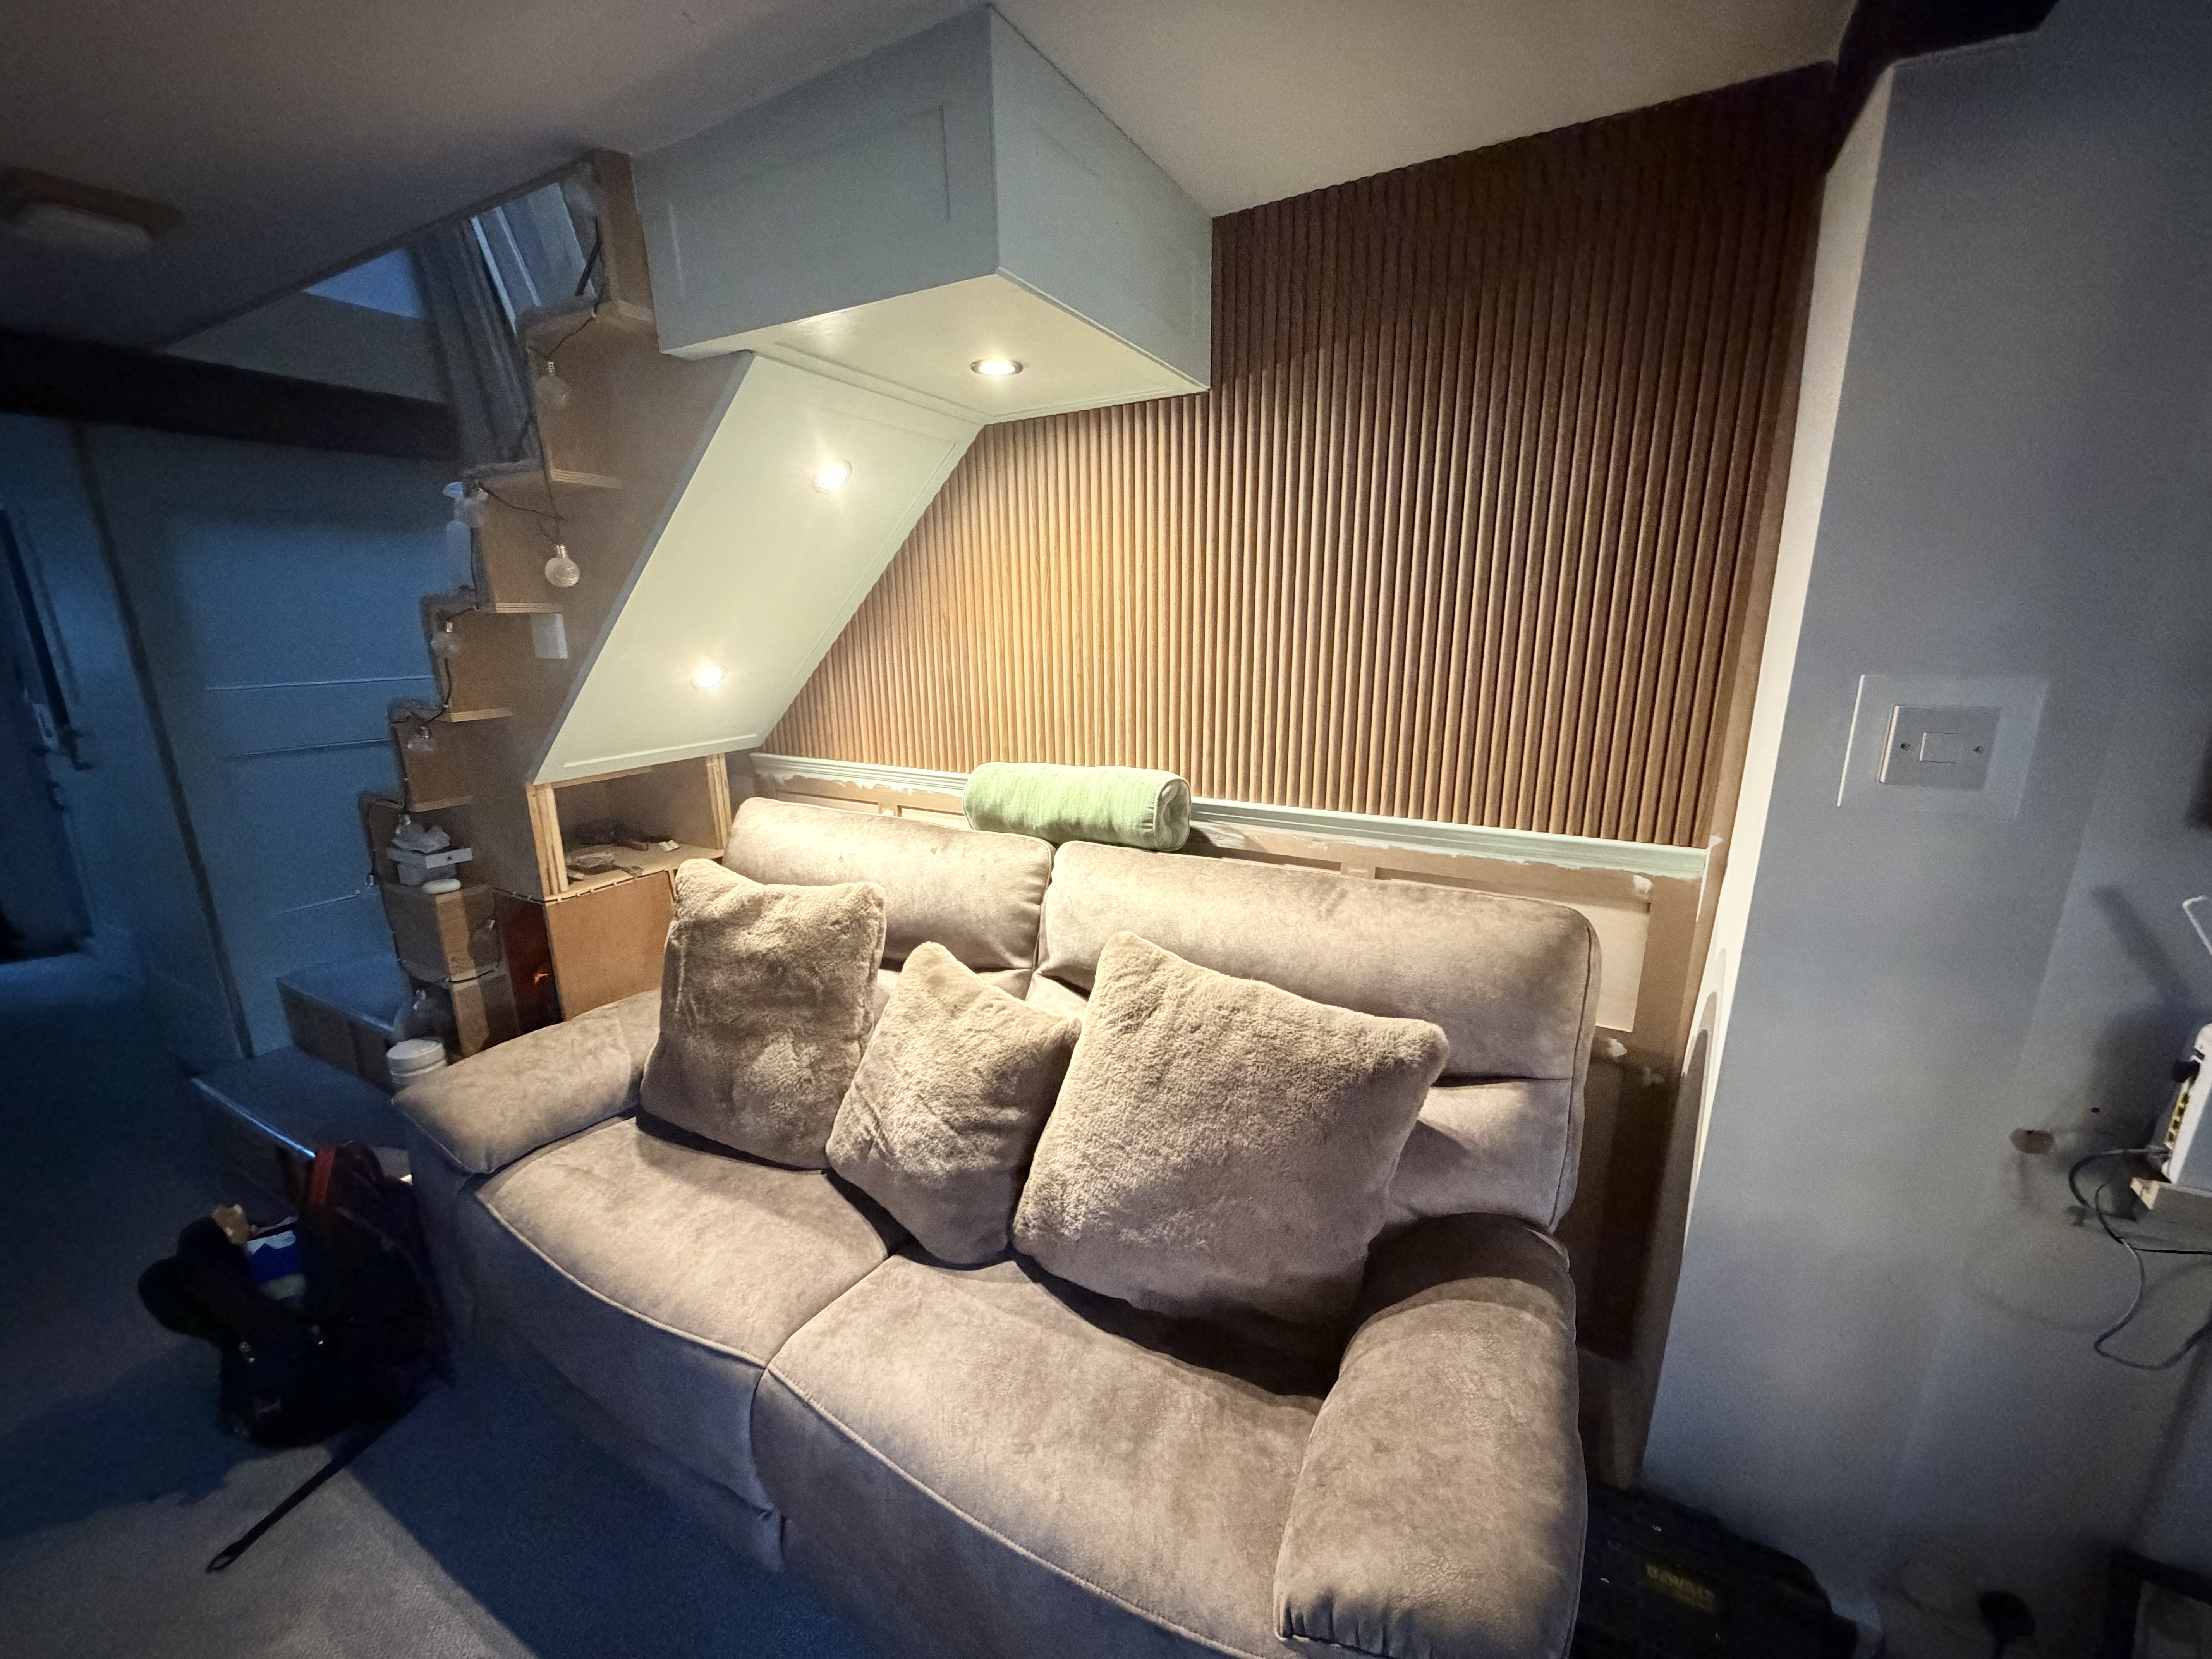
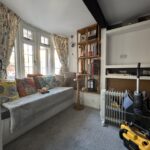
Anyhow, I digress – the point was I bought a sofa and after it was delivered and assembled into it’s little alcove home it poured shade on the entire area.
The sofa made the whole area look very tired and whilst the sofa itself was super comfy – I couldn’t see myself sitting there in the Winter evenings with the TV on as I type away on my laptop. I knew that I had some work to do!

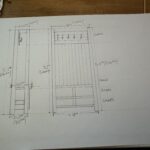
So, as with many of the projects – I broke out my little sketch pad and jotted down some rough ideas of what I wanted the area to look like. I have always disliked the stairs that the previous owner of the Shire put in.
Back in the day they were a spiral stair case located towards the back of the downstairs near the kitchen entrance which the old owner decided to replace after, from what I was told was a nasty accident she had on them.
Now, to be fair – I am not sure that I would have wanted the spiral stair case either – as they are not terribly practical – but what she replaced them with was a dangerous monstrosity made out of very sharp (and very expensive) Plywood. She moved the location to the middle of the living space but didn’t take into account little things like safety (did a mention the edges where really sharp – oh, and who needs hand rails?) and other small thing called building regulations.
They were a minimalistic design – with a clever (I have to admit) storage system built in – but – due to the minimalism a lot of the carcass was left on show – which, after the initial novelty factor had worn off – became very tiring.
I wanted to panel in the exposed stair carcass and add in some smart lighting (as it can get very dark in the alcove at night – especially during the winter months). I also wanted to panel over the bare plaster on the rear wall.
For a number of years I had considered painting the wall but for one reason or another I never got around to it (not purely because of being lazy – there were some other good reasons).

With the above drawn out and me knowing the details of what I wanted – I needed to do some more in-depth thinking.
I already knew that the boxing in wasn’t going to be a huge challenge – I have done quite a few similar jobs, and after the built in cupboards I was ready for pretty much anything (well, so I thought but more on that later) an the Cheshire mouldings were merely an extension of the work that I had done when making shaker doors. I’d also decided that I was going to be proper lazy and buy a kit rather than hand make each moulding. I’d done loads of that that the novelty was really wearing thin.
The bits of this project that had me pondering were:
- The electrical.
- The rear wall panelling.
Electrical
Now, I am no stranger to doing the odd bit of minor electrical works and I know my limits.
Furthermore I am well versed in how things should be done in terms of Part P and the 18th edition of the on-site guide – also helps that my son is a qualified sparky.
What had my mind whirring was how would I get a feed to the boxed in area.
Basically I had two choices – I could take a leg off the ceiling rose for the main light in the living room – or – I could take a leg off the downstairs fire alarm circuit.
Both had their pros and cons …
Feed from the main lighting
As the crow flew in the living room (I don’t have crows in my living room – Squirrels in the bloody loft, but no crows) – this would have been the shortest route to the alcove area as it would have been a straight 1.5mm run of Twin and Earth cable from the ceiling rose.
However, I knew that whilst it was the shortest route it was the most problematic for two reasons:
- Even though the cable run would be shorter to the area that I wanted to present the feed in – it also had 3 joists to get through along the way (I had spent a silly amount of time confirming that). This would have meant cutting multiple holes in the ceiling which were large enough to get a drill into to bore through to run the cable.
- The wiring in the existing ceiling rose whilst technically safe – is a work of fiction and really needs sorting out to be compliant with the 18th Edition … or … erm anything else. Sorting this out would have added a lot more time to the project – it’s something that is on my list to get fixed for another day.
Feed from the main Fire Alarm
So, I turned my attention to running a leg from the Fire Alarm circuit.
My home is a conundrum. The downstairs fire alarm circuit has its own 6amp breaker and the upstairs is wired into the lighting. My guess is at some point there was a spare 6amp in the board that was used for the downstairs alarms and the sparky who put the feeds in decided that it was too much effort to run a cable down to the board so wired them into the upstairs lighting.
Anyhow – I decided to run the feed from the fire alarm for the following reasons:
- I worked our that whilst the cable run would be slightly longer – there was only one joist in the way, and after I did a little more investigation (e.g. cut a couple of holes) I found that the single joist already had a bore hole through it (that took some interesting maths – I can promise you).
This meant that there would be fewer holes in the ceiling – two additional, small holes – as opposed to around 6 (larger) holes. - Whilst Fire Alarms can be and often are these days on their own circuit – under BS 5839-6 (Grade D2) that circuit can be shared with lights.
As I was installing low power lighting – and the effort required to run the feed was much less of a ball ache than the ceiling rose using the Alarm Circuit made sense. Of course – this does mean that I had to update the labelling on the board to make sure it was clear that the alcove lights were on the alarm breaker.
Below is a gallery of the process I used to get the feed into place


I needed to tidy up the existing wiring which was powering the alarm as, whist it was OK – there wasn’t a lot of slack on the existing cable. So using some WAGO connectors I had to extend the Live, Neutral and Earth conductors on the permanent feed from the board.
After I had done that – I then ran the new feed with some 1.5mm Twin and Earth to the alcove.
Then, finally I re-mounted the fire alarm. This was a little tricky as with the additional cable and switching to WAGOs there wasn’t enough space for the connection for the Alarm. So I made a mounting plate out of Oak for the Alarm to sit on which fixed the problem of compressing connections – but also looks quite nice.
Normally installing WAGOs into a ceiling should be done with them enclosed in a WAGO box – but, as they were encased in a plastic pattress box which the mount was placed over – technically they are not in a ceiling void, but within a plastic box with a Oak plate over it which needs a tool to access (therefore maintenance free).


The rear wall panelling
This was another thing that I was pondering. I have never installed panelling before – and whilst the basic cuts on the panels didn’t bother me too much, the angles were playing on my mind.
The panelling itself it quite expensive at around £50 for two lengths (reduced from £75) – so any mistakes resulting in waste was going to end up being very expensive very quickly.
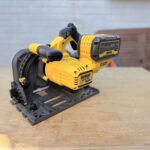
As mentioned the straight lengths weren’t going to be a problem – that was a simple matter of using my DeWalt laser measure from the top of the Cheshire mouldings to the ceiling and then cutting accordingly with my plunge saw.

However what was going to be more tricky was when I got to the angled run just under the boxing in that I had completed to the left hand side.
The angle was odd – no where near a simple 45 degrees – and due to the incline on the underside of the stairs where I had boxed in it was unknown to me. So, I had to get creative (ish).
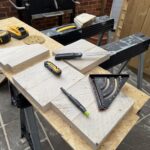
Luckily, a while back I had bought a Tracer MiterIX Pro Angle Finder which aside from looking like a PKE meter from Ghostbusters – is very good at duplicating odd angles that you can the transfer to materials such as panelling.
Marking up each panel using the angle from the duplicator and then cutting using the plunge saw resulted in a pretty much perfect run down the boxing in.

I fixed the panelling to the wall using some No More Nails which is pretty good stuff (as I am sure most of you will be aware as it is a fairly common adhesive) – but it is worth bearing in mind that if you cannot clamp your material to the surface which you are adhering to (like a wall), then you will need to probably need to apply pressure manually for about 3 – 4 minutes in order to ensure that it has grabbed properly and isn’t going to move under its own weight.
This is a ball ache to be honest, as you will need to shift pressure to all areas where you have applied the glue every 30 seconds or so on a rotating basis. It’s effort – but worth it.
No More Nails takes about 24 – 48 hours to fully cure – but your material should be sufficiently “stuck” after 5 minutes.
In the next part I will take you through the edging and the Oak capping that almost made me question life itself!