In the first part of this project series I wrote about how I needed to do something a little less “reactive” in terms of DIY in the Shire and move more towards something creative. I needed some respite from both damp and the kitchen. Whilst both of those experiences had taught me an awful lot I wanted to see if what I had learned could be used to actually make something.
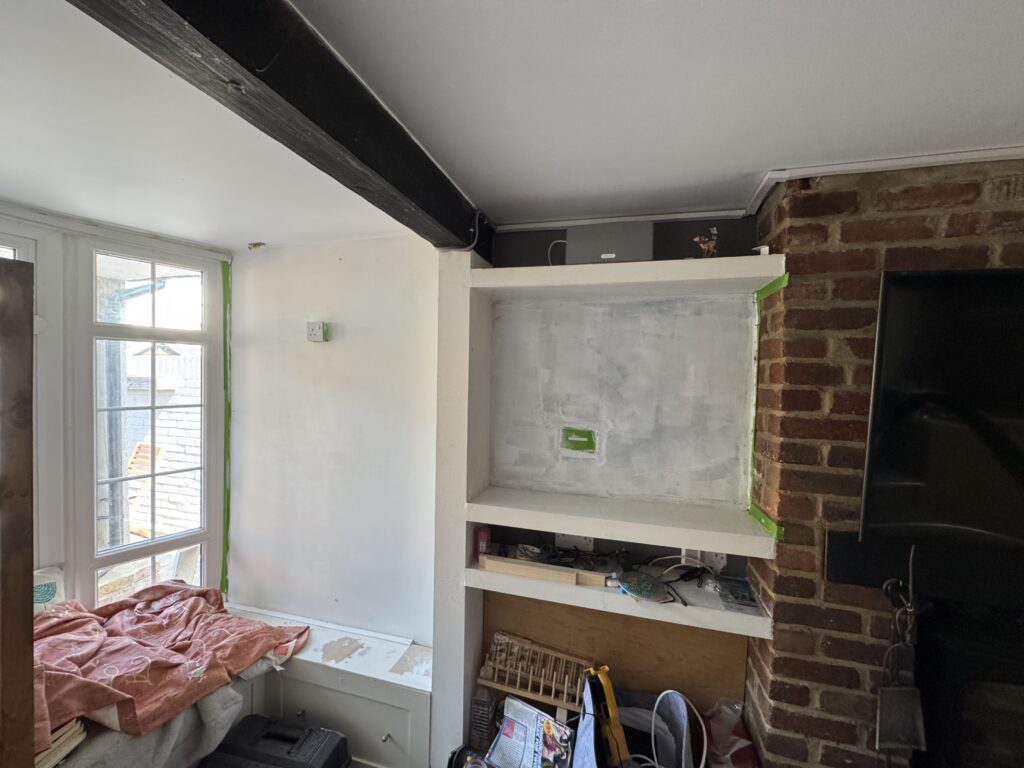
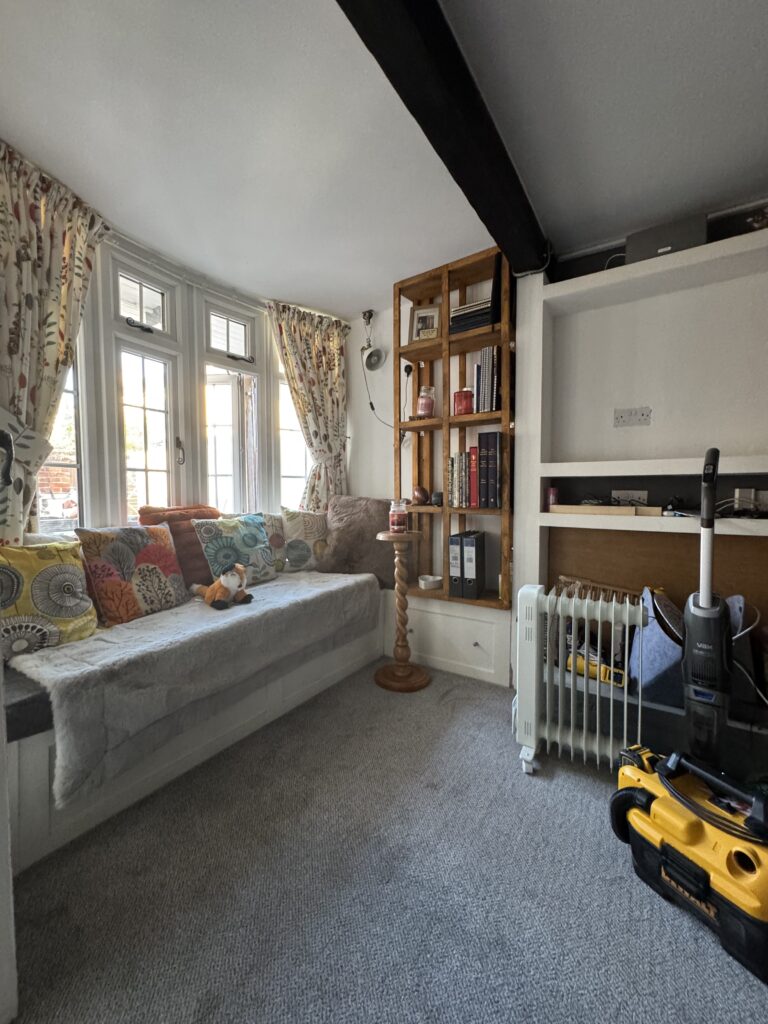
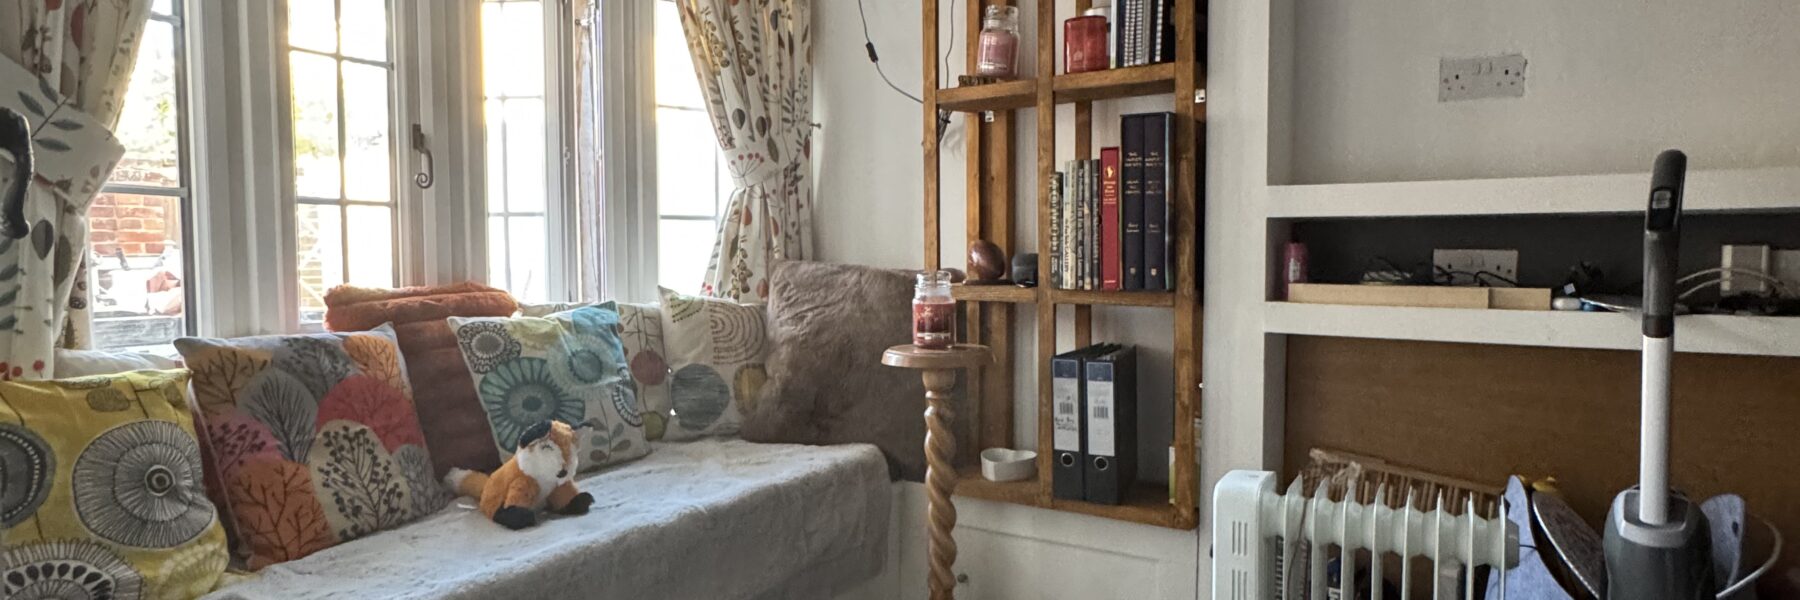
I had decided that I wanted to start doing work in the living space of the Shire – and my prime focus was getting the feature window at the front of the cottage looking more homely. The first part on that journey was to sort out the horrible in situ book shelf that I inherited.
My idea was to take some of the learning that I had from the kitchen shelving (in terms of design and process) – and just make it bigger!
The idea was I had done it before – just on a smaller scale, so how hard could it be to just scale up! The answer to that question was – actually, it could be a lot harder!
The process:
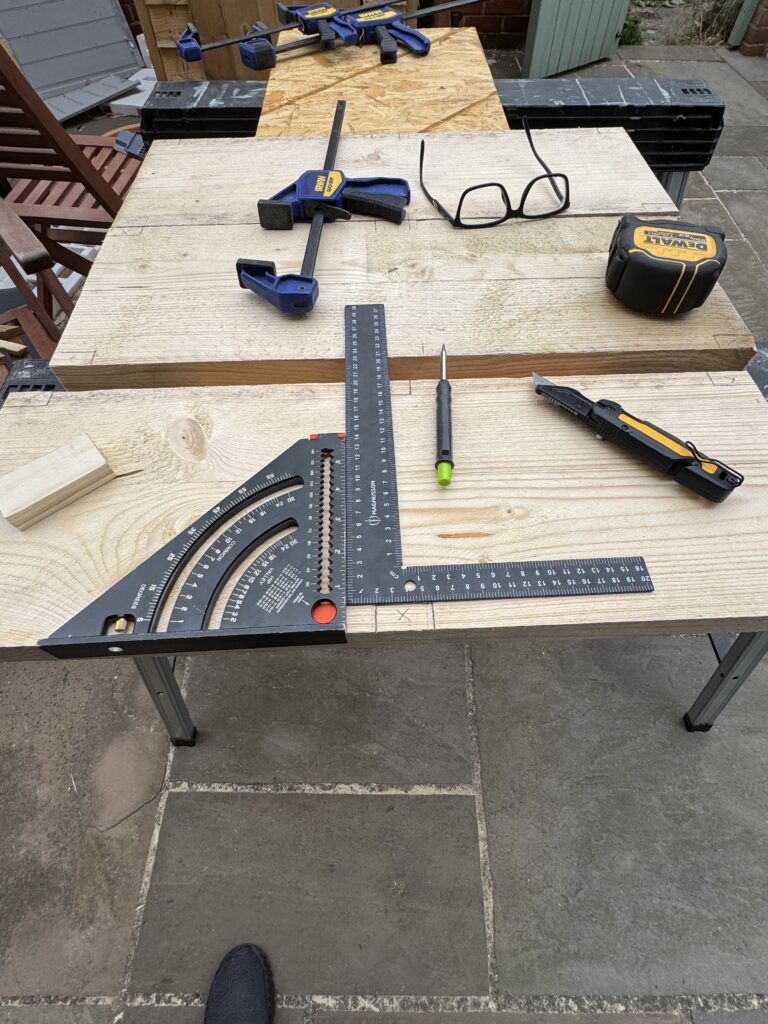
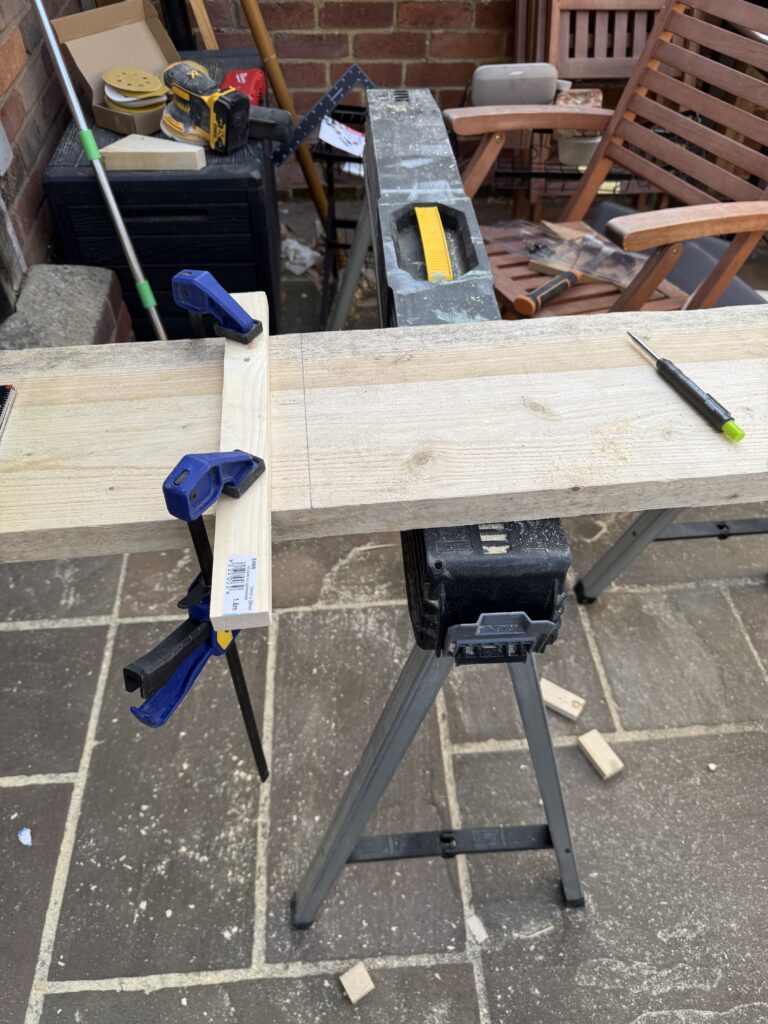
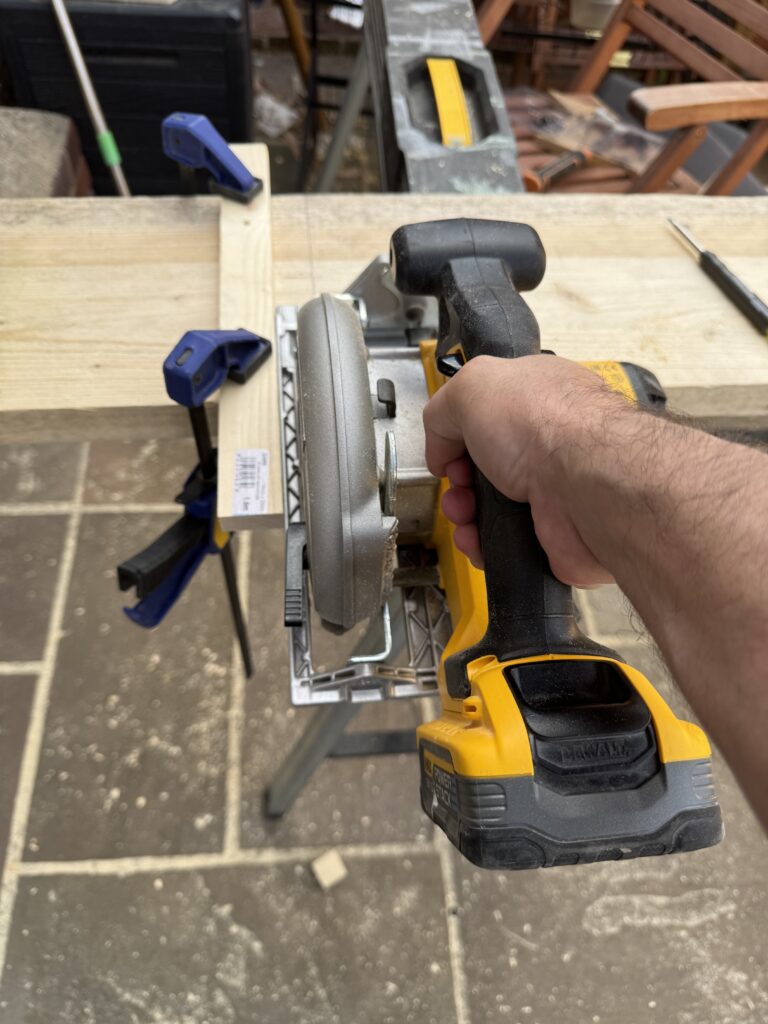
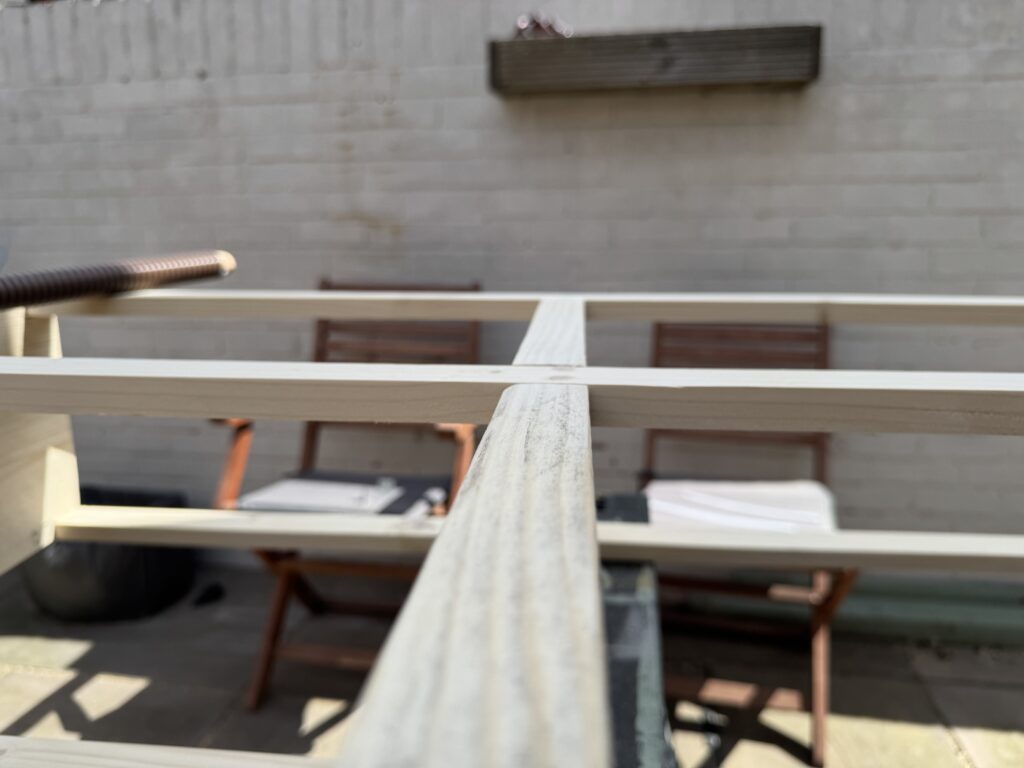
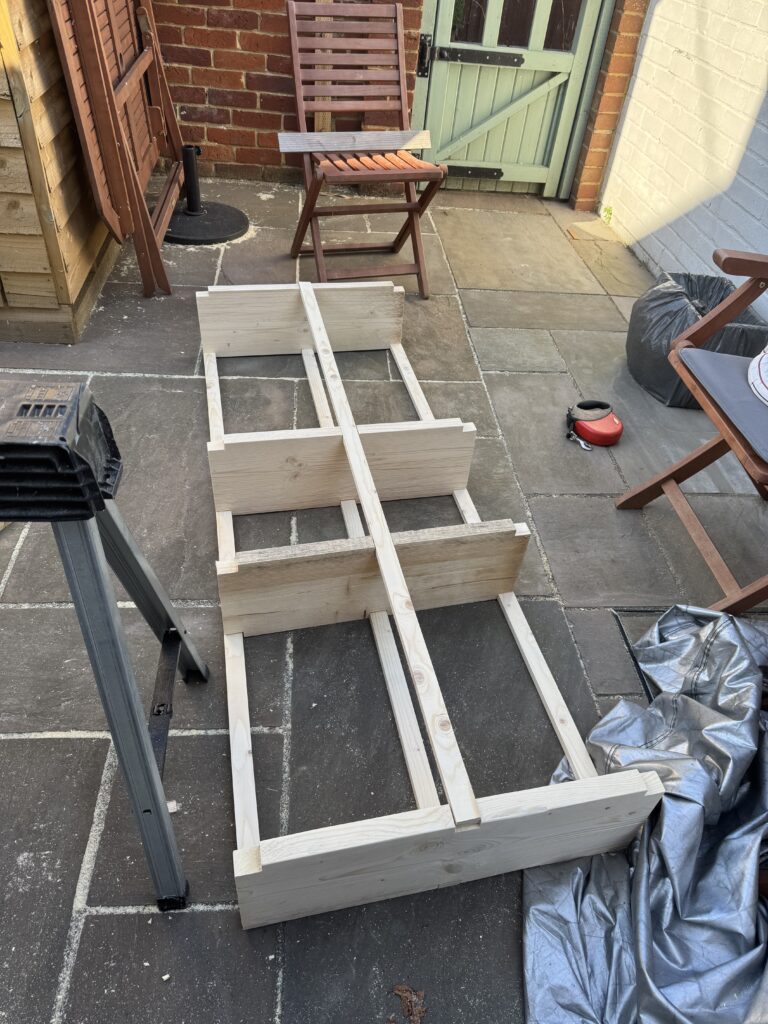
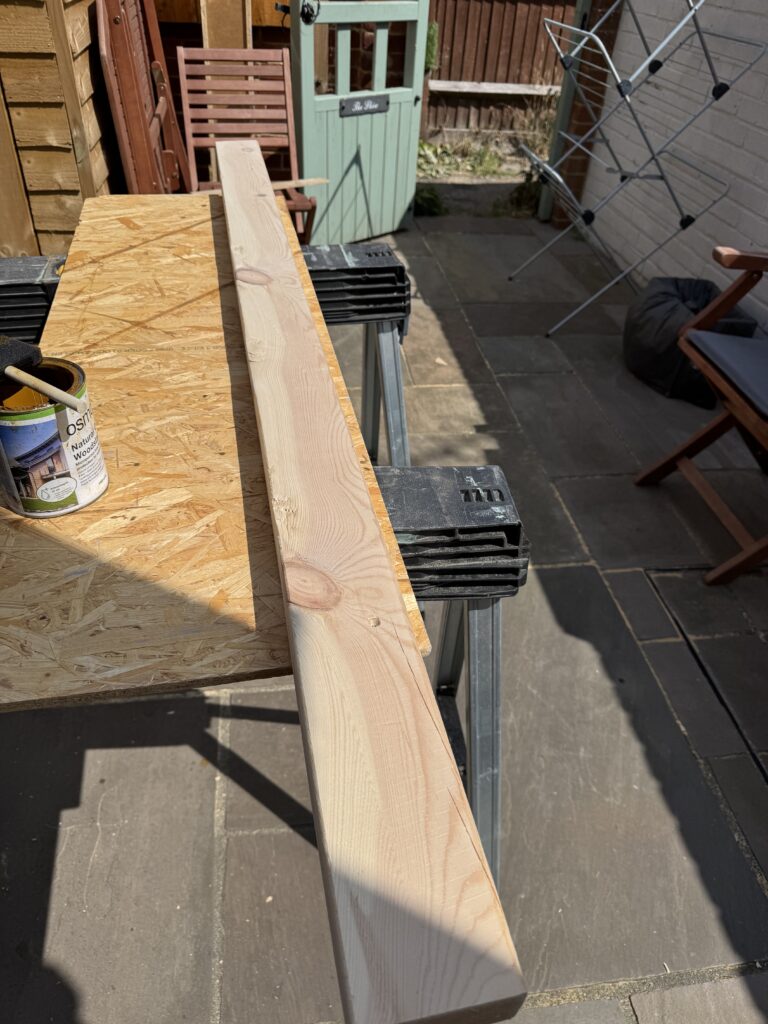
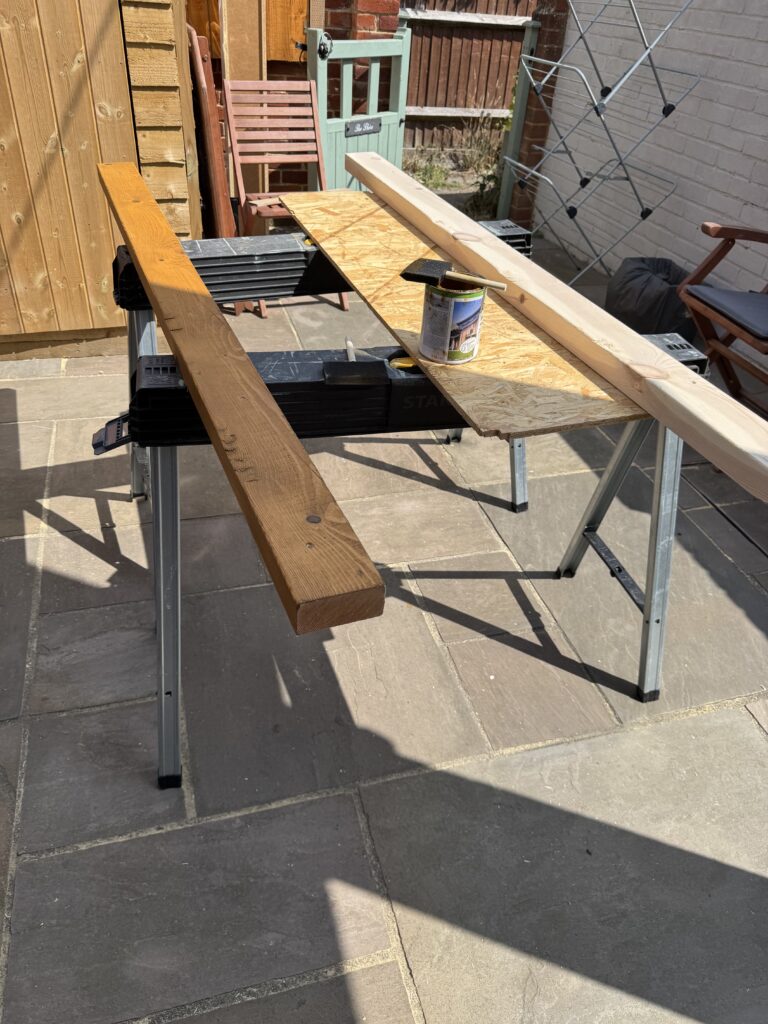
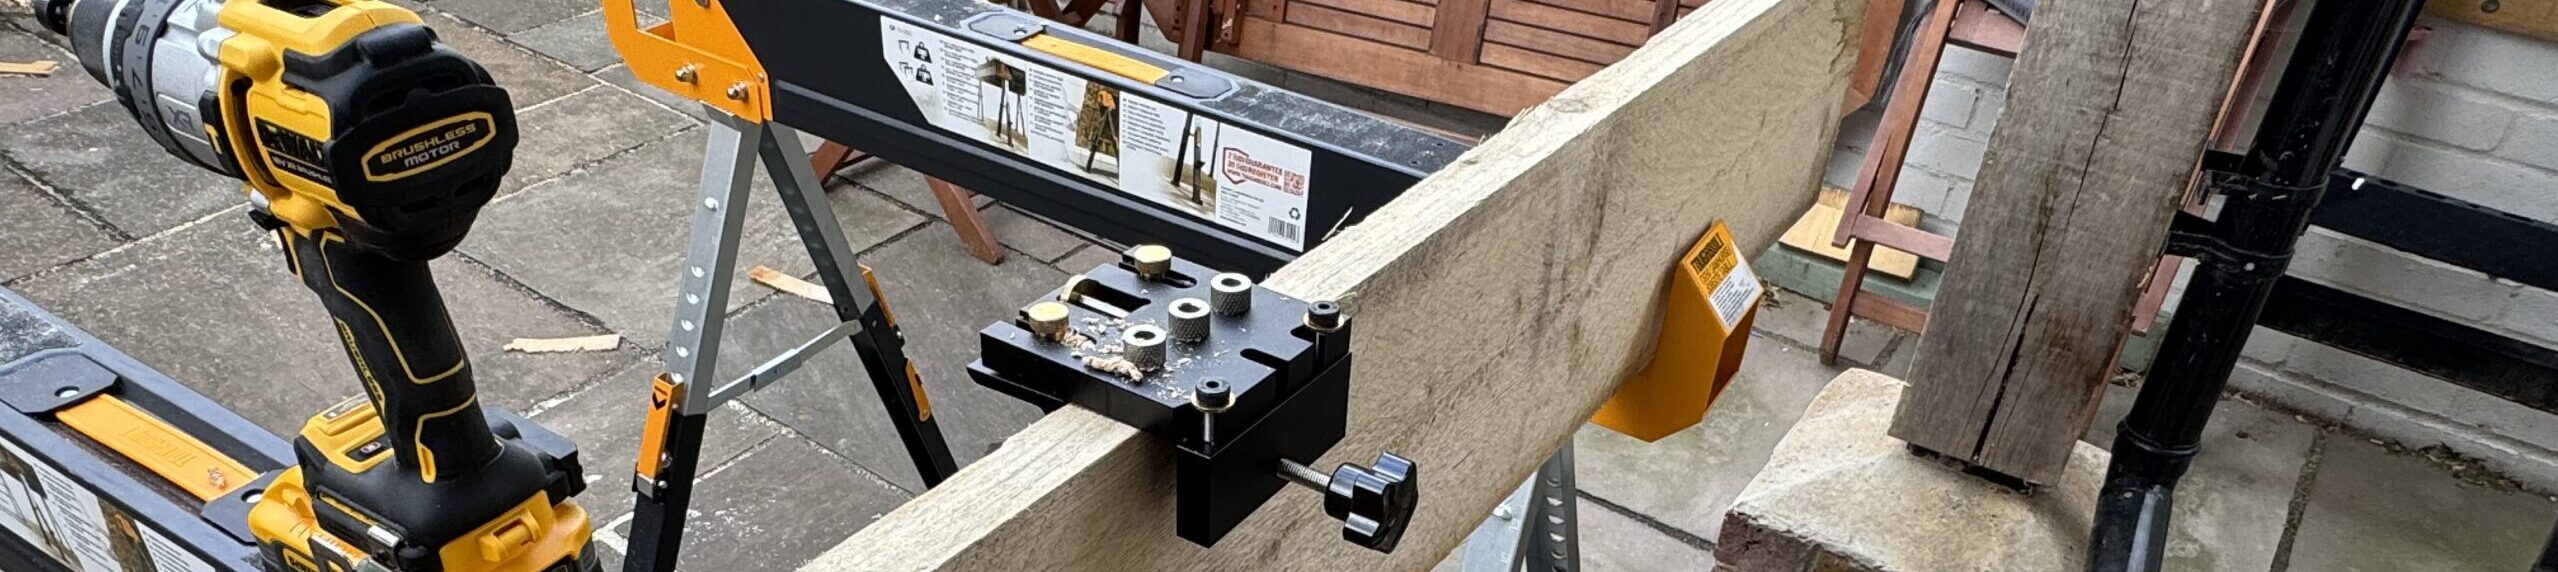
- I started out by cutting both the frame and shelf elements to size on the Miter Saw – well most of them, it was at a later point that I realised I had cut one shelf tier too few, so I broke out the circular saw and did a quick rip cut on a board to the length I needed.Truth be told I was being a little lazy as I could not be bothered to break the chop saw out and it’s stand – and – perhaps less lazy I needed a little more practice using a circular saw. So I clamped up a simple track using an off cut of sawn timber from the frame and ran that off to make the final shelf.
- After cutting the various pieces next up was sanding.Christ, I hate sanding with a passion. It is needed – but bloody hell is it boring and the vibration of the orbital sander eventually leads to my hands and wrist hurting. Anyhow, enough of the moaning – whilst I hate it – I do like the end result. As always I took the timber up to 240 grit starting at 80 and then moving to 120, 150, 180 and then 240.
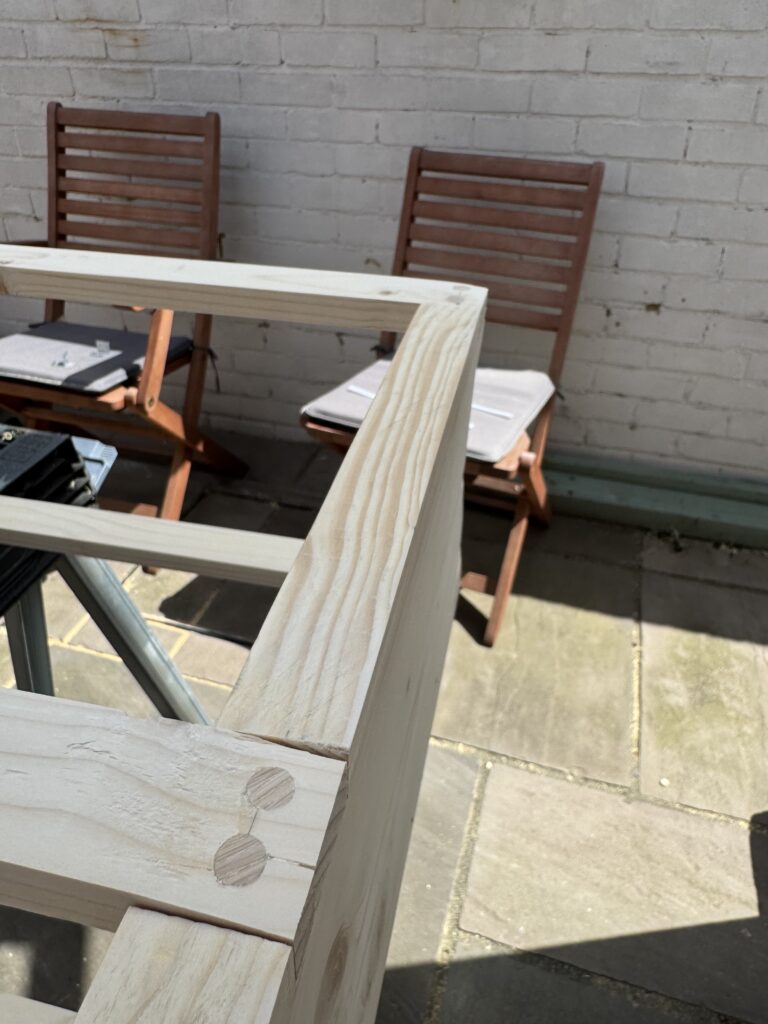
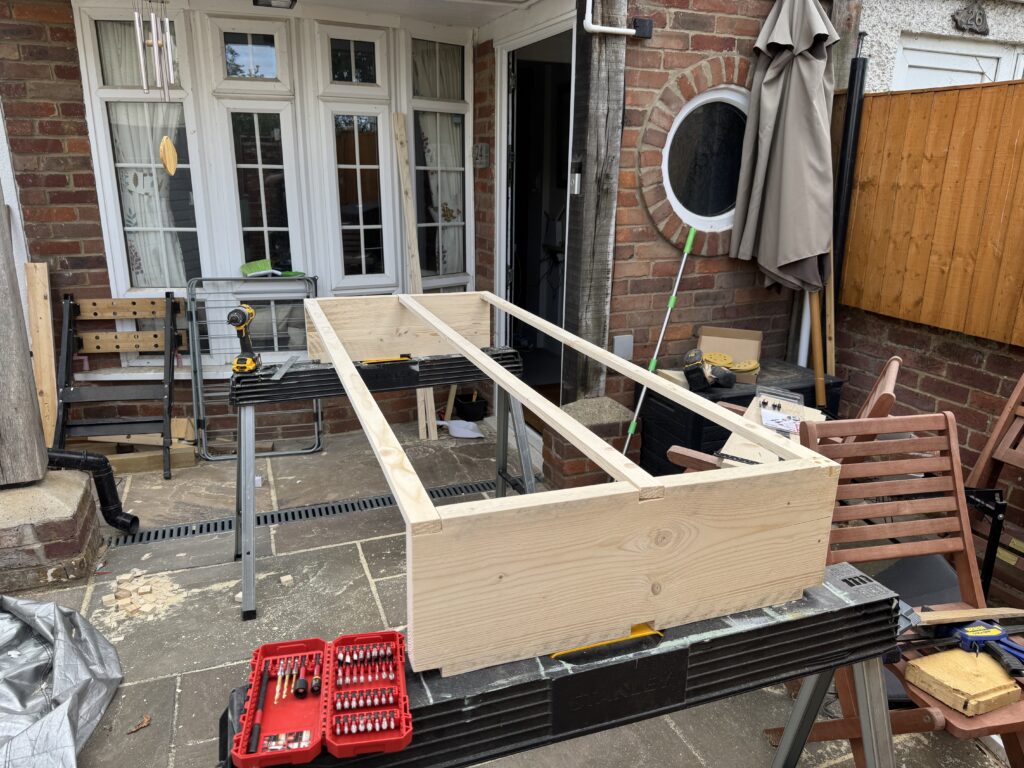
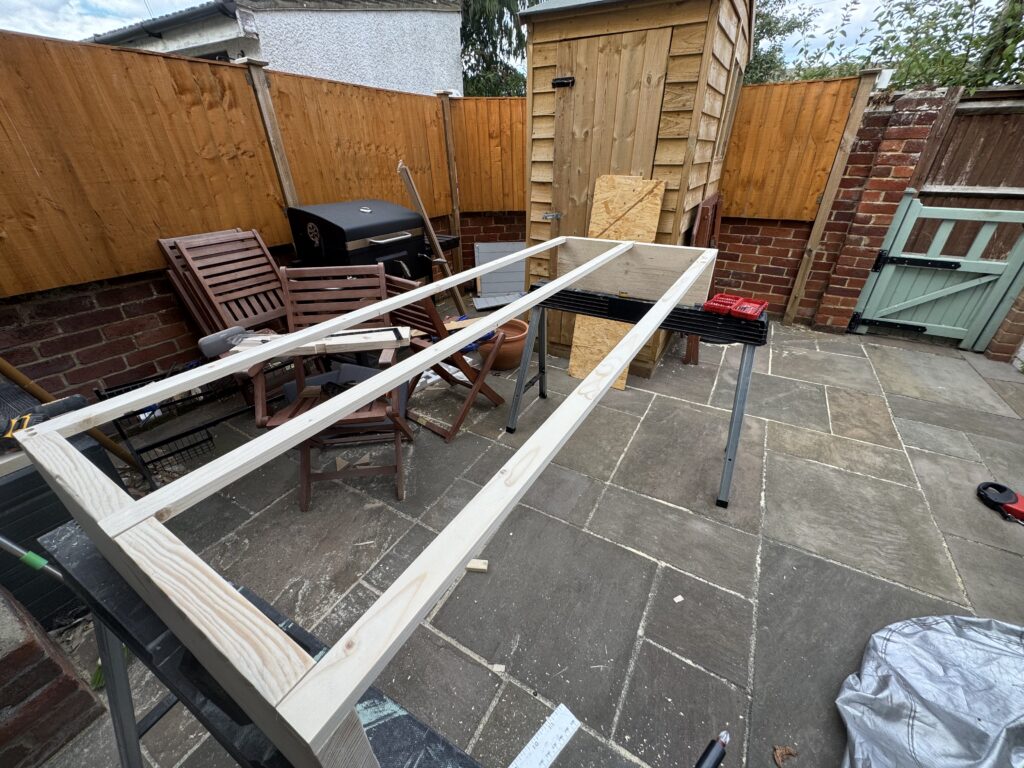
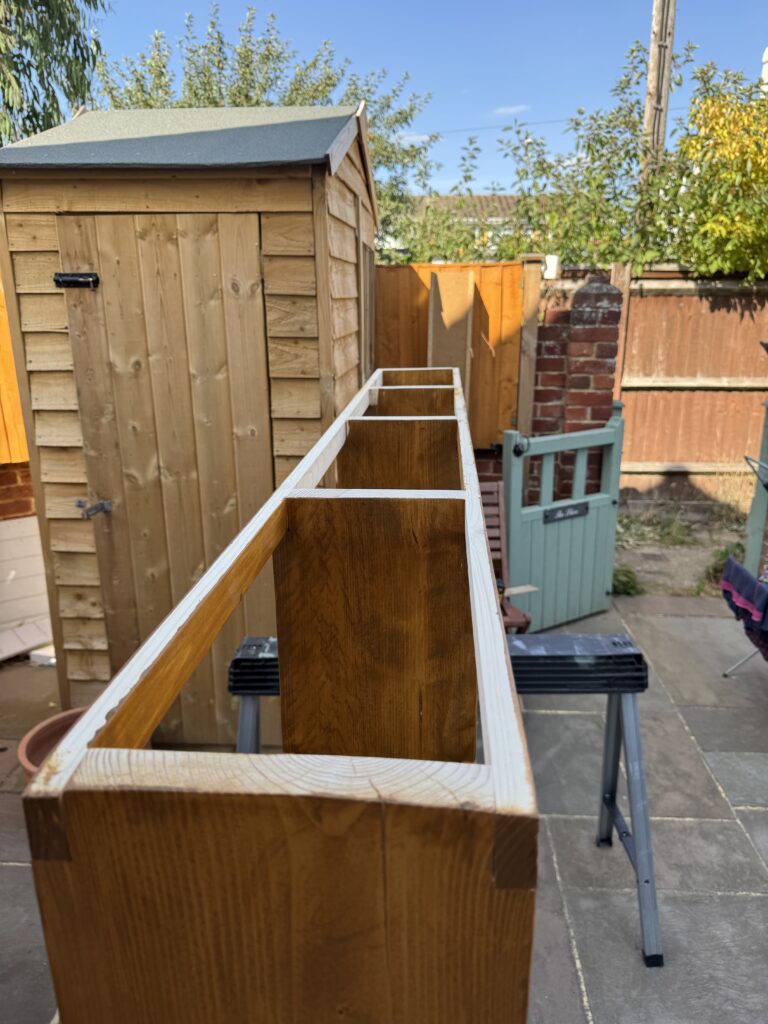
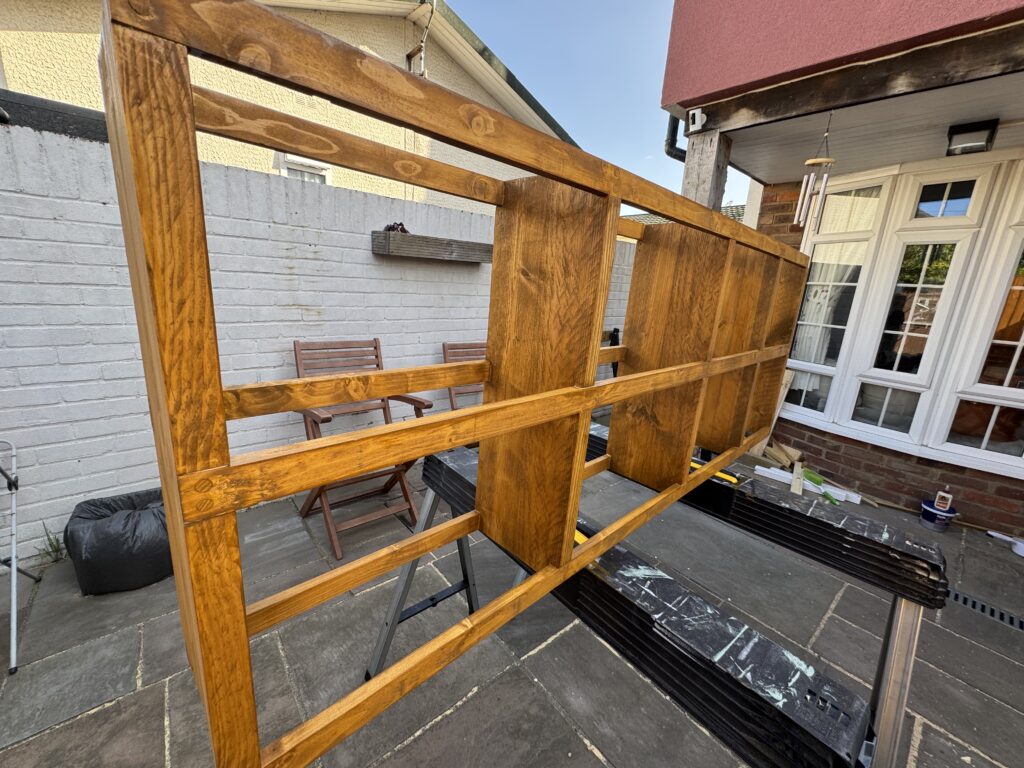
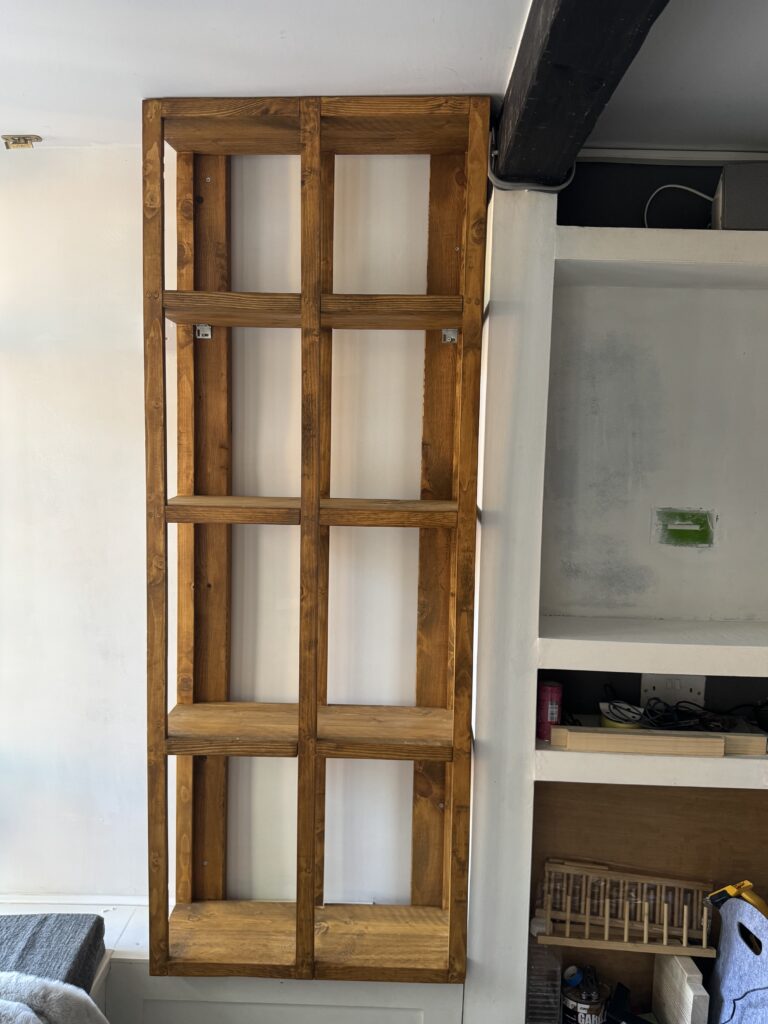
- With sanding complete it was on to assembling the bookshelf. At this point in time – the bookshelf was the largest project that I had done outside the kitchen (I built the bookshelf before the coat rack) so putting it together was a challenge.I had the idea that I would get the top and bottom on to the front three slats, turn it over and then position the rest of the shelving on the slats ensuring that they were level and square then secure the remaining slats to form the completed frame. I know that none of this idea was rocket science – but, my thought processes are developing as I learn.Given that the slats are made out of rough sawn pine, I drilled pilot holes for each and every screw using a Trend Counter sink bit – taking the drilled hole down beneath the surface by around 4 – 5mm.This is quite deep, but allows for dowels to be knocked into the hole and then trimmed to cover the screws whilst also maintaining a good biting point for each screw all over the frame for strength and there are about 60 screws in total.
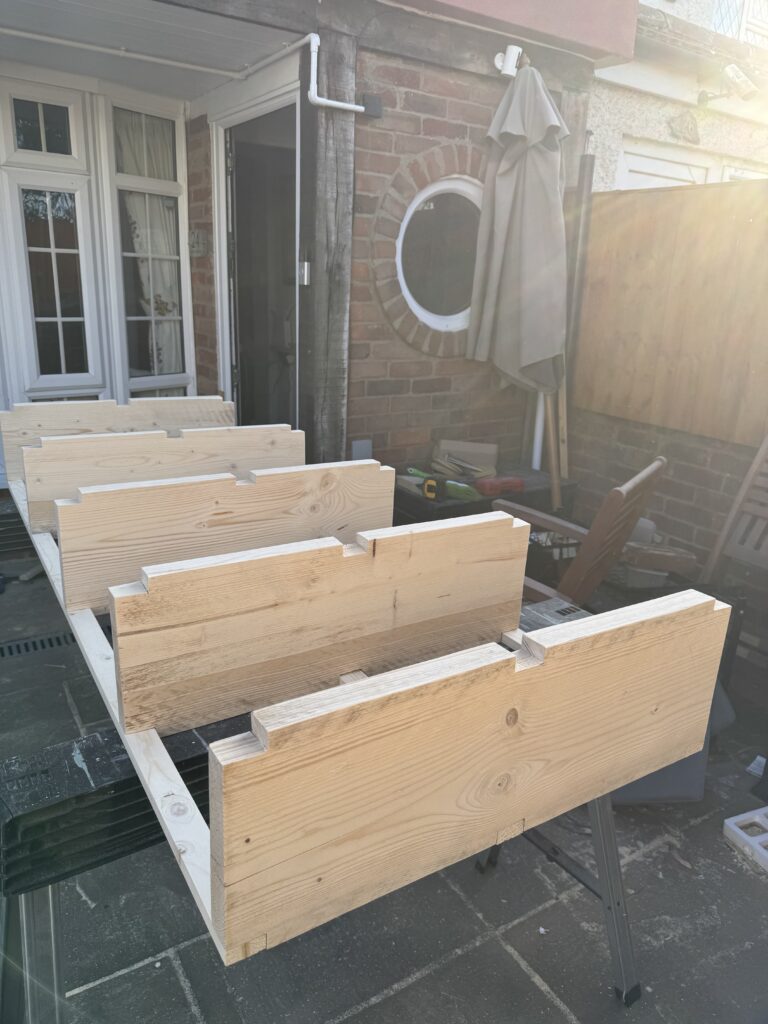
- Speaking of dowels, I have developed a thing about avoiding screws and their holes on show on the finished piece. I think that I might have watched too many YouTube carpentry videos being honest – but it is kind of a thing I do now.
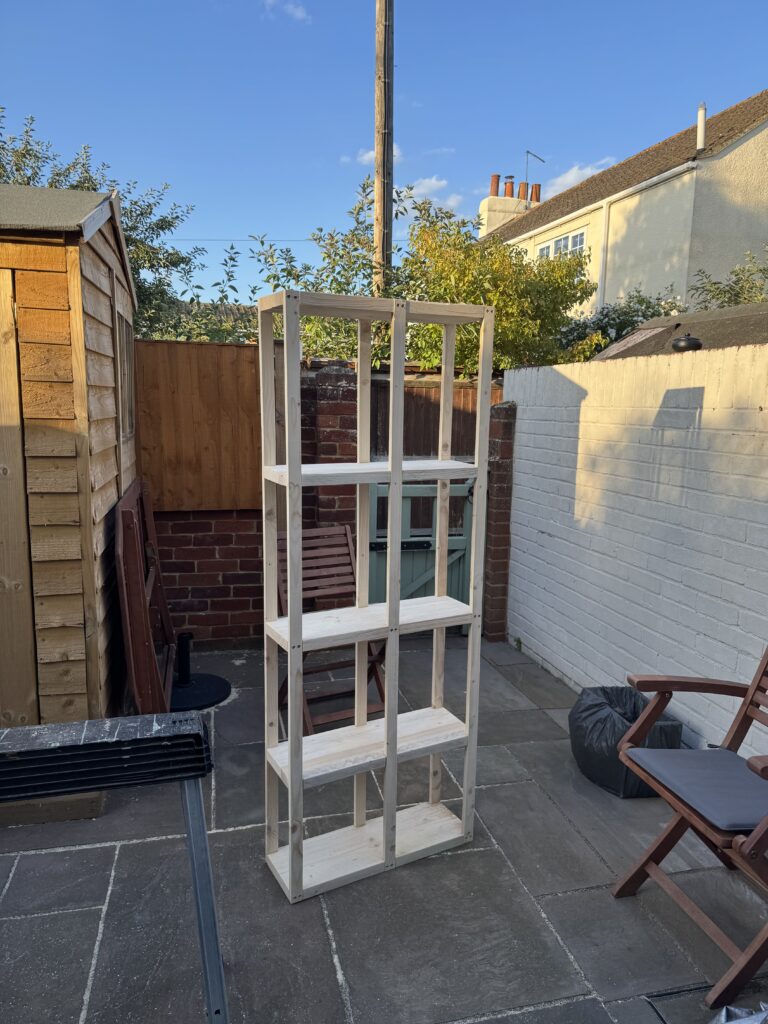
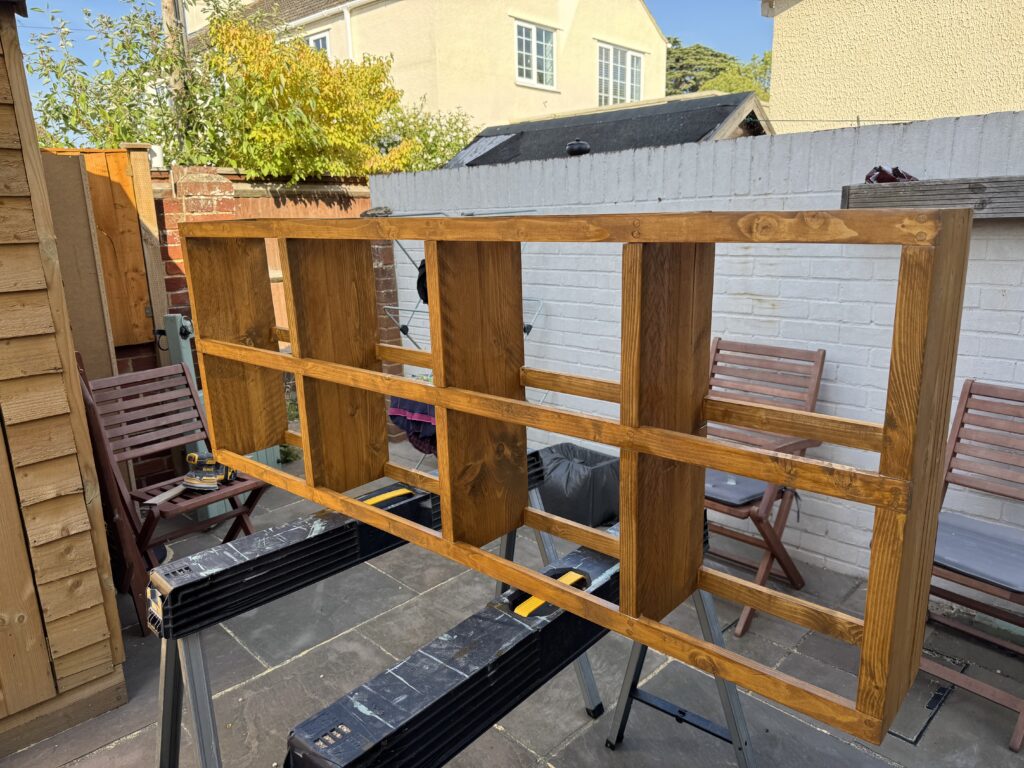
In the countersunk holes I bang in dowels and then trim them off using a flat saw (or, in particular a Japanese carpentry saw). If you have already sanded the frame – it is sensible to mask up using tape around the dowels so you don’t ruin the sanded finish. - With the dowels now in and trimmed down it was onto the staining. These days I sand, stain and then assemble – but as the bookcase was an early project and I didn’t have the confidence to stain the parts individually and then put them together.
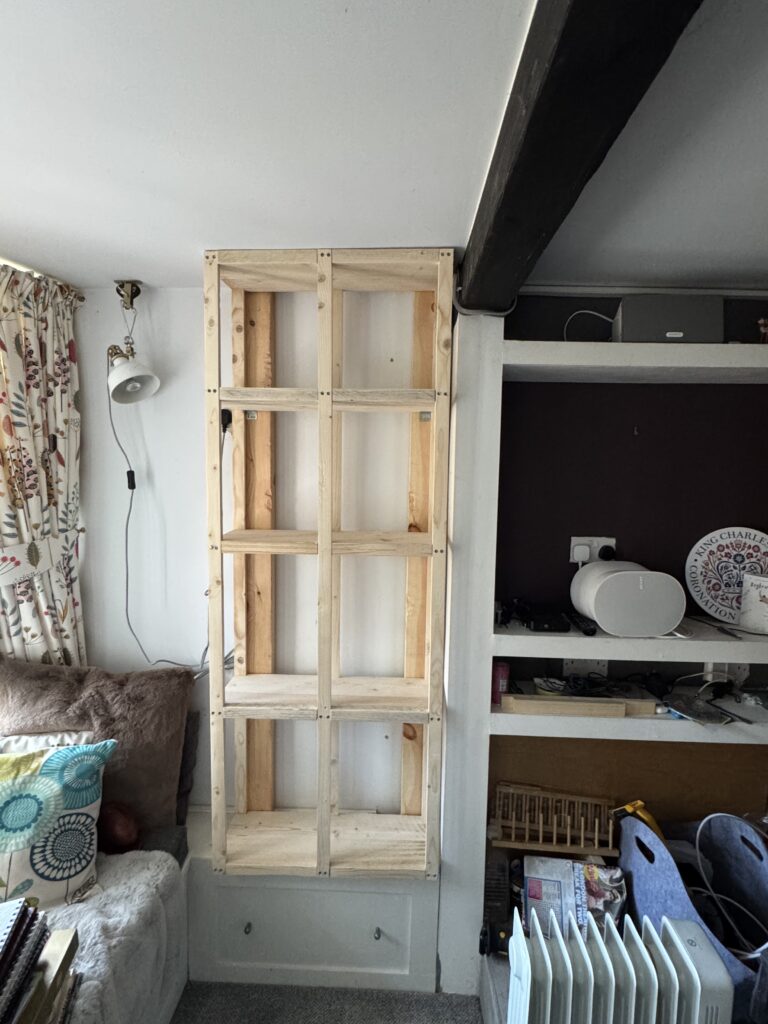
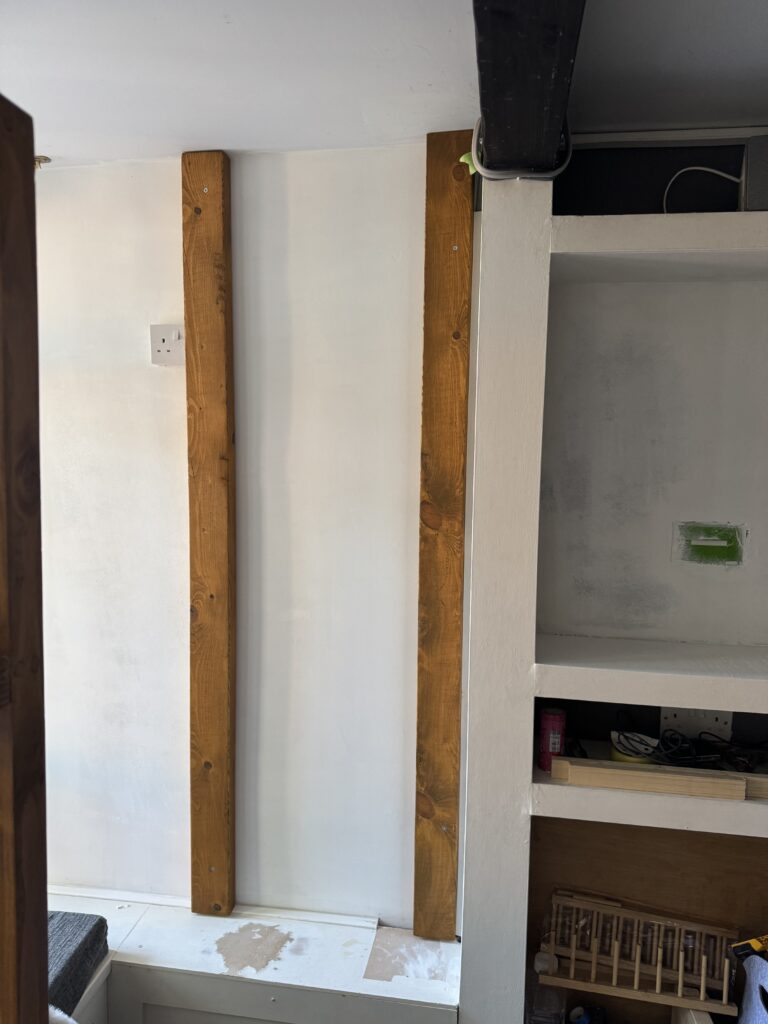
- The frame now being stained it was time to fit it into place within the living space.My idea was to use two bits of C-16 timber cut to the correct height – fix those to the plaster board wall and then screw the frame to the C-16. I would also stain these timbers to match the bookcase.Making these wasn’t a huge challenge, however fixing them to the plasterboard was. You see below the enclosure the bookshelf was going to be mounted on is my consumer unit. Yes, that would be the electrical consumer unit for the cottage!Drilling into the plasterboard wall with abandon would not be a good idea as pretty much every electrical wire in the cottage comes back behind that board. I knew, from some investigation that I had done that I had about an inch to two inches to play with before I hit a wiring bundle – but drilling wasn’t an option as no matter how careful you are with a drill you can cut through plasterboard like butter and lose control of the depth the drill bit is driving to.So, I marked out all of the spots that I was going to make holes for the Rawl plugs on the wall – drilled (VERY) slowly about 1mm into the material and then manually took the drill bit out of the chuck and pushed it through which gave me much more control.
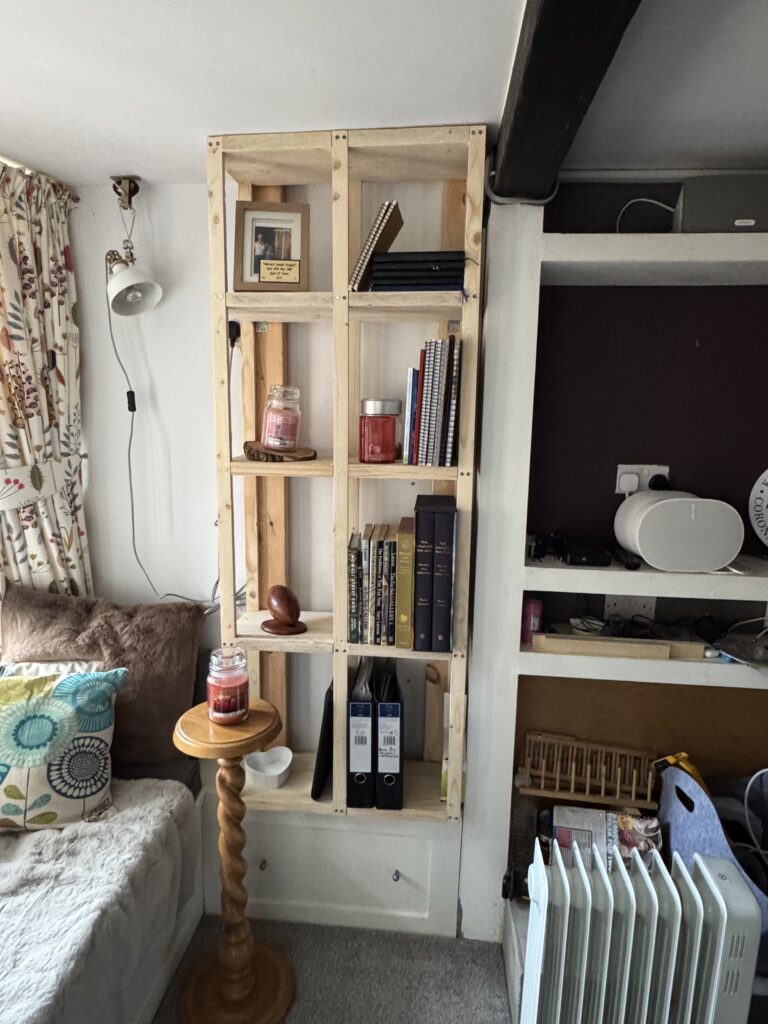
Then all I needed to do was tap in the Rawl plugs and then screw the timbers to the wall – using a screw length that was long enough to secure the C-16 – but NOT protrude out of the Rawl Plug. - The final step was to screw the bookcase to the C-16 mounts which I accomplished with a few L-Brackets and that was it all finished.