
I have always wanted a decent dining table.
Up until the end of the summer 2025 I have an Ikea table, which whilst was very nice it was a pretty bog standard 4 extendable to 6 seater with 4 chairs and was really too big for the space which it lived in. This was my mistake as I really didn’t measure up the area when I moved into the Shire – so, as a result it mainly languished for four years being used as storage!
After I had completed re-fitting the kitchen I found myself in the unusual situation (well, for me) where I had projects which I could choose to do rather than had to do (basically not firefighting) and I wondered if I was ready to try making something from scratch and a dining table with some benches seemed like a good idea.
Over the years I have had friends who had some really lovely hardwood tables – usually Ash or Oak and when I admired them I was usually told that they cost (depending on the size) upwards of £700 (and in some cases over £1000). Don’t get me wrong – they were well worth the money that my friends paid – just I didn’t have that kind of money.
I had a thought “surely it would be cheaper to make one“?
So with me being me I decided to do some analysis!
I found that if I made a dining table from Real Oak sheets with the following dimensions:
- 1.2 Meters Long
- 80cm (ish) Wide
- 36mm Deep
- 76 cm High
It would come in at around £299 (as per the table below)
Project Specifics / Unit Costs | Totals |
Difficulty | |
Oak Boards | £180.00 |
Screws | £2.88 |
Legs | £94.96 |
Leg Fittings | £5.99 |
Osmo Top Oil | £11.20 |
Wood Glue | £4.22 |
Project Total: | £299.95 |
If however I purchased a dining table of close to the same dimensions the starting price was between £399 and £1,275 (depending on who I purchased it from).
That was me sold! Worst case I was looking at a £100 saving – so with absolutely no experience of building dining tables I went and bought the materials – with a thrill in my head and a pill on my tongue (actually there was no pill – I just love Spandau Ballet).
I had a sort of plan on how I was going to go about the build process. I knew that due to the dimensions of the Oak Boards that I could source I would have the length – but not the width or the depth so I came up with the idea of:
- Cut two of the boards to form main section (the middle) and then laminate them together.
- Cut four lengths of the remaining board which will be laminated together to form two extenders (left and right) for the middle section.
- Doing the above would give me the 1.2m (length) x 80cm (width) x 36 mm (depth) for the table top.
With that in mind – all I needed was a plan so I came up with this noddy sketch …
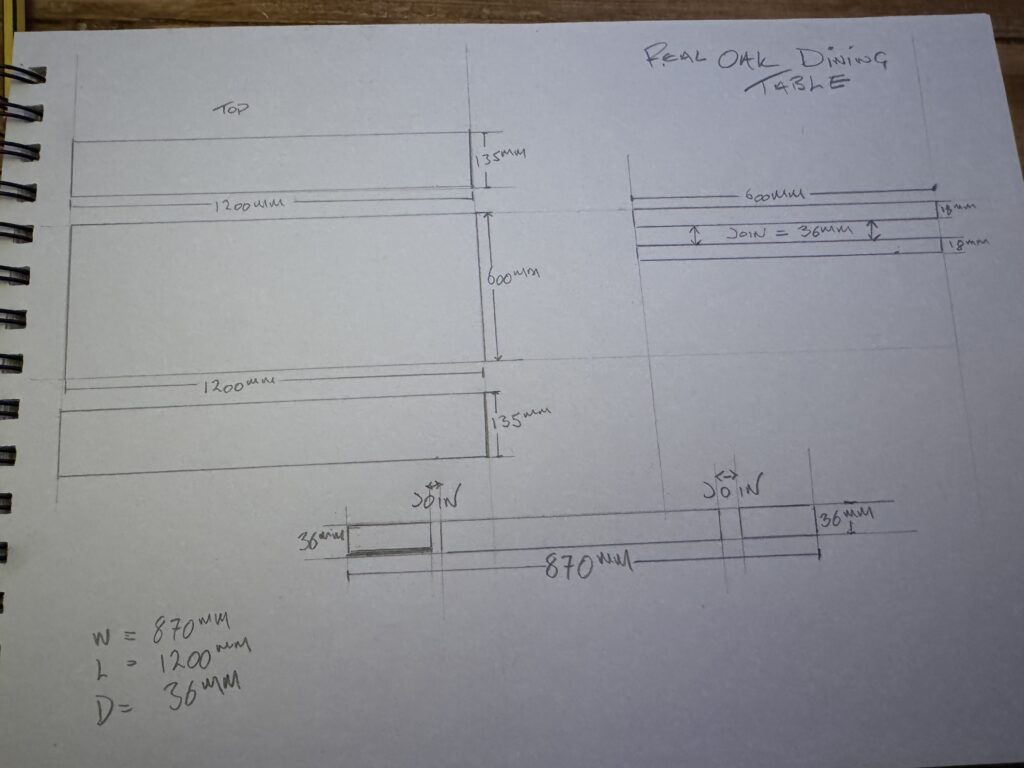
Of course, what was missing now was the legs.
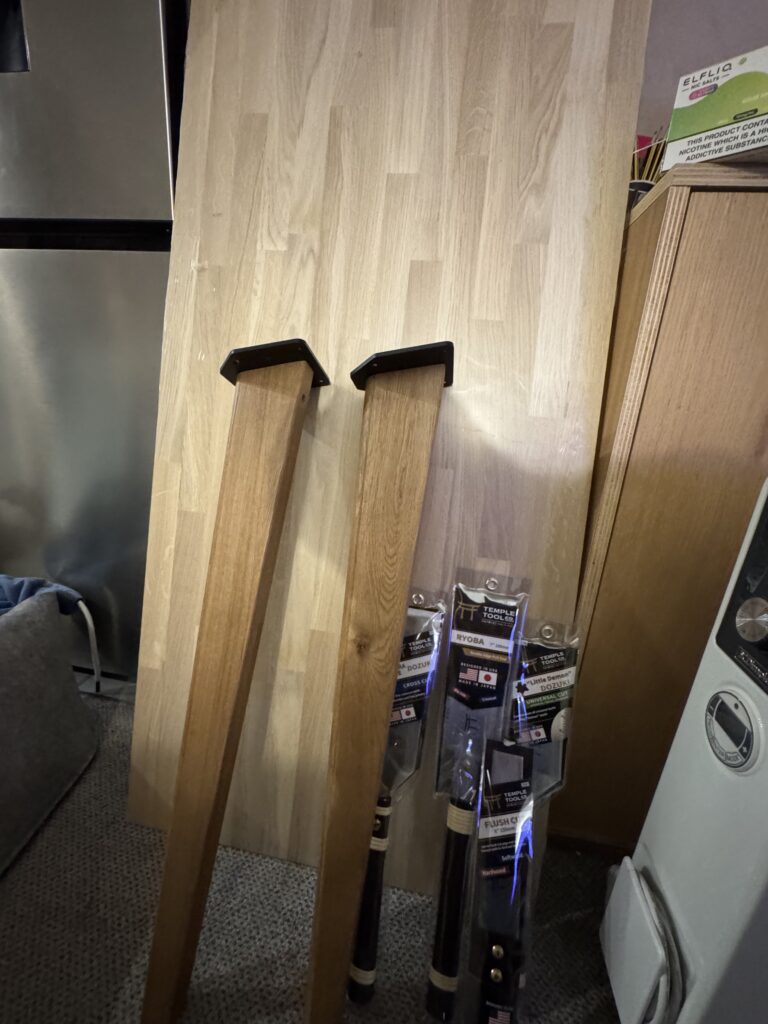
I never intended to make these – at the point where I made the table I felt that I both didn’t have the skills – AND – didn’t have the correct tools so with that in mind I took to the Internet and I found the Hairpin Leg Company!
They are simply amazing and have an amazing range of legs which will work for so many different projects. In the picture below you will see their 71cm tapered legs which I chose for my project (I also used the 40 cm version for the benches – but that’s another project!).
Now that I had the design and the materials is was time to get to the job!
I will admit to being somewhat nervous about this project. Up to this point I had only worked with cheaper timber.
Don’t get me wrong – any money spent of a project deserves respect – but when you’re working with your first hard wood and pretty much any step of the work could go wrong and cost you a few hundred quid it does make your bum get a little squeaky!
However, I put my big boy pants on (well, actually they were my DeWalt’s) and thought – well I have a plan so how hard could it be?
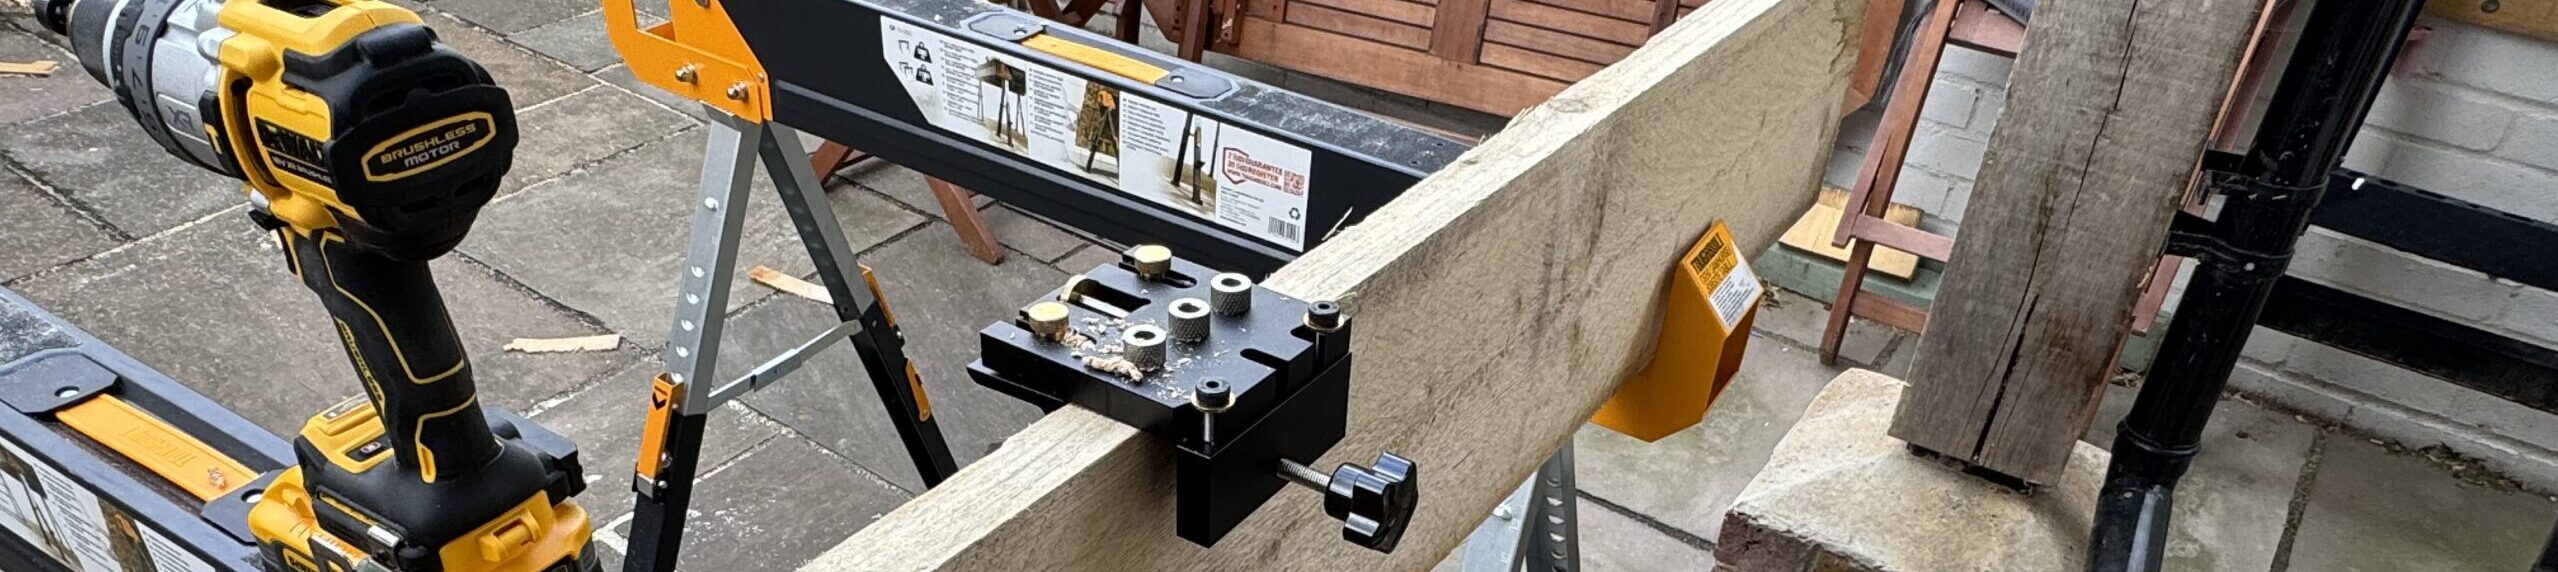
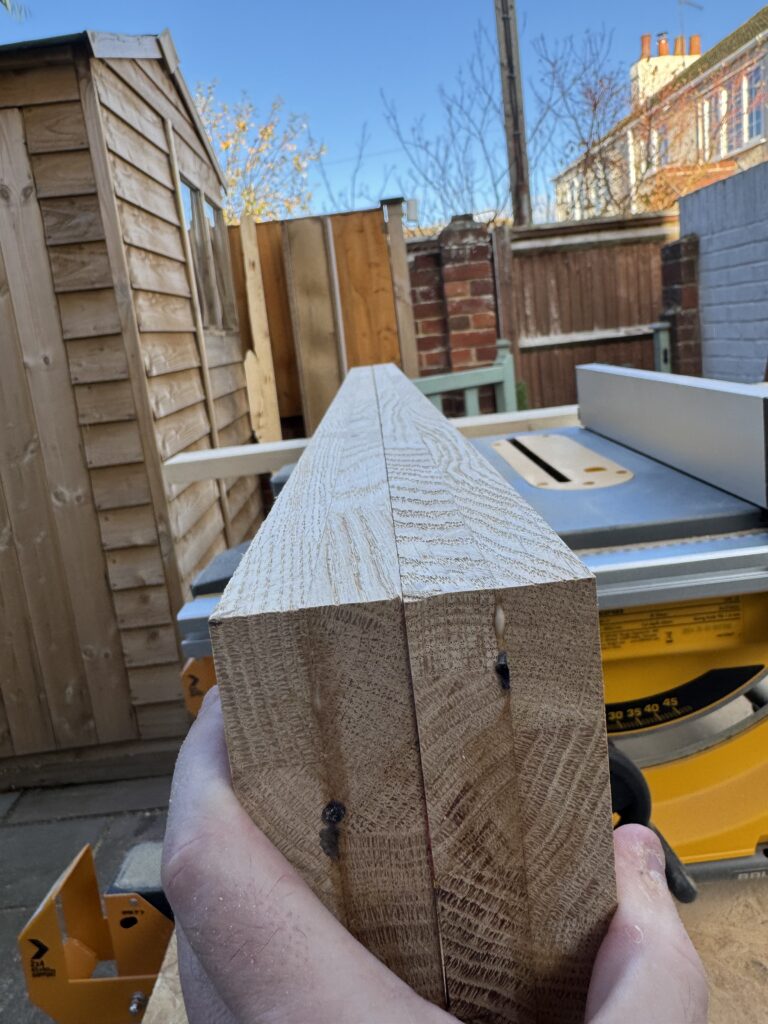
I started out by cutting the middle and extended sections of the table. For this I used my table saw – in hindsight I would now use my plunge cut track saw as getting the size of the material safely on the table bed was “challenging” – but as I didn’t own one at the time so the plunge cut was out.
The middle panels were comprised of two 1.2m (L) x 59 cm (W) Oak panels for the main table section (these are 18mm deep so when laminated would give 36mm of depth).
I also cut four lengths of 1.2 (L) x 14 cm (W) Oak which would be the left and right table extenders giving me a full table width of 87 cm. The four pieces I laminated in pairs to give me a pair of 36mm extensions.

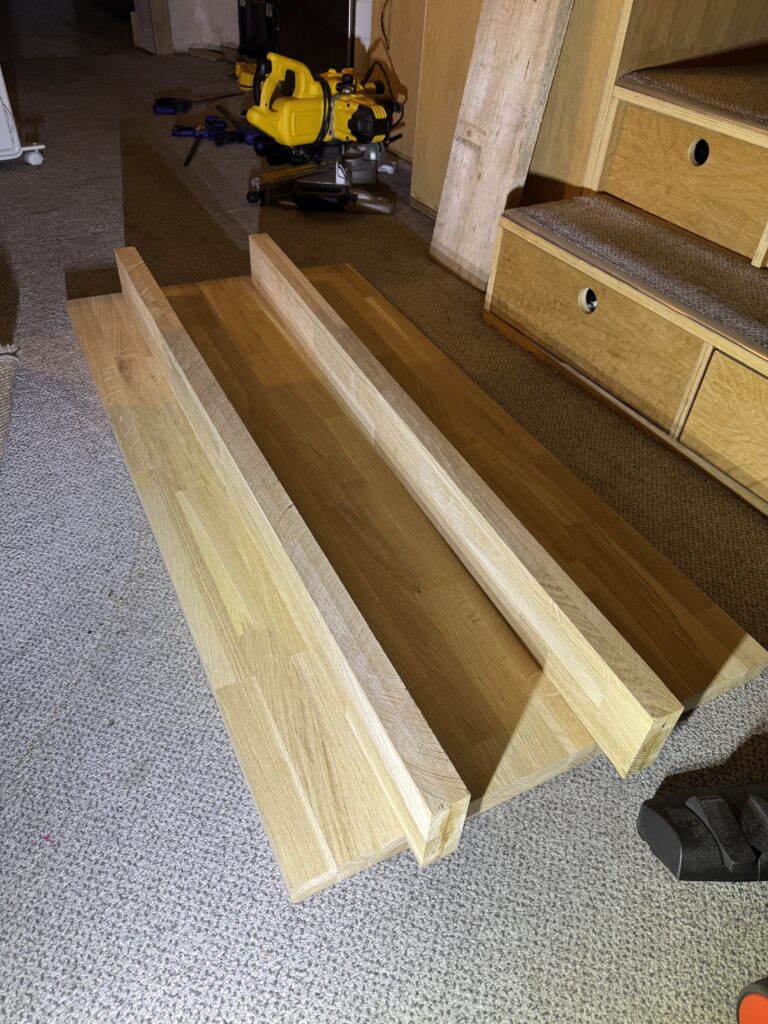
The next step was perhaps one of the most involved – laminating the main section (middle) of the table.
Now doing the two extenders was quite easy – they were smaller pieces and I knew that if I got them aligned and clamped to within about 2 mm on each edge then I could run them thought the table saw to square them off again if they were slightly on the “wonk” and not lose a lot off the overall dimensions.
However, the main (middle) section of the table needed to be much more accurate at the point of lamination as running it through any kind of saw that I had wouldn’t be a good idea.
Now – before I continue, I should clarify what I mean by “lamination“.
In my context it is taking two identical lengths of cut Oak board and then using wood glue to stick them together to make one thicker piece.
My personal wood glue of choice is Evo Stick Interior Wood Glue. To be honest most brands are perfectly fine and will do the job but with a good glue it will cure stronger than the original wood – so, if you have used the right amount and applied it correctly then the bonding point will be as if the all the parts were one piece.
Now that I have explained my version of lamination back to how I approached the middle section of the table.
I had a few lengths sawn timber which I cut to the exact lengths and width of the panels. I then applied some packing tape to the edges of the sawn timber which would face the edges of the table during lamination.
This is a neat little trick as wood glue oddly enough sticks to wood. So if you use timber to build a lamination frame it is a good idea to line it with something like plastic packing tape as when the glue squeezes out onto the frame it won’t stick and therefore comes off with no fuss!
I of course didn’t just rely on the frame – I have a set of these Sash Clamps which are ideal for keeping edges flush on larger sizes of wood when gluing.
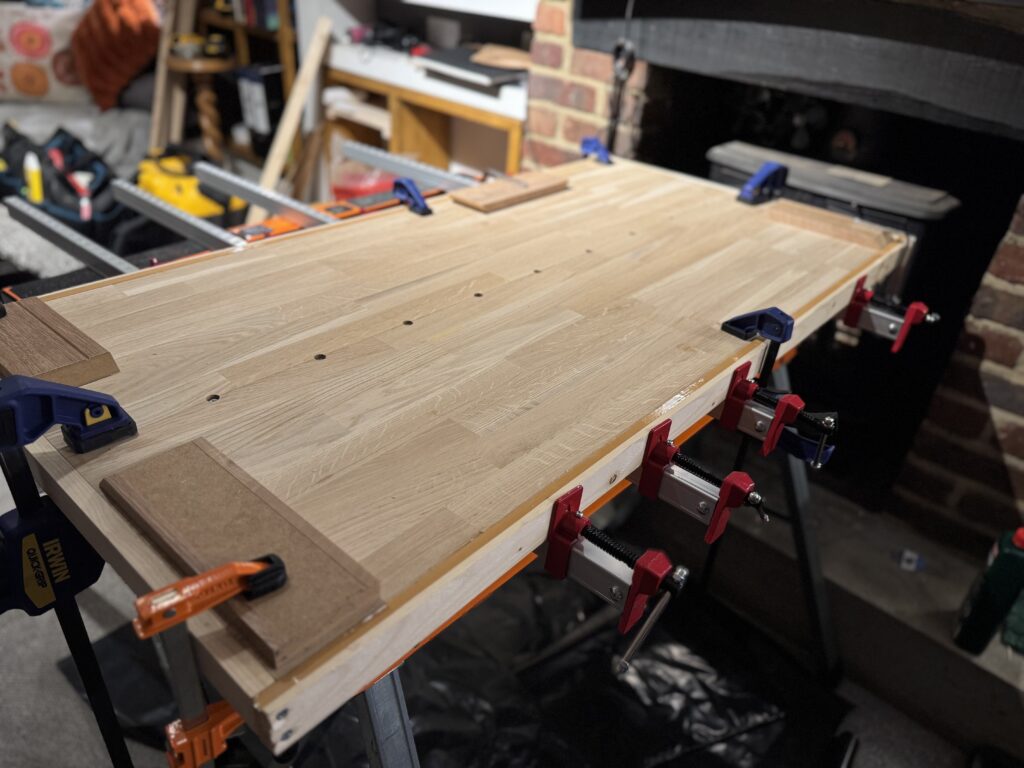
Once I had the frame ready I applied a reasonable amount of wood glue spread evenly on each panel and then positioned them into the frame. It was then a case of relatively quickly clamping down every area on the panels to hold them in place and allow the glue to cure.
Generally speaking (and depending on environmental conditions) correctly applied wood glue will cure in about 6 hours – however, my tip for the top is to leave things clamped down and flat for at least 24 hours.
But, I wasn’t done …
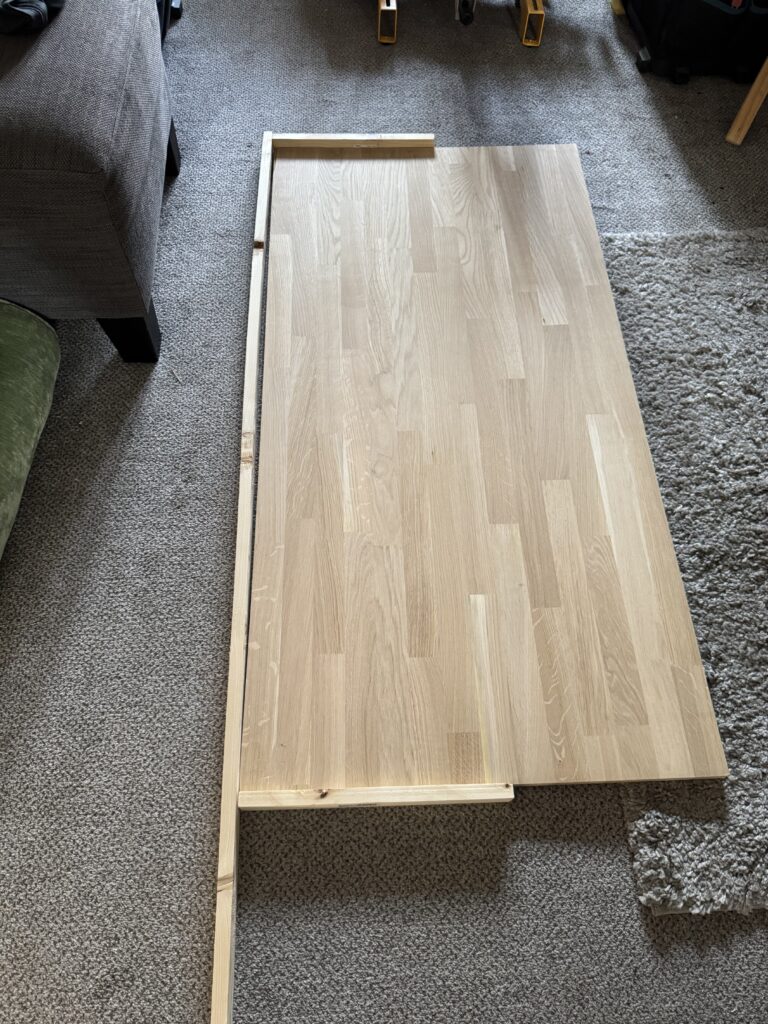
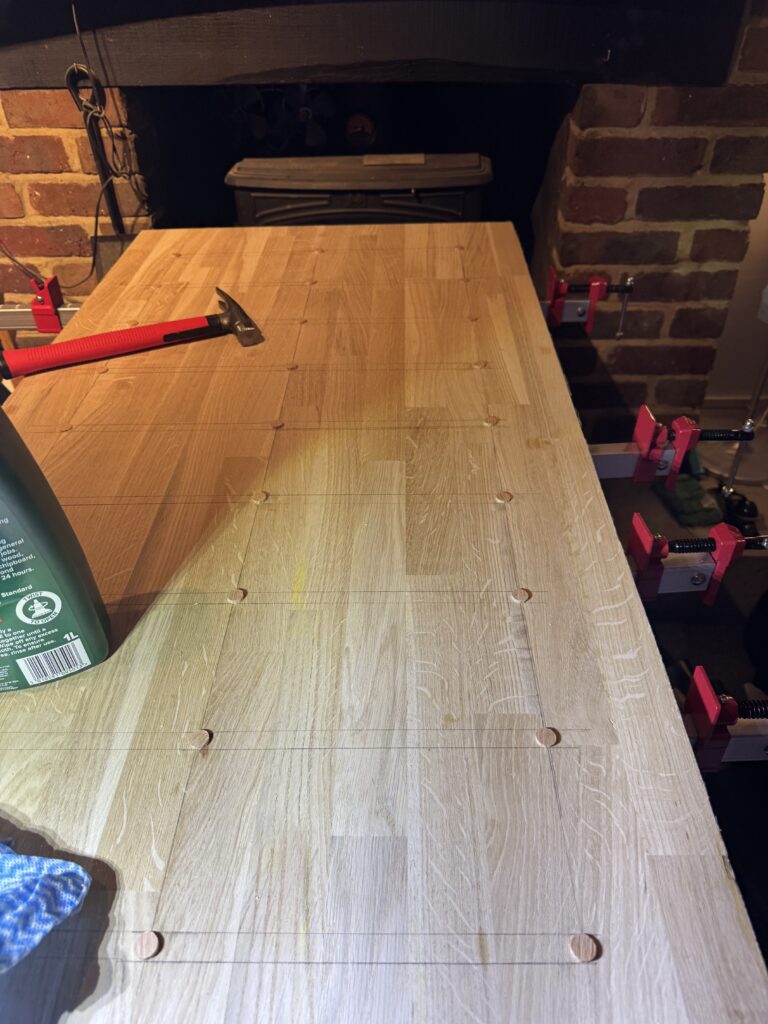
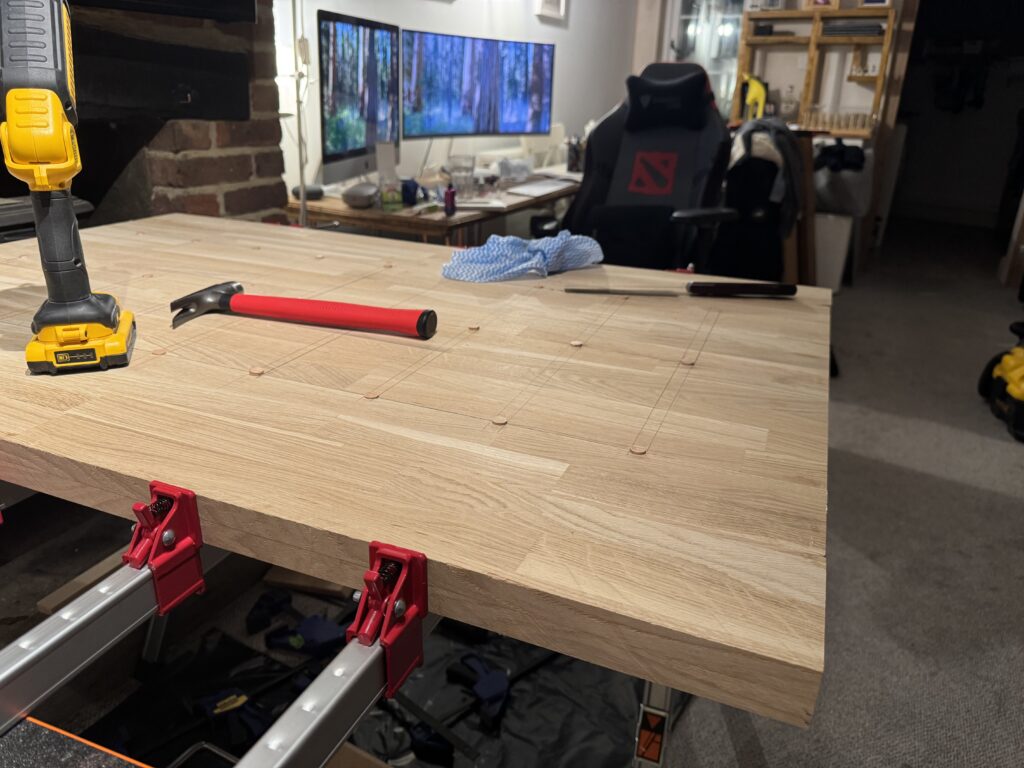
At the time I didn’t have enough clamps to cover absolutely area of the panels – so I came up with the idea of inserting some wood screws on what would be the underside of the table. Now – I have a strict policy of no visible screws in my projects (well at least since the shelves) therefore my idea was I would recess them into the material using a 12mm Forstner bit, put the screws in and then cap them off with a 12mm Oak Plug.
Once capped I used my flush cut saw to remove the excess from the caps.
I drew out a grid on the bottom of the table for 27 screws (I don’t fuck about) – drilled them, screwed them (ooo-err missus), capped them and then finished with the flush cut.
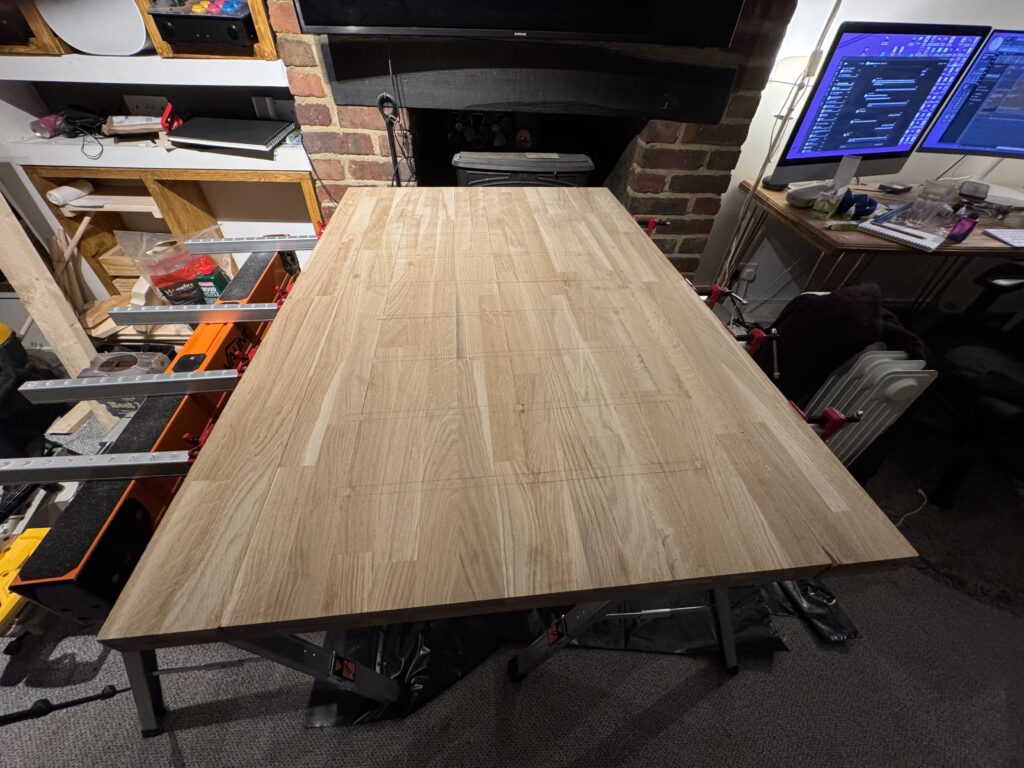
Below is a gallery of photos from the work above – but if you’d like to see the videos pop over to my Instagram channel.

In the next part I will take you through the sanding process and the Oil Sealing.