
In the previous parts of this kitchen fitting adventure which you can find here, here and here between my son and I we had managed to get power back to the kitchen, install the base units and fit the counter tops, paint and install a new extractor fan for the hob.
Now it was time to re-fit the cupboards.
Re-Install the cupboards
This was going to be “Interesting” (there’s that word again which I used instead of ball ache) as I as doing this on my own so it was going to be awkward.
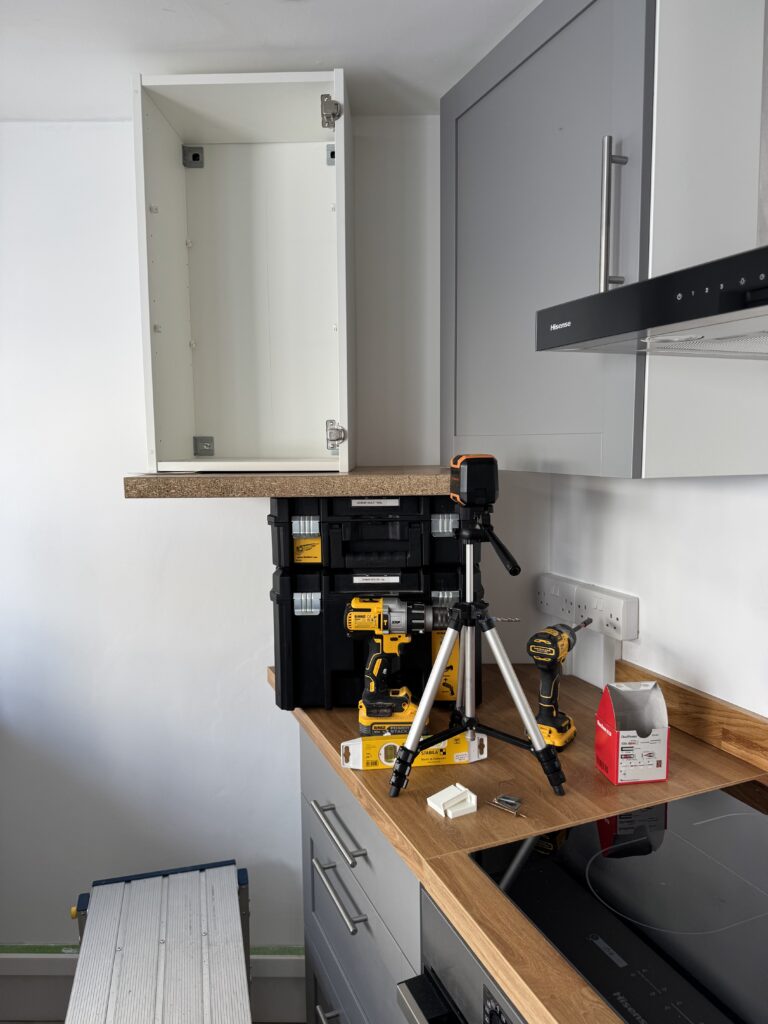
I had watched a number of videos online which gave me some great pointers on how to mount cupboards level on a wall – but the tricky part was always going to be how to I get them lifted to the right position on the wall and hold them there whilst I mark out the drill holes, take the cupboards down again, drill the holes in the right place (and level) and then get them back up to screw into position.
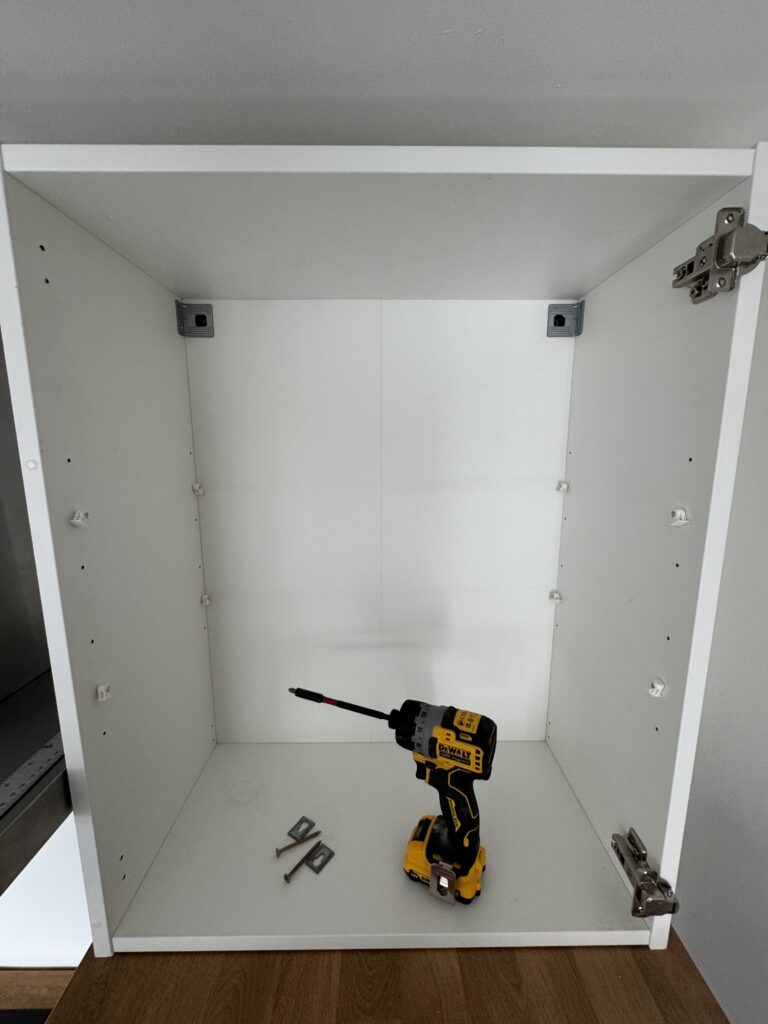
This is where I brought out my DeWalt T-STAK cases again and through a mix of those, suitably size books and some of the off cut that I had from the kitchen counter top I was able to get them to the correct height on the wall.
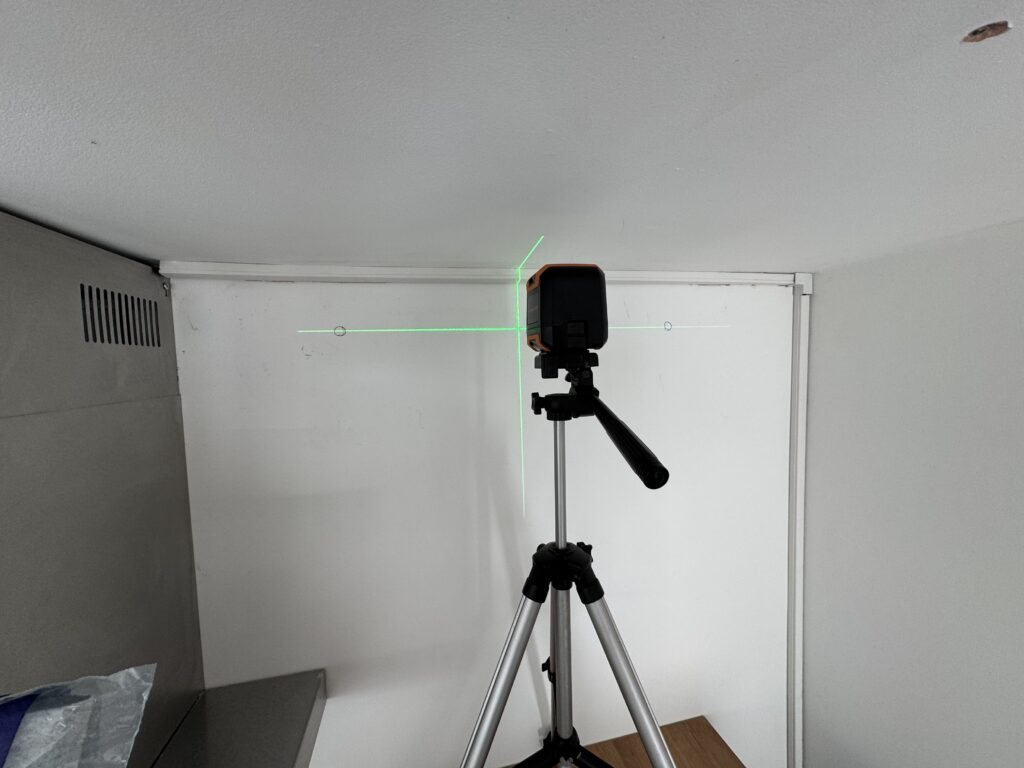
From there it was simply a process of marking out the drill points on the wall, taking the cupboard back down, using my laser level to mark the drill points … err … level and then drill the holes for the Rawl Plugs.
Of course, as mentioned in part 2 of this series, drilling into my kitchen walls wasn’t just a case of drill the hole and whack a Rawl Plug in – it was a process which ensured that I didn’t create bridging of the Tanking, so I had to vacuum out each hole and then fill it with a waterproof silicone sealant and then put the plug in before a screw could be inserted to fix the cupboard to the wall.
As mentioned I prefer to use quality Rawl plugs and screws, especially when it comes to cupboard mounting so Fischer plugs and I used 50mm screws which each can support around 50kg of weight per plug / screw when drilled into brick which is way more than what would be combined weight of the unit and the actual items they would contain.
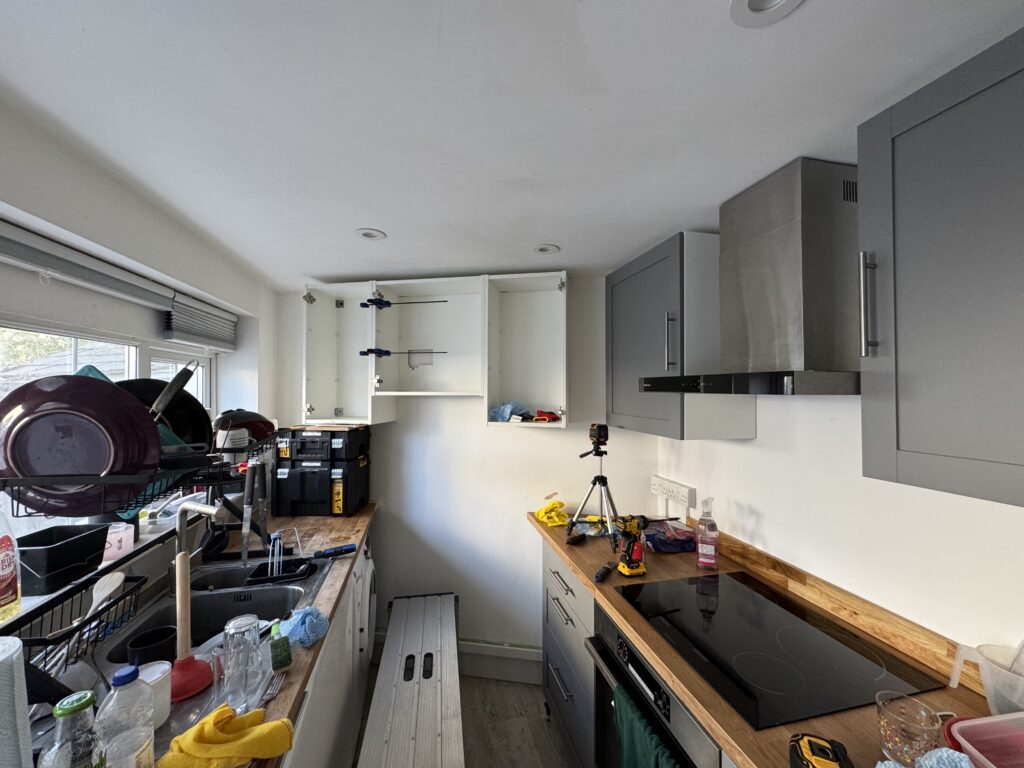
The first cupboard is always the easy one – in fact in my case the first three were pretty easy as all I needed to do was ensure they were perfectly aligned at the top which was a simple task with the laser level.
Where it got a little more tricky was the final three cupboard on the back wall of the kitchen. These were going to be mounted touching each other, so between a mix of the T-STAK lifting system (patent pending …. just kidding, just buy some lift jacks like I should have done) I had to secure each unit together with Irwin clamps so they remain level with one another during the fixing process.
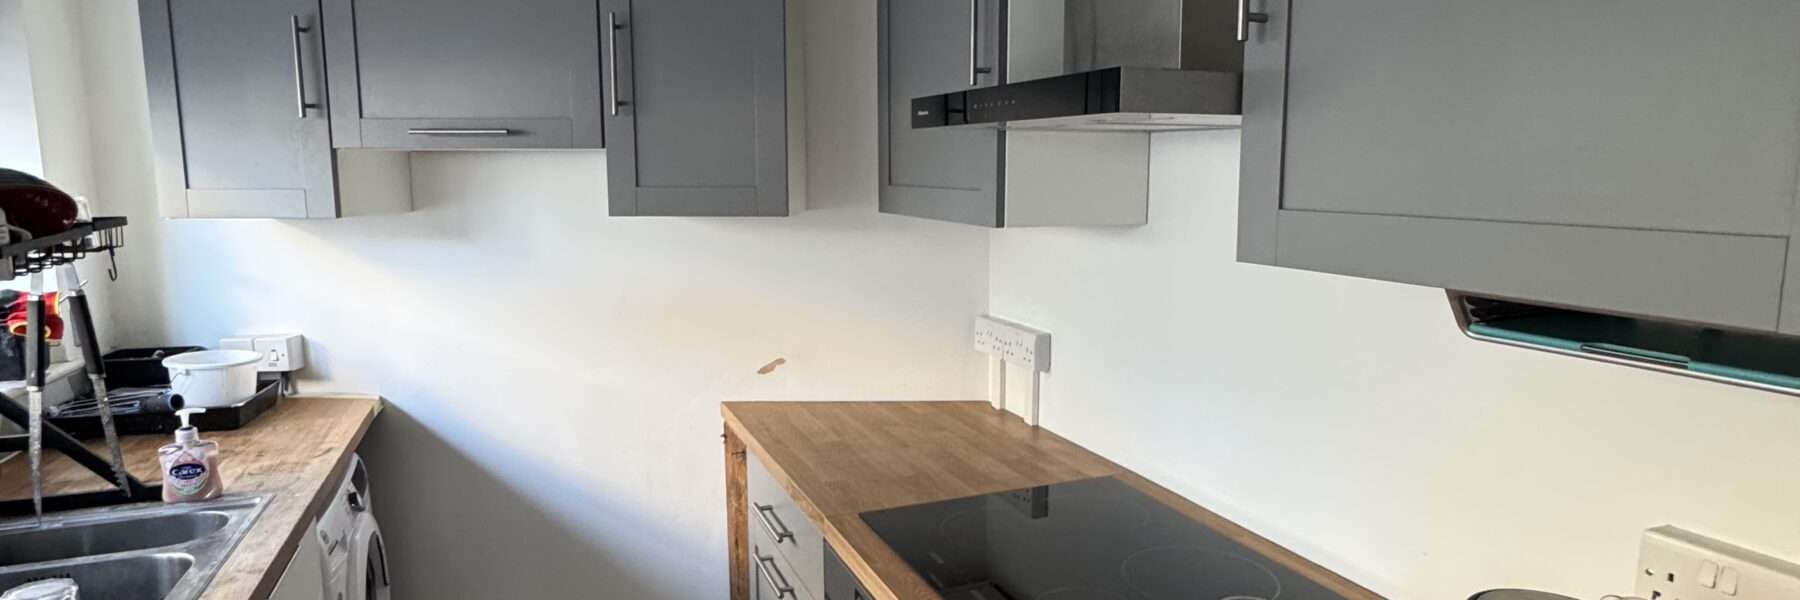
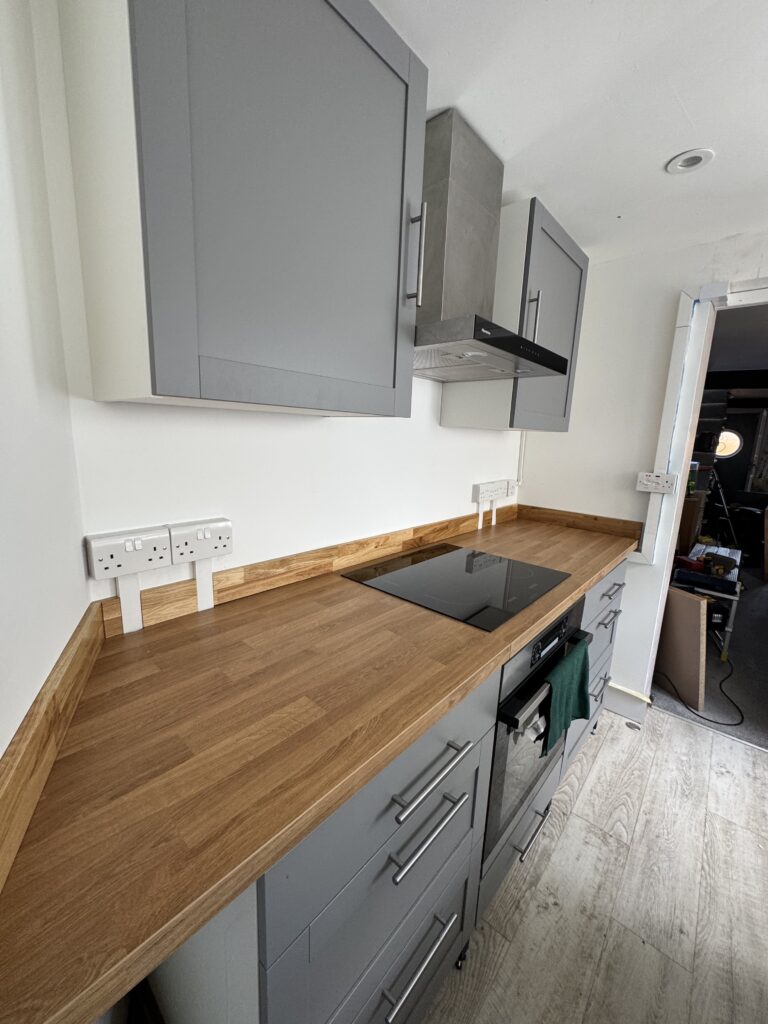
In the end it took me an afternoon to fit all of the cupboards to the wall and re-attach the doors and the end result as you will see from the photos in the gallery below looked pretty good.

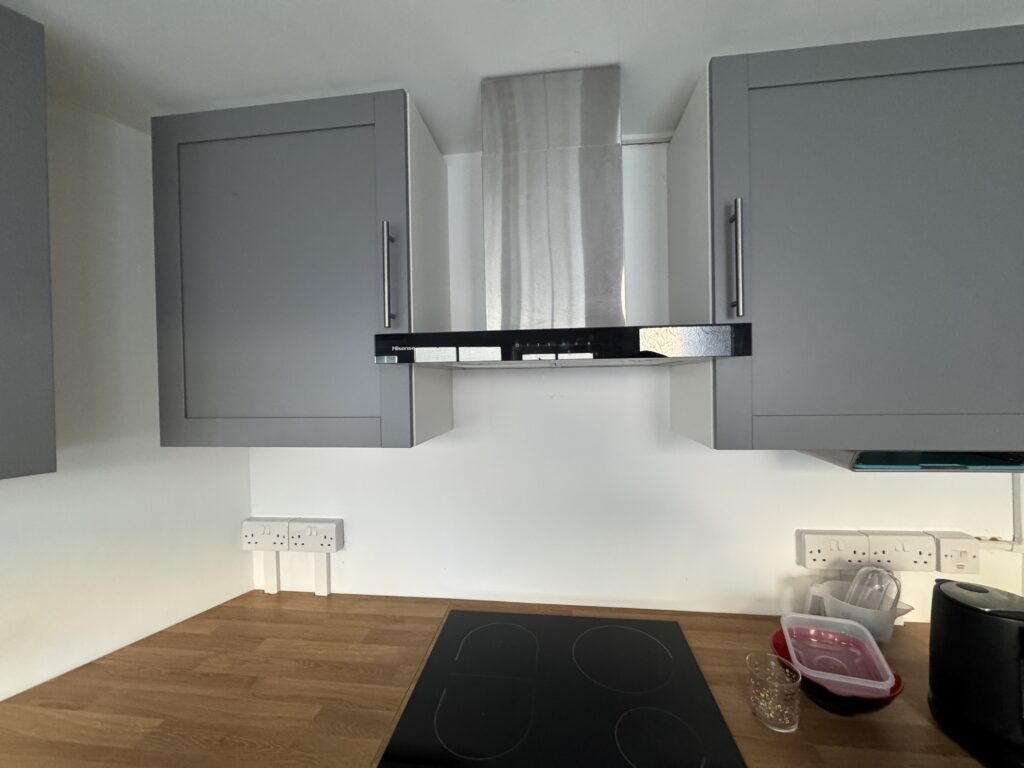
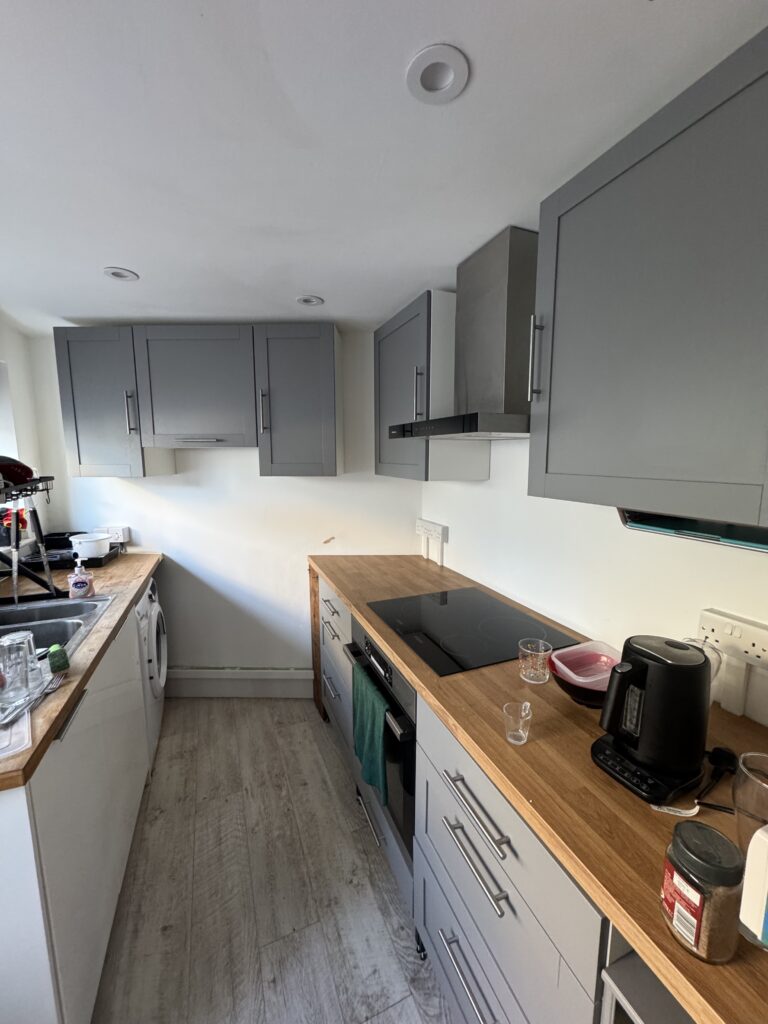
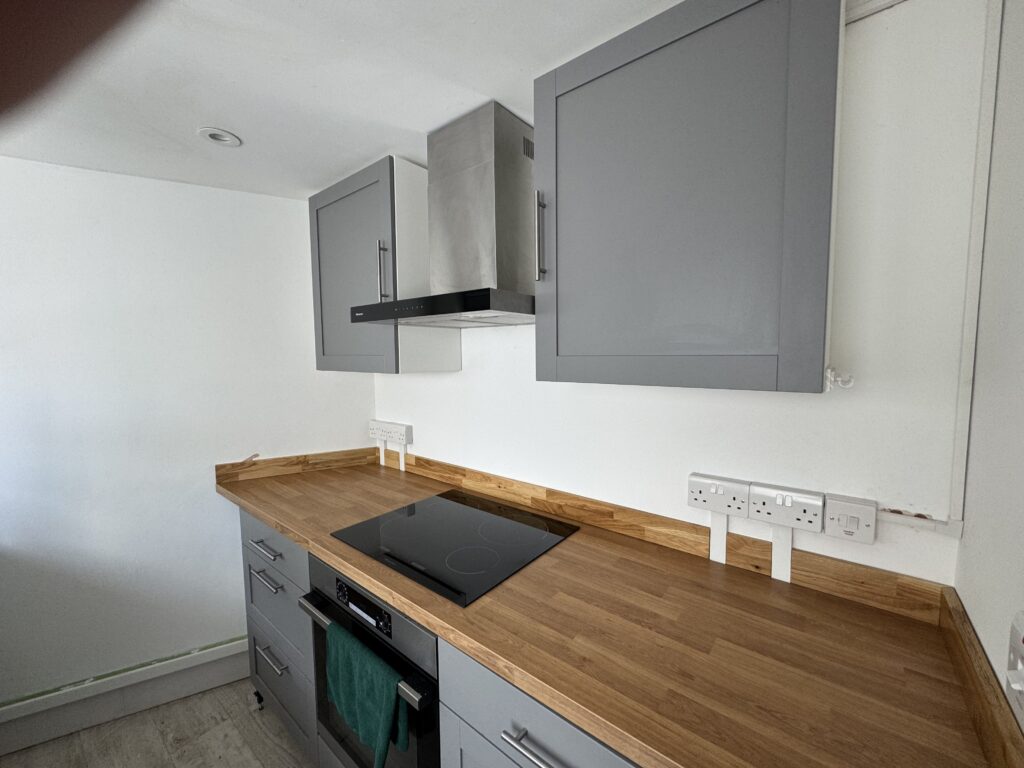
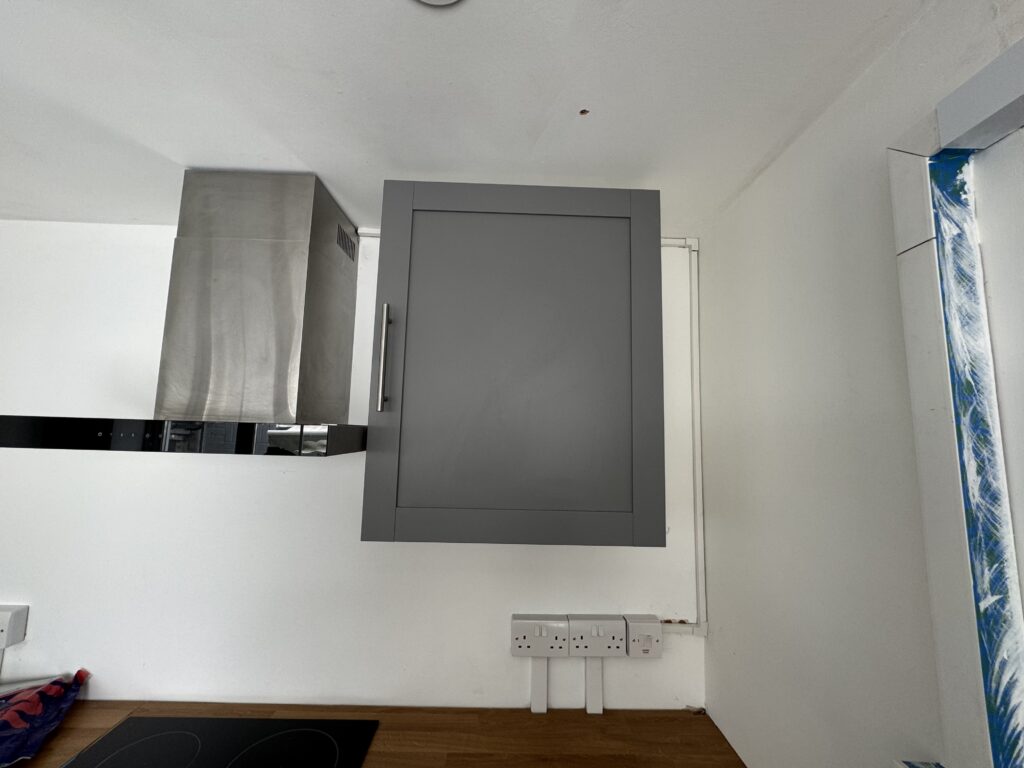
Of course, I wasn’t totally satisfied with the cupboards on the back wall.
Originally those were mounted over the hob and oven and made up a “C” shape as there was a crappy hood extractor in the recess in the old kitchen and now, in the new configuration of the kitchen the empty recess looked odd.
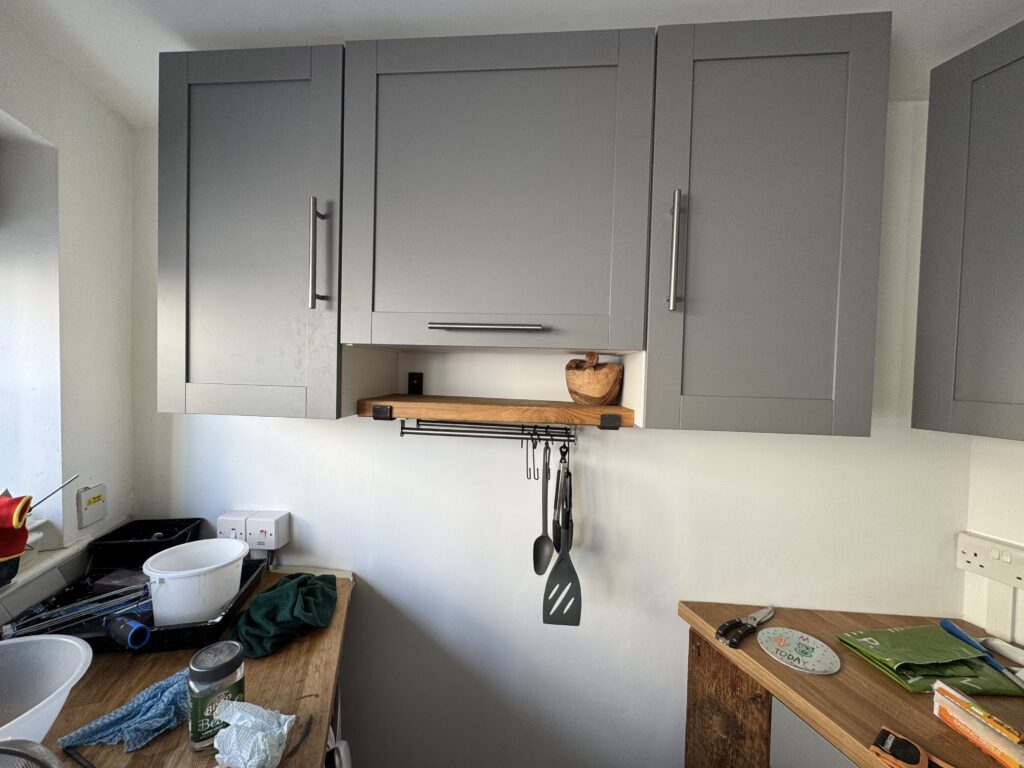
So after some pondering (have you noticed that in between finding things that are a ball ache I spend a lot of time “pondering” which is code of thinking “ok, what the fuck do I do with that“) I remembered that I had bought some reclaimed scaffold board which had been made into a lovely shelf from Etsi a while back which had some really nice wall brackets and I felt that it would look perfect as an under cupboard shelf – all I needed to do was cut it to size.
I also remembered that from the old kitchen the previous owner had some Ikea bar thingies which you could use with hooks to hang utensils on – so these were ideal to be fitted under the shelf (which you can see in the gallery above).
Make and fit a number custom shelving units
Rather than detail the build of the shelving in this post – I have detailed all of that work into its own project entry here:
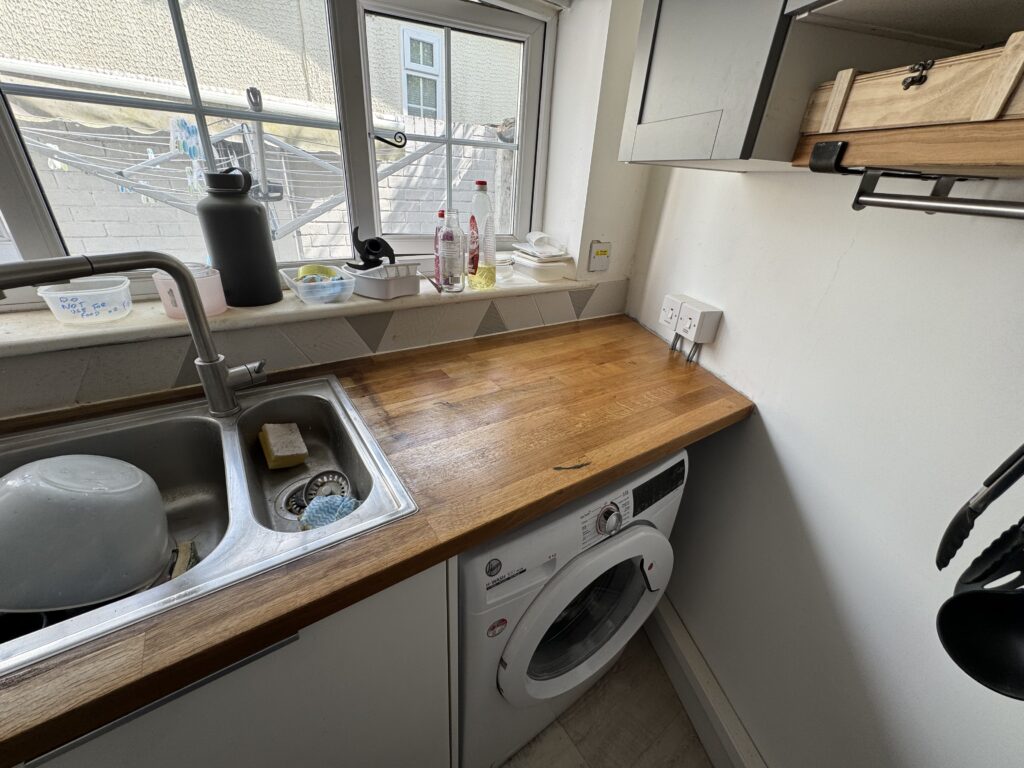
Sand and re-seal the existing sink counter top
This was both the easiest and most fun part of the entire refit.
Whilst I had ripped out pretty much all of the kitchen for the work – I had left the sink, its counter and cupboards in place. There were a couple of reasons for this:
- They had not been impacted by the damp.
- To take the sink and built in dishwasher out would have probably of been the end of me – as I DON’T DO PLUMBING (sorry for caps, it’s a pet hate).
The counter top to the sink was / is possibly one of the few things that the previous owner of the Shire got right. It’s not a solid bit of wood, but an Ikea wood laminate – so it’s their horrible mesh board with a layer of real wood over the top giving both the effect of it being real wood and Ash.
It’s a balance between aesthetically pleasing and cost.
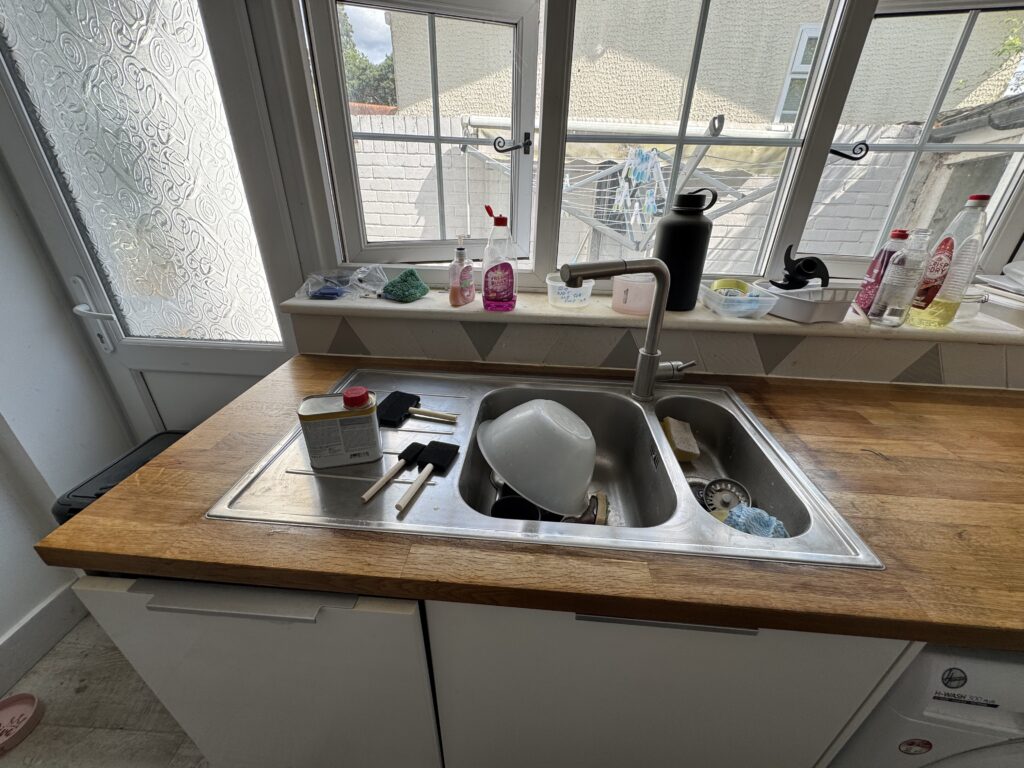
However, the thing that the previous owner DID get wrong was the complete and utter disrespect she treated it with!
I remember in one of my few conversations with her she said that she wasn’t much of a cook. I could tell that because of how the old kitchen was designed (totally impractical) and the fact that the sink counter top had some pretty horrendous burns welded into it’s surface.
She must of left pans that were close to the surface of the sun hot on the counters.
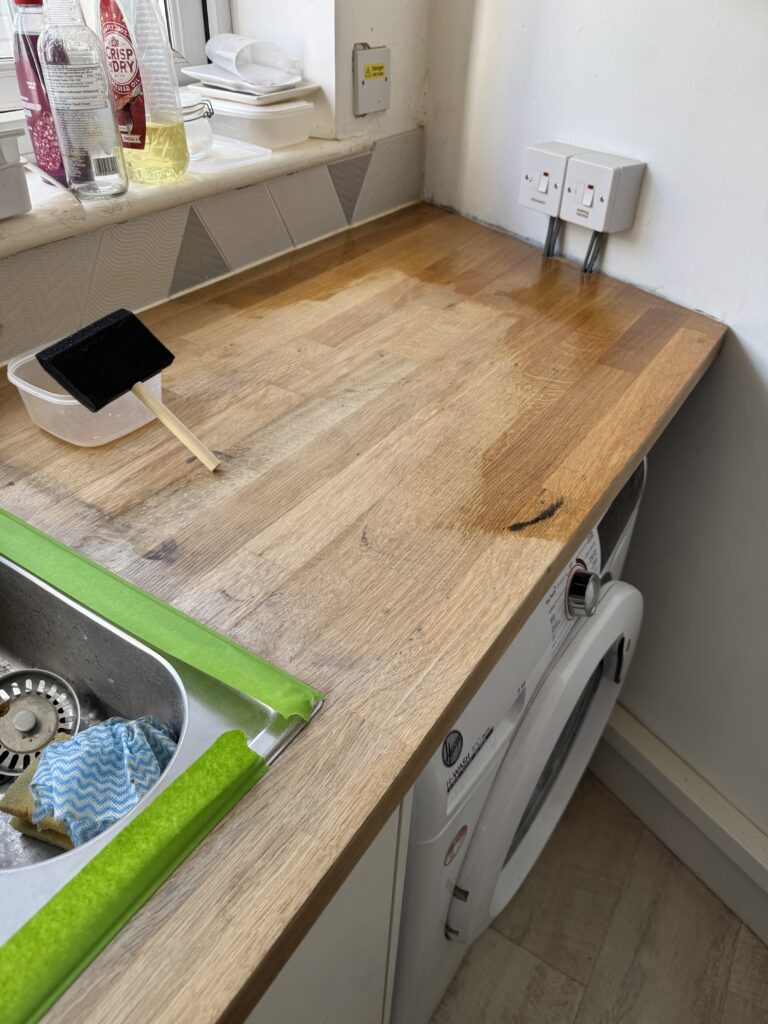
Anyhow, my plan was to sand the counter back in stages from 150 grit to 240. I needed to be gentle as my starting finish was already quite smooth and with it being a wood laminate I don’t have a lot to work with in terms of material depth loss. I was going to seal the counter top with a Clear Satin Osmo Top Oil which is food safe and really good for resisting moisture once it has fully cured.
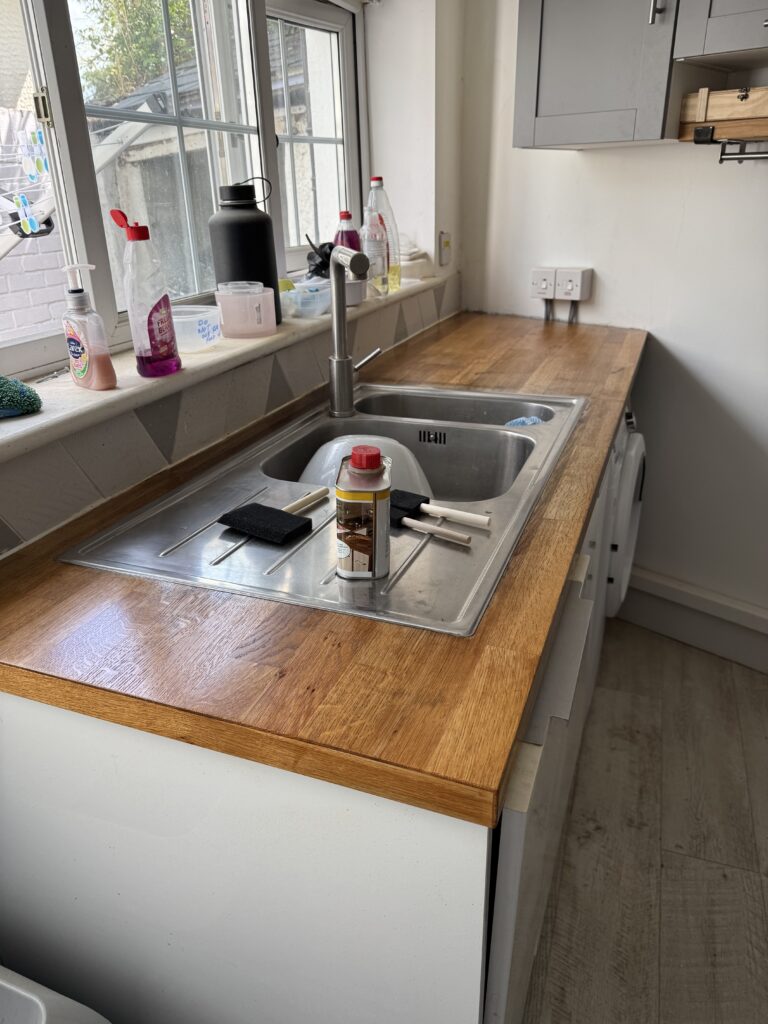
After sanding I applied three coats of the Oil – which was over a period of 3 days as you really do need to let that stuff dry for 24 hours and it takes about 3 weeks to cure.
For the application I used foam brushes which get a really nice finish, however you can use lint free cloths as an alternative.
I didn’t manage to get all of the “scorched Earth” burns out of the counter as I would have needed to sand too far back – but, what remained actually gave it a bit of character when sealed. I just need to remember to tell whoever takes over the Shire when I am done those weren’t mine as I am a better cook than that!
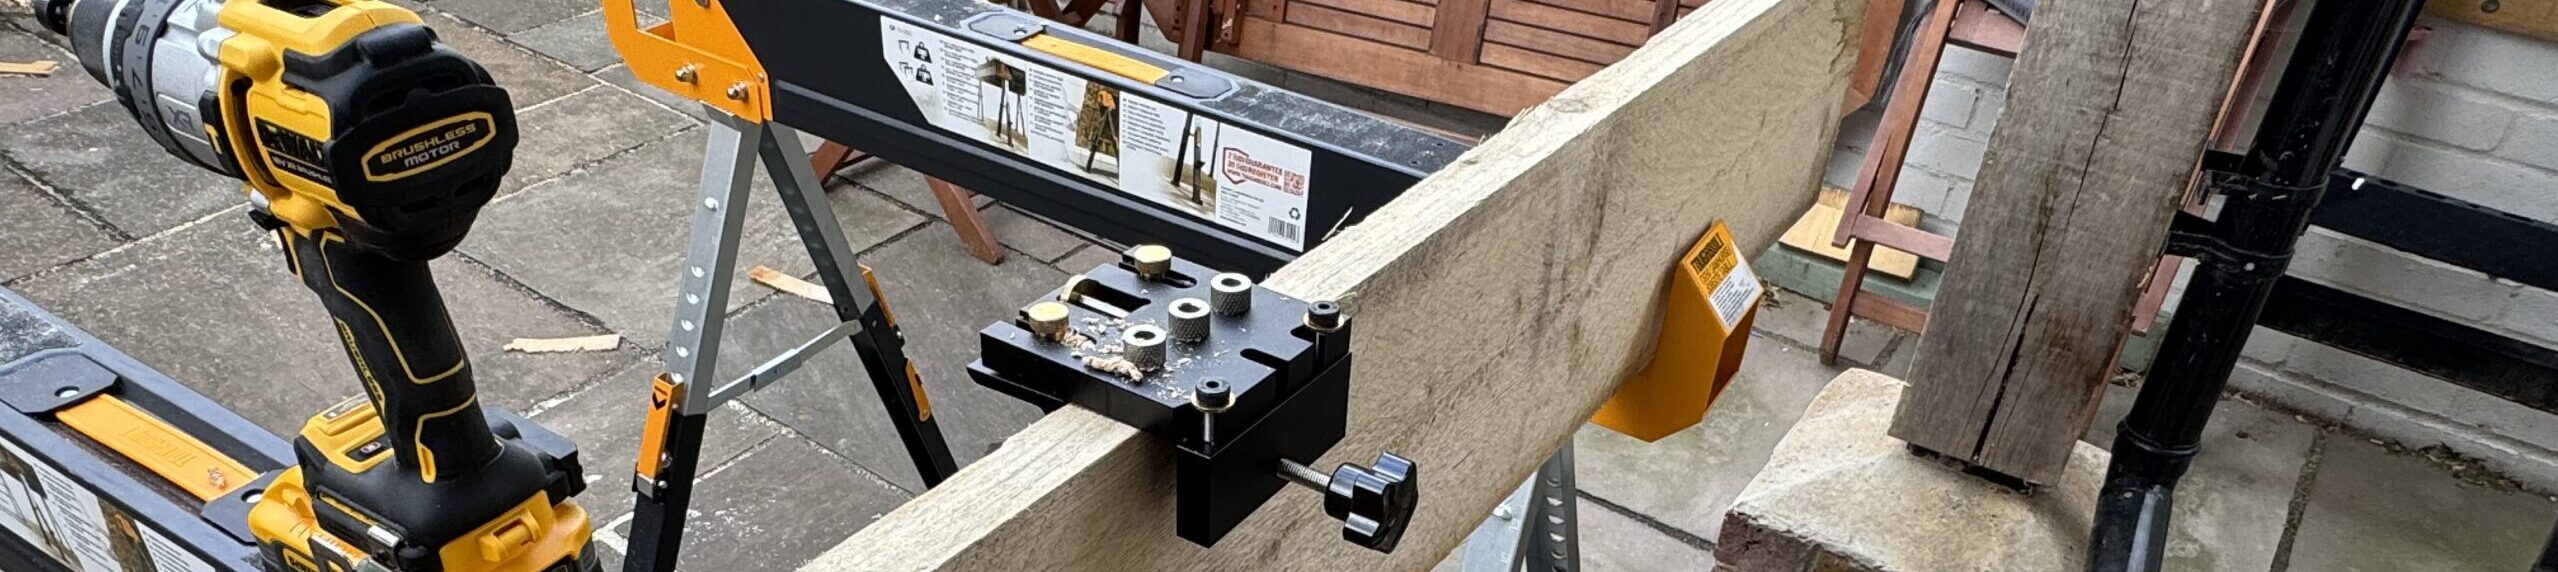
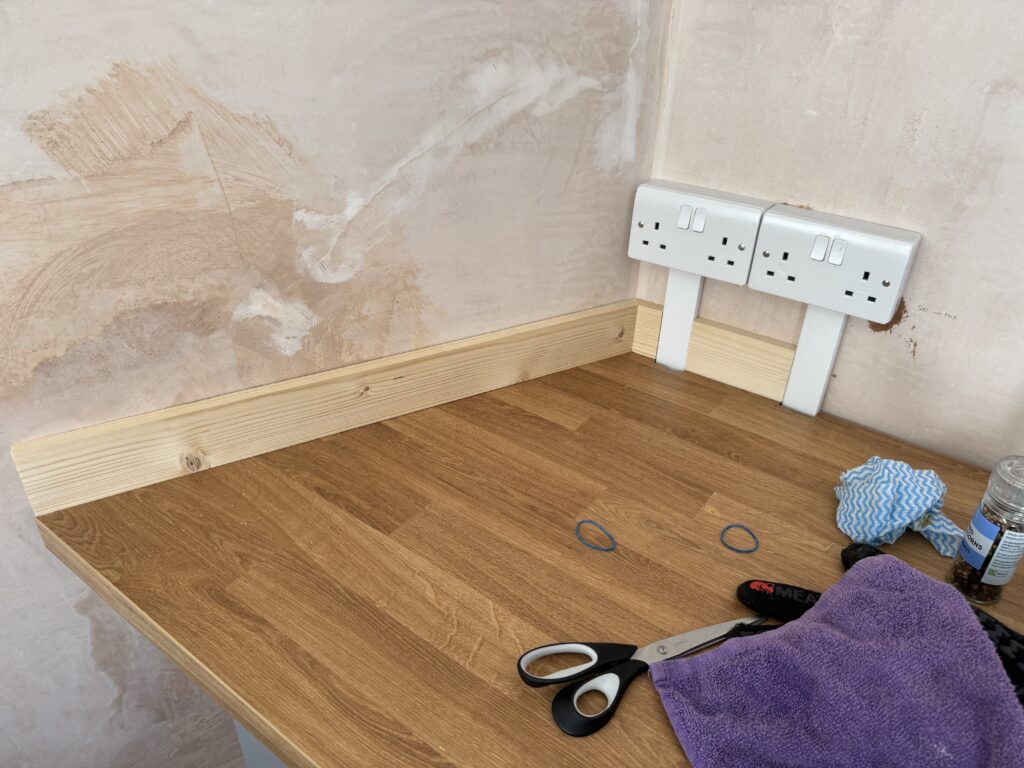
Cut, sand and fit counter up-stands & Fit a new Splash back for the hob
On the one hand – I had a lot of fun doing these, on the other it was one of the most nerve wracking experiences I have had on my DIY journey.
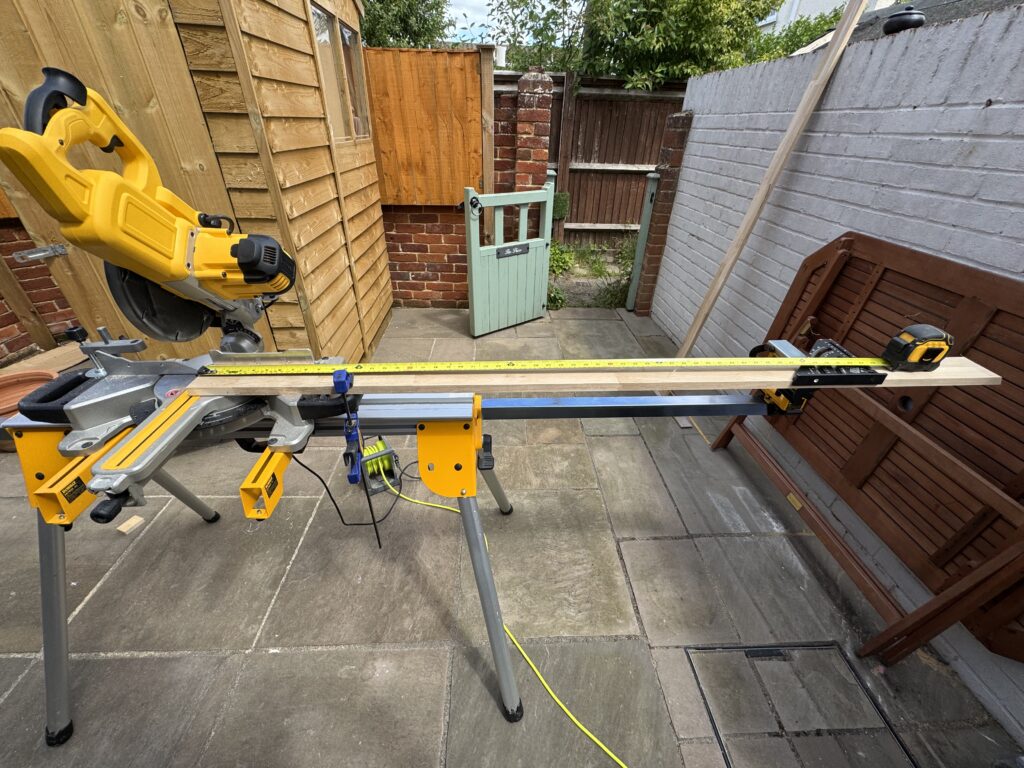
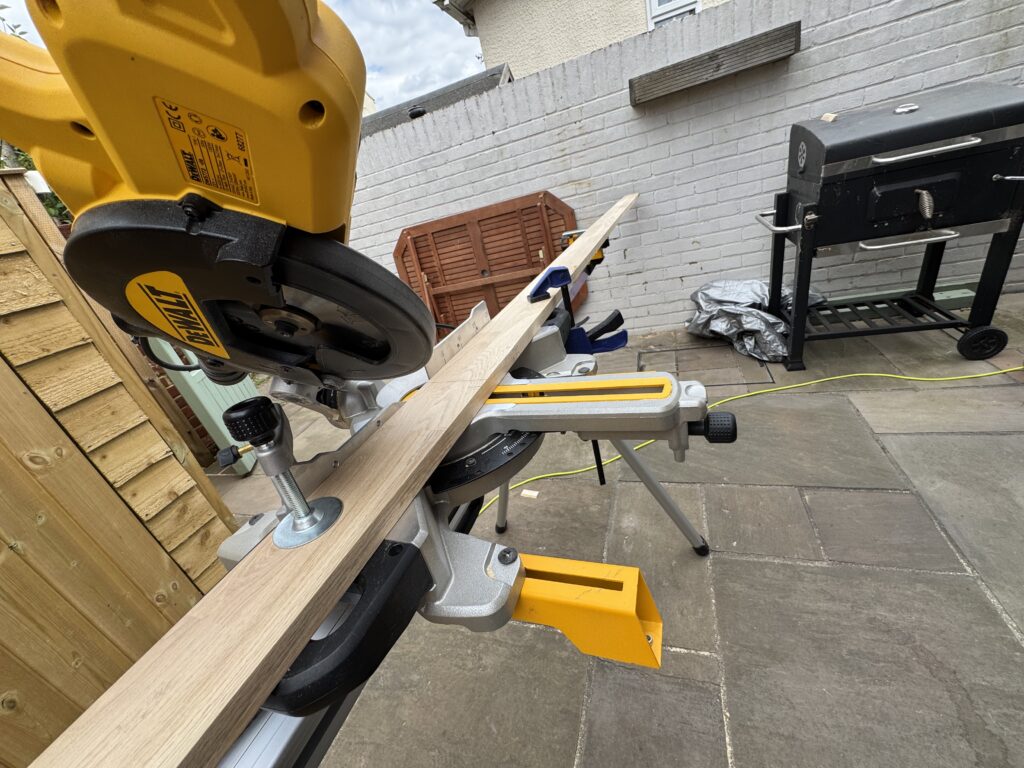
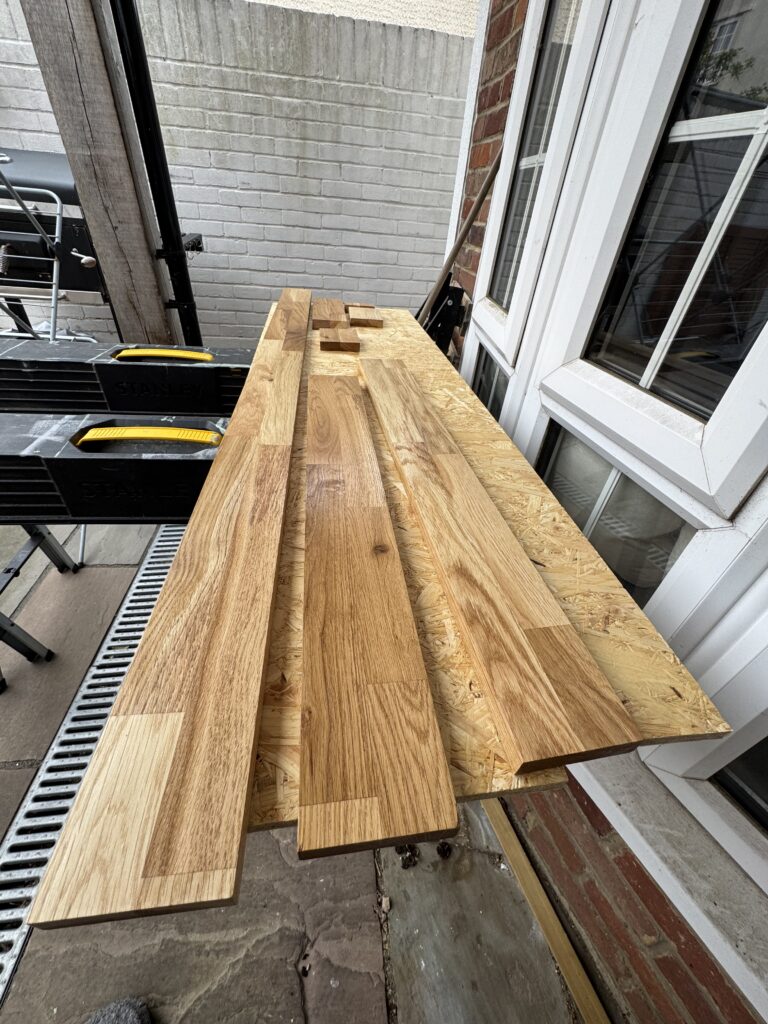
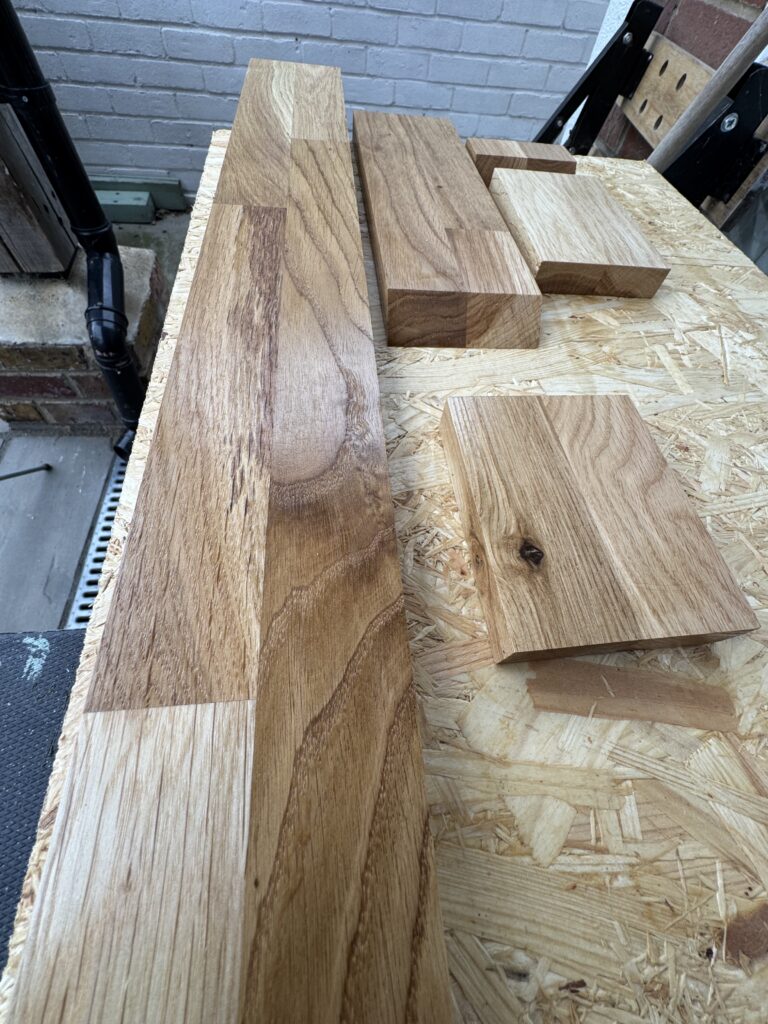
I had selected Ash to be the up-stands. Ash is bloody expensive. Bloody expensive means no mistakes. I have a Kitchen where the walls are out of plumb and really odd angles – so that means lots of math for the cutting!
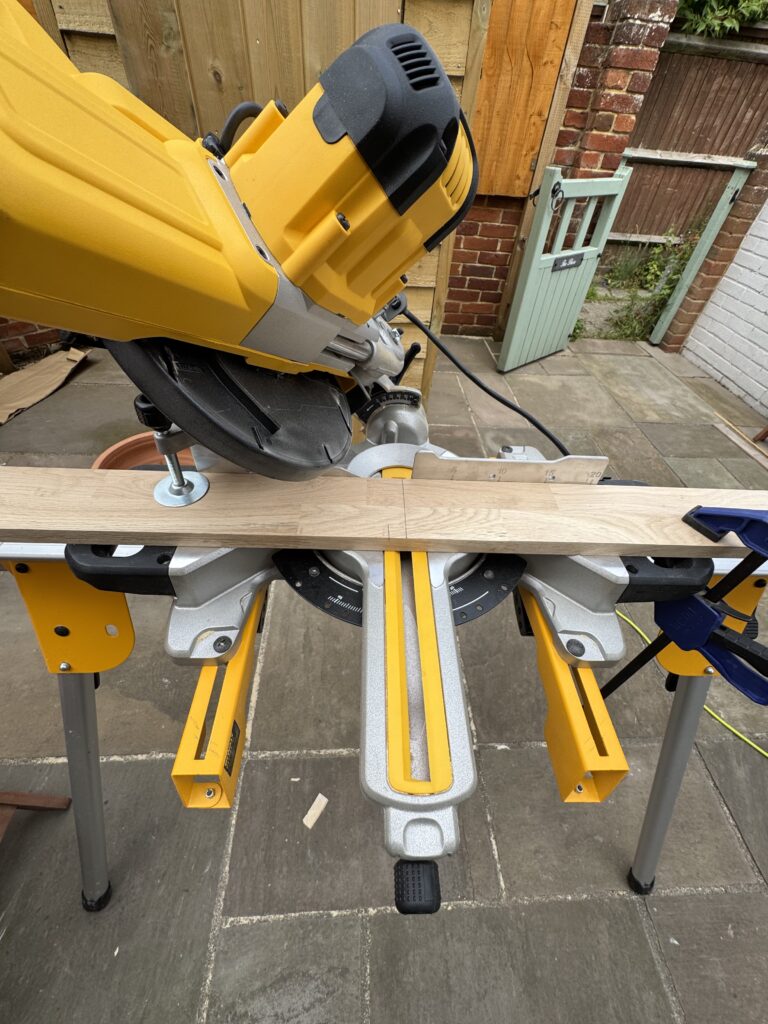
So I bottled it. I wasn’t going to “raw dog” the expensive stuff with my Miter Saw – I did the initial cuts using some off cut pine that I had left over from a previous project, which I am glad that I did as those angles were hard to measure and I did fuck up a few times – but – I got there and was ready to cut the Ash.
Thankfully, because of the practice I managed to get all the parts of the counter splash back cut without drama – so it was then onto using my old friend the Osmo Oil to seal them. I didn’t need to sand the material as it was supplied with a sanded finish so it was straight into the three days of applying the oil.
I have to say that they came up lovely with a nice satin sheen to them.
Fixing them to the walls was super easy as – I just used some no more nails and they were on there for good!
Now – the bit that you may think that I have forgotten to cover is the Splash Back for the hob and you’d be right.
There was a little bit of a story here.
I had planned to re-use my old Splash Back and I even carefully removed it from the paneling that it lived on in the old kitchen (it had been stuck on). However, after I installed the extractor and the cupboards I totally forgot to take into account the measurements for the Splash Back – so guess what …. it didn’t fit!
Doh!
I decided to order a new one as it was a new kitchen and I liked to notion of the starting afresh. So I popped over to Splashbacks.uk (who I have used before) and had a new, custom designed one made.
My plan was to show me fitting it … but … it arrived like this:

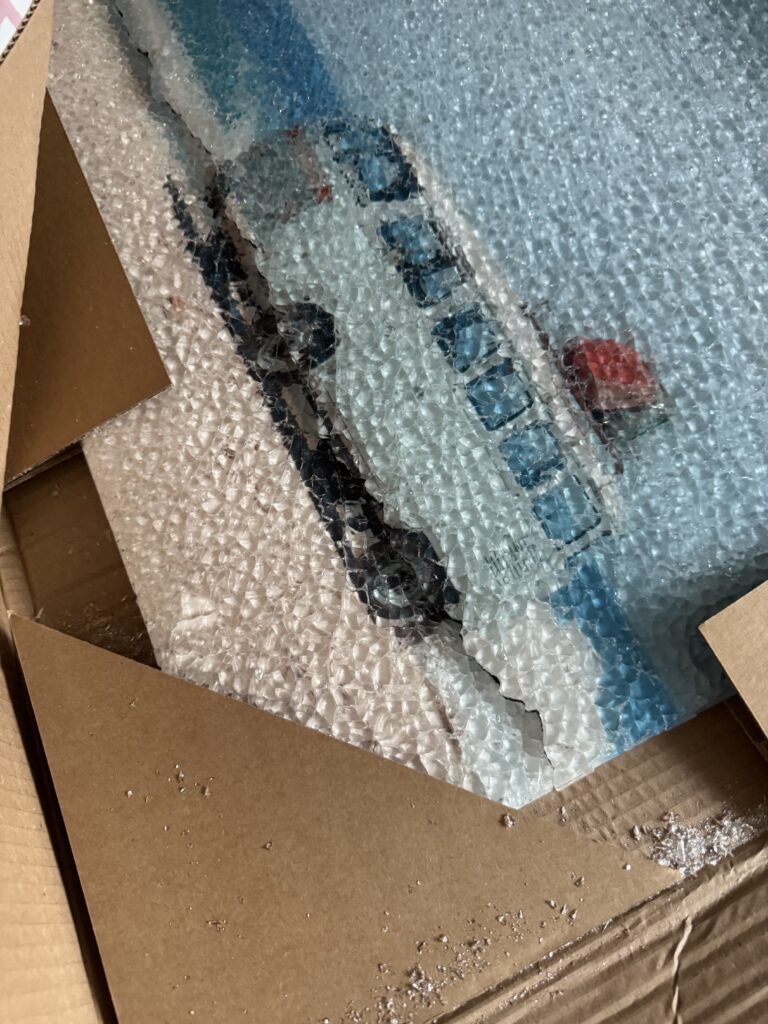
From reviewing my Ring Door cam and Security Camera footage it looked like the delivery driver was basically Ace Ventura and managed to smash it as they were walking into my front garden.
So, a re-order was needed and between manufacturing and delivery that was another 7 days so I didn’t get any photos of me fitting it.
Customer service from Splashbacks is second to none. I popped them over the photos above after the delivery and within 10 minutes I had an email from them saying they had put through an order to make a replacement.
I cheekily asked them if I could make a small modification to the dimensions from the original order (as I had made a slight mistake) and again within 10 minutes said that was no problem.
They rushed through the replacement (I got it within 7 days – but normal delivery was around 2 weeks). They really are a good company to deal with.
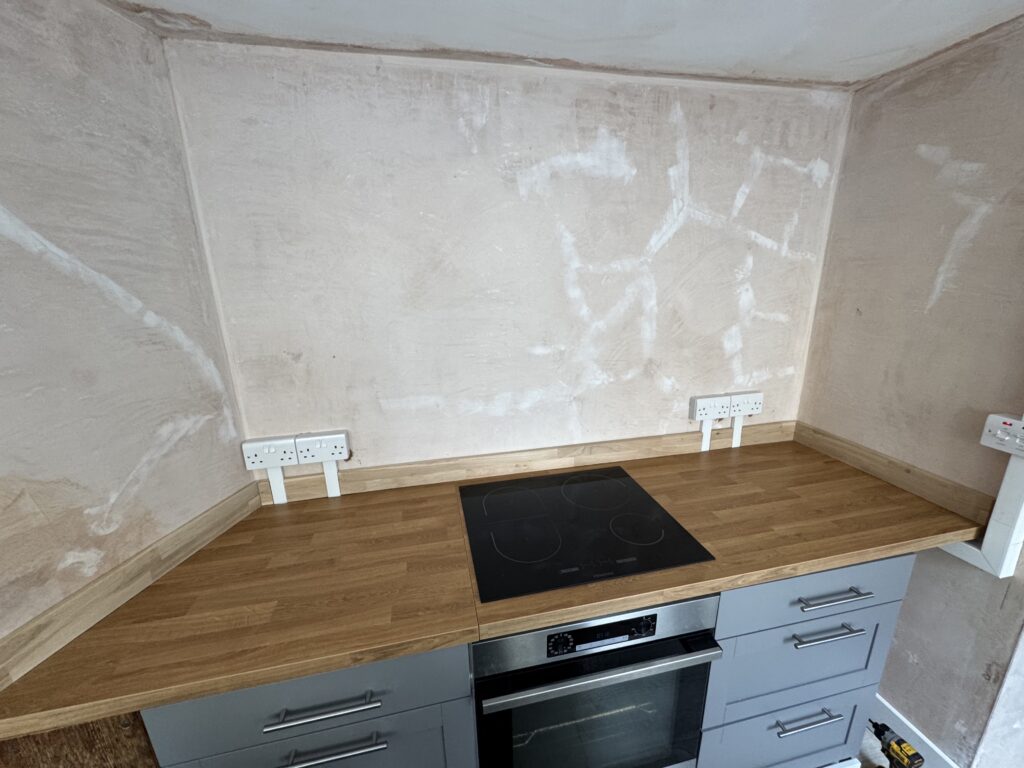
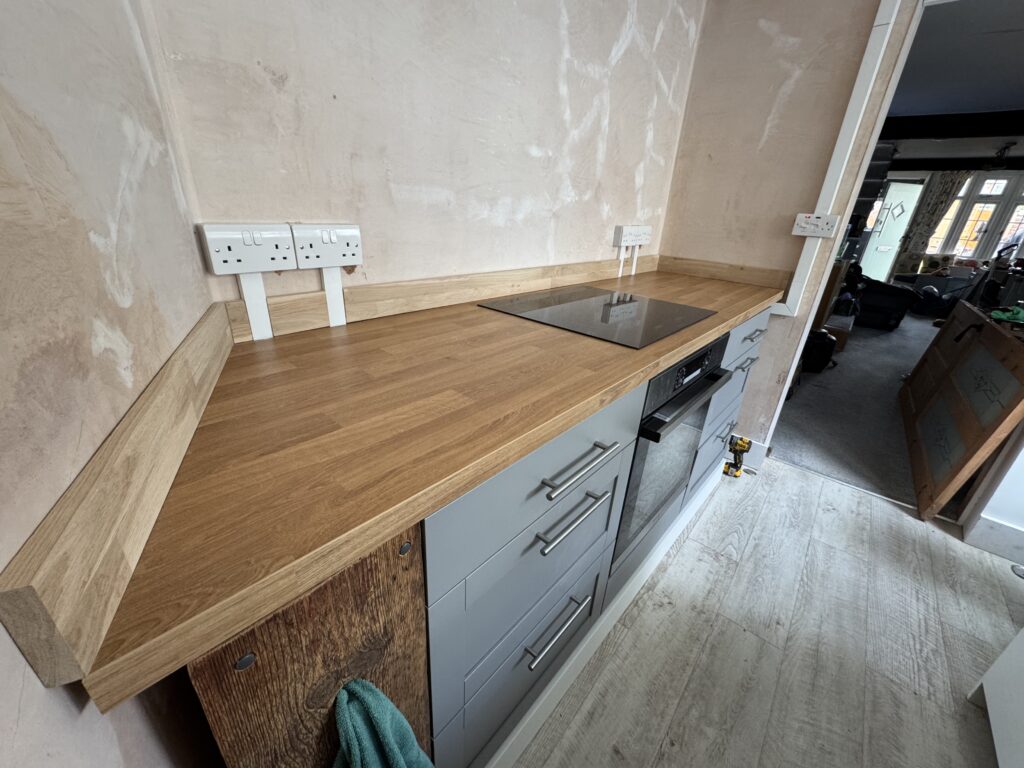
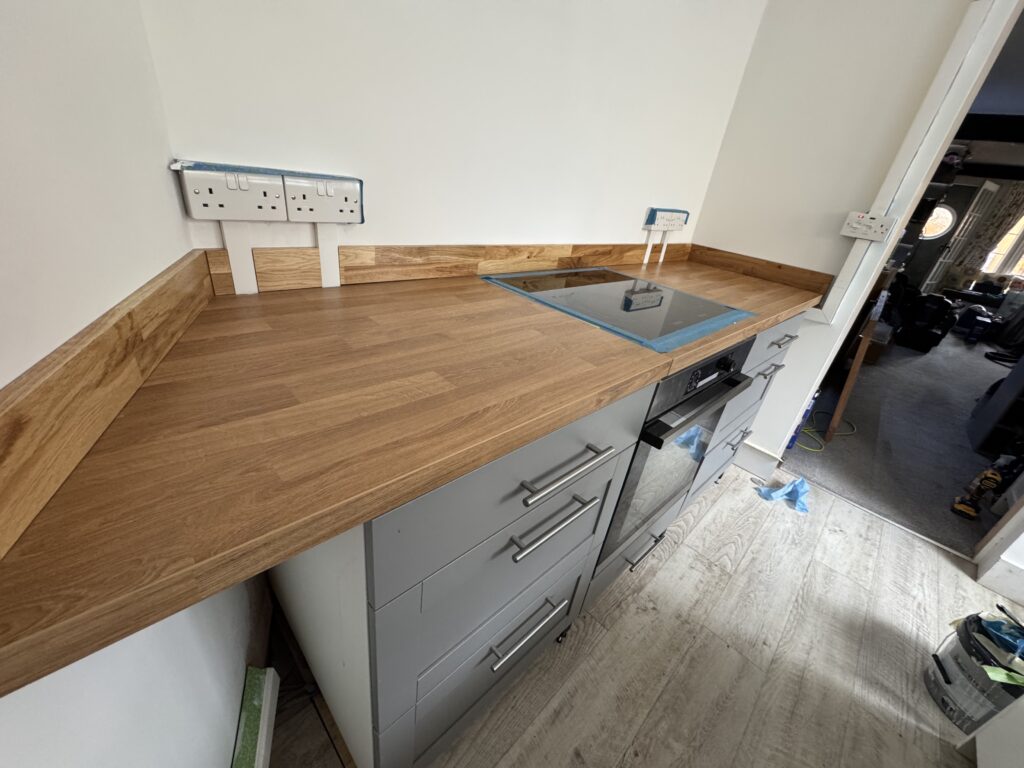
So with the up-stands now fitted that was pretty much the main works to the kitchen project completed.
In the final part I will mainly just show off how the finished article looked.