
Project Specifics:
Projects costs and Difficulty Rating:
Project Specifics / Unit Costs | Totals |
Difficulty | |
Units, Counters and Handles | £805.00 |
Cable Ties | £3.24 |
Cooker Hood | £179.00 |
Cooker Hood Fused Spur | £5.17 |
3A Fuses | £2.18 |
Deta TTE Trunking 16 x 16 | £5.15 |
Deta TTE Angles 16 x 16 | £3.58 |
Deta TTE Trunking 38 x 16 | 19.56 |
Crabtree 50A Unswitched Cooker Outlet Plate | £6.49 |
Prysmian 2.5mm Twin and Earth Cable 50m | £47.10 |
Prysmian 6mm Twin and Earth Cable 10m | £26.49 |
Deta TTE Maxi 50 x 50 Trunking | £49.99 |
Deta TTE Flat Trunking Angles 50 x 50 | £19.88 |
Sika Stixall Extream Power Sealant | £29.96 |
Sockets and Pattress Boxes | £32.02 |
Counter Waxing | £5.00 |
Custom made shelving | £50.00 |
General Purpose OSB Board 11 x 1220 x 2440 | £21.00 |
Membrane 4 x 3m | £22.00 |
Screws and Rawlplugs | £30.00 |
Dulux Supermatt Emulsion Paint 10L | £45.00 |
Project Total: | £1407.84 |
So at the start of the Spring 2025 I started my kitchen refit. I won’t bore you here about the circumstances which led up to needing the said refit – all I will say is that it involves the empty cottage next door, horrendous damp and I covered off a lot of that history (including ripping the old kitchen out) here.
For the purposes of this project I started out with an empty kitchen which had been out of action at the time for about four months. I cannot tell you how boring a diet of take away, Air Fryer and Microwave meals get. It was a miracle that by the end of it my lad and I weren’t a good 20 stone heavier!
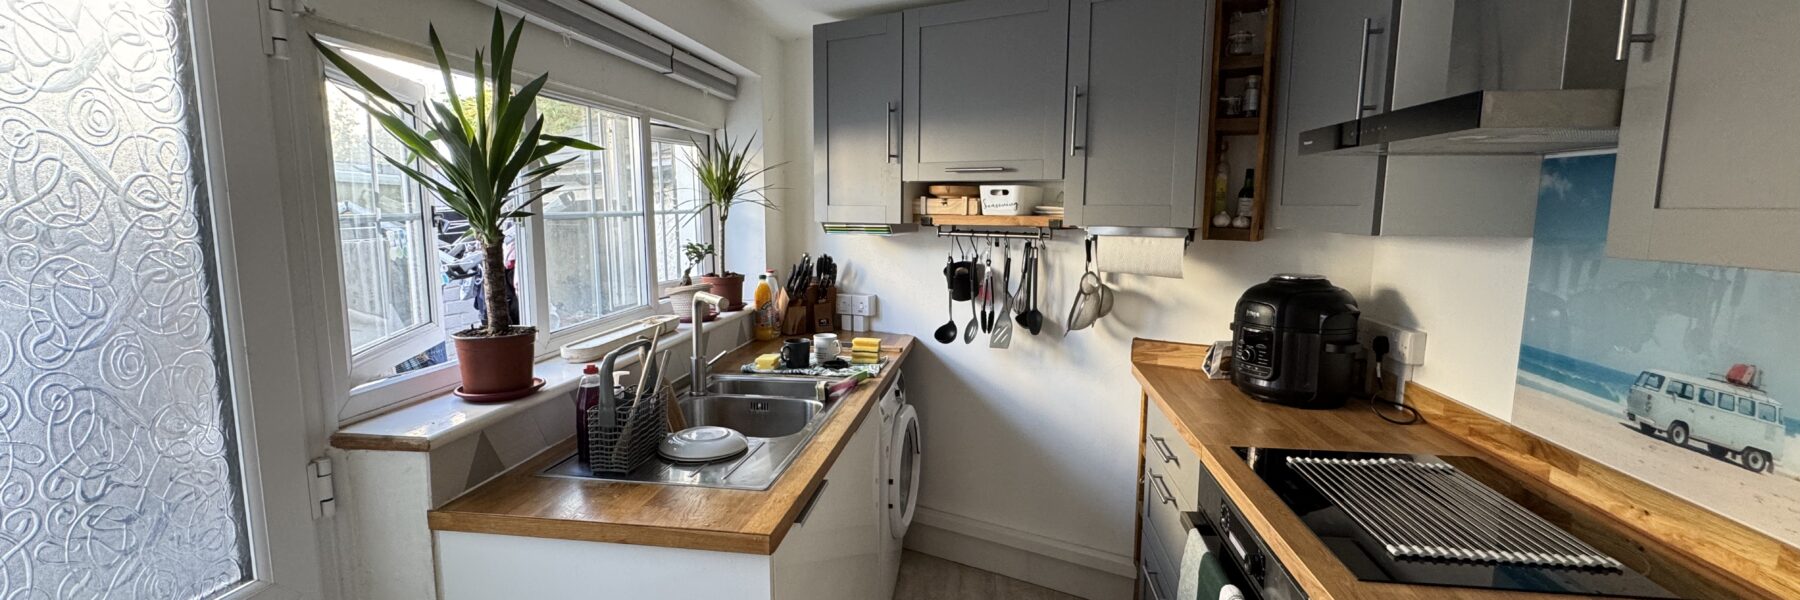
The idea that I had in my head for the final article was a typical “Cottage like, galley kitchen with a modern take” – yep, that was the whole premise that I started out with and then just started randomly buying stuff that kind of fitted that brief – Ikea made a hell of a lot of money out of me that day!
Anyhow – the specifics of the project were as such:
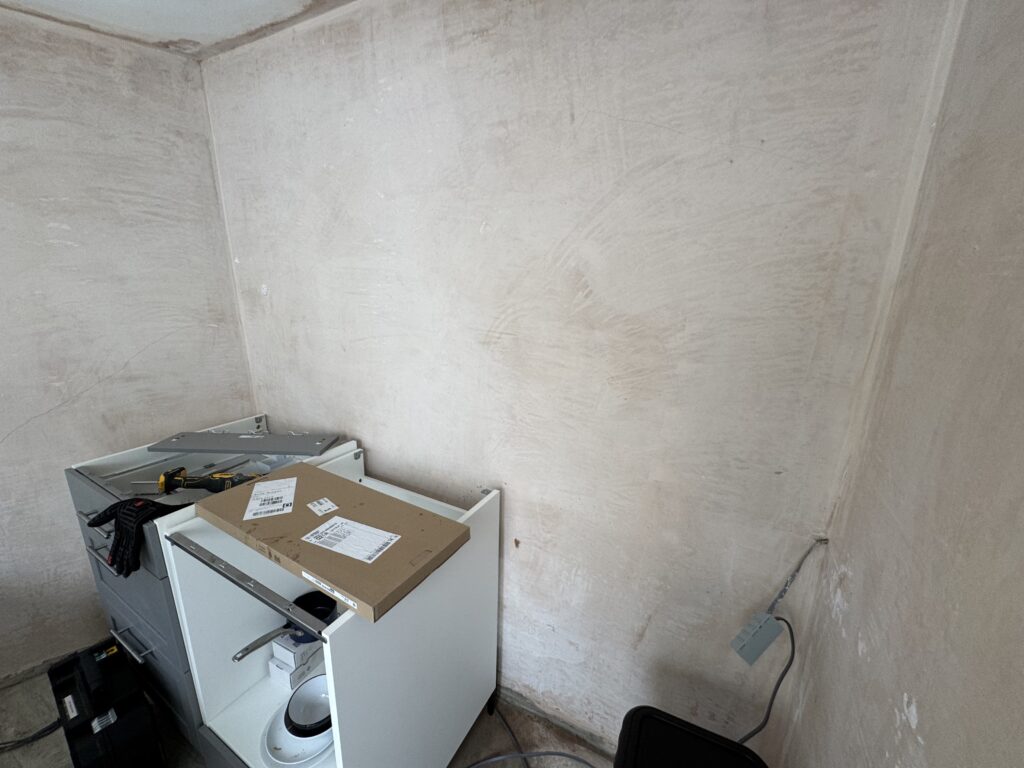
- The kitchen was effectively a “greenfield” site – all that was present were freshly plastered walls. All units and electrics had been removed.
- I needed to (and this isn’t in the order that did the work):
- Re-install the new oven and hob feed: and upgrade the termination plate from 25A to 50A (the original Sparky put a 25A plate in which was pointless as the breaker is rated at 40A). You could argue that was for safety – but given that the induction hob could in theory pull 32amps and the oven being rated at 2Kw (around 8 amps) – you’d be over what the termination plate could handle. Of course, in reality using the rules around divergence you should never get anywhere near the full 40amps (limit of the breaker), but with the outlet rated at 25A you could get near that quite easily if cooking a big meal and burn that out.
- Re-install the kitchen socket ring: – I had needed to remove the entire kitchen ring as part of the preparation for the tanking work. I had left in place the T & E cable from the board which was the origin of the ring. I needed to install a number of new double sockets as the original kitchen only had two (yes – you read that right – two sockets for the entire kitchen!). I wanted to have at least 4.Given the previous problems that I had with the old kitchen I also wanted ALL of the electrical to be surface mounted and in PVC (trunking) containment – I didn’t want anything chased into the walls again. Whereas you could argue that choice was unsightly it meant that the electrical system was by and large protected from the damp which remained in the walls as taking doesn’t cure damp – it holds it back. It also meant that if there was any future damage to the electrical install it could be repaired with less effort.Finally in the old kitchen setup there were 4 un-fused spurs off the kitchen ring final (used for the fridge, dishwasher, washing machine and extractor) – this is a no-no in the UK so I wanted to replace all of them with above counter Fused Connection Units (FCUs) which in theory you can as many as you want as they are protected by their own 13A (for the dishwasher and washing machine) or 3A (for the cooker hood) fuse.
- Install a new extractor fan for the hob: The old extractor fan for the hob died after 3 uses. It was truly shit. I couldn’t find one which fitted (back then) exact measurements of the original cupboard layout so I went with some crazy German company called Klastein and quickly found out that their products were cheap for a reason. If you’re ever tempted to use them – just don’t – spend the money on a more widely known manufacturer!
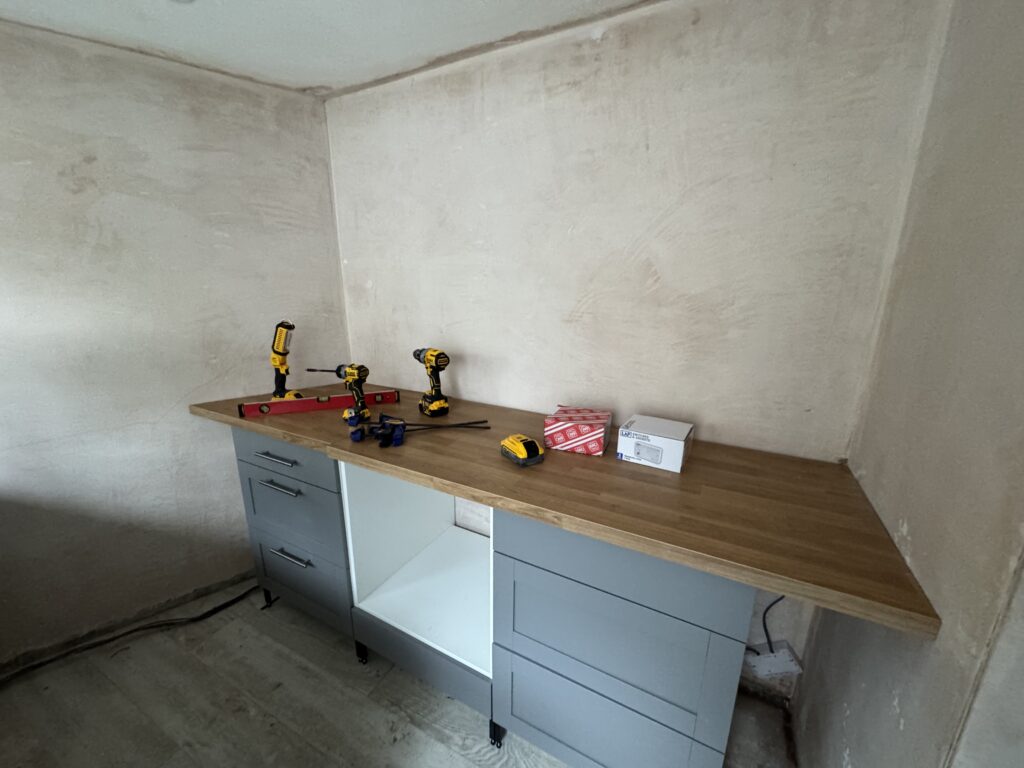
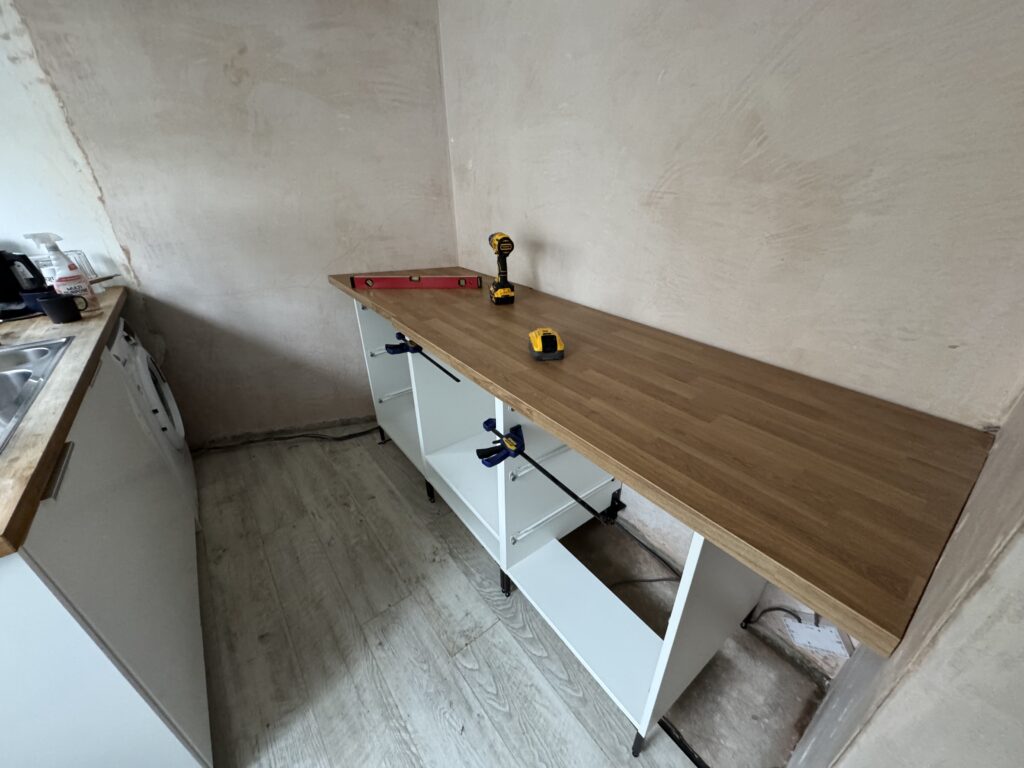
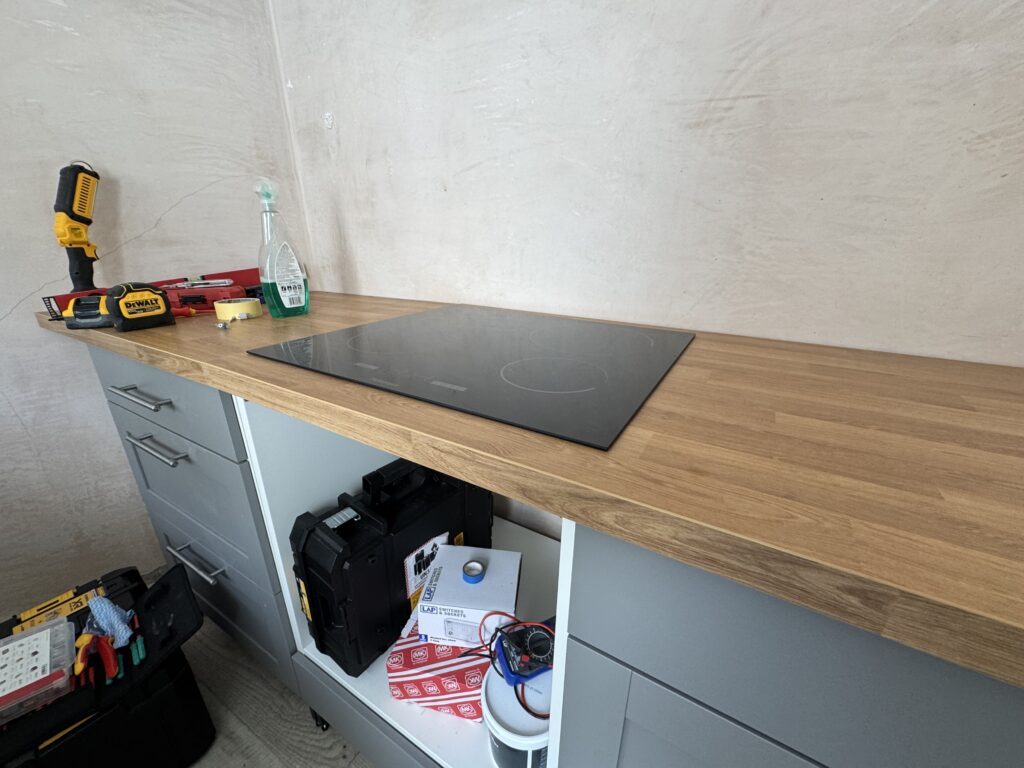
- Re-Install kitchen drawer units and counters: This also included a new unit for the oven and counter cut out for the Induction Hob. Originally when I bought the house the fridge was also in the kitchen – but I moved that out into the living space as I wanted more food preparation zones in the kitchen.
- Re-Install the cupboards: I had a few cupboards from the old kitchen that I could reuse and I bought a couple more take make up for sacrificing one floor standing unit which the damp had absolutely ravaged.
- Fit a new Splash back for the hob: The placement of cupboards that I had planned around the hob meant that whilst I was able to salvage the existing splash back – it no longer fitted so a new one was needed. Just as an aside here I can highly recommend Splashbacks UK – they are a decent company, with excellent customer service and quality products!
- Make and fit a number custom shelving units: The layout of both the drawer units and the cupboards left gaps in awkward places as my kitchen is an odd shape and size. Getting ready made units to fit would have been a challenge so I decided that I was going to make some.
- Sand and re-seal the existing sink counter top: Out of the old kitchen there was one area which was salvageable. This was the bit of the kitchen where the sink lived – which is along the outside wall. The sink is set into a lovely bit of Ceder counter top, however the previous owner of the Shire clearly treated it with complete contempt! There were burn marks on the counter top where hot pans had been placed down and it clearly needed some love – but was recoverable. So my plan here was to sand it back and then re-seal with Osmo Oil.
- Cut, sand and fit counter up-stands:The original kitchen’s work tops were just jointed to the walls using sealant. Basically – horrible. I bought some Ash up-stands and my intention was to miter those inline with the walls on top of the counters. The idea was a semi cosmetic thing – but also practical for spillages and splashes.
The sequencing:
I spent weeks planning out the sequencing as it was very important to ensure that the work that I was doing didn’t interfere between phases. The following was the plan that I was going to follow:
Step Number | Step Title | Description | Dependancie(s) |
1 | Paint walls and ceiling | Pretty self explanatory - post plastering (about 8 weeks) I needed to mist coat and then paint the walls with Dulux Supermatt. | NA |
2 | Cooker and Hob Electrical Feed. | Re-fitting the electrical feed from the CCU to the kitchen for the hob and oven. | 1 |
3 | Kitchen Electrical Ring Final | Re-installation of the Socket ring. | 1 |
4 | OSB floor panel, Drawer Units and Counter Tops | Levelling the floor for the kitchen drawer unit, fitting them and then installation the counter tops. | 2 & 3 |
5 | Induction Hob and Oven Installation | Installing the hob into the counter and the oven into the floor unit and then terminating to the supplies. | 2, 3 & 4 |
6 | Above counter top wall cupboards | Over the hob cupboards being affixed to the walls. | 2,3,4 & 5 |
7 | Extractor Electrical Feed | Wiring in the feed from the kitchen ring for the extractor fan. | 3, 4 & 6 |
8 | Extractor Installation | Physically installing the extractor and terminating its electrical connection. | 6 & 7 |
9 | Rear wall cupboard Installation | Installation of the cupboards along the back wall of the kitchen. | NA |
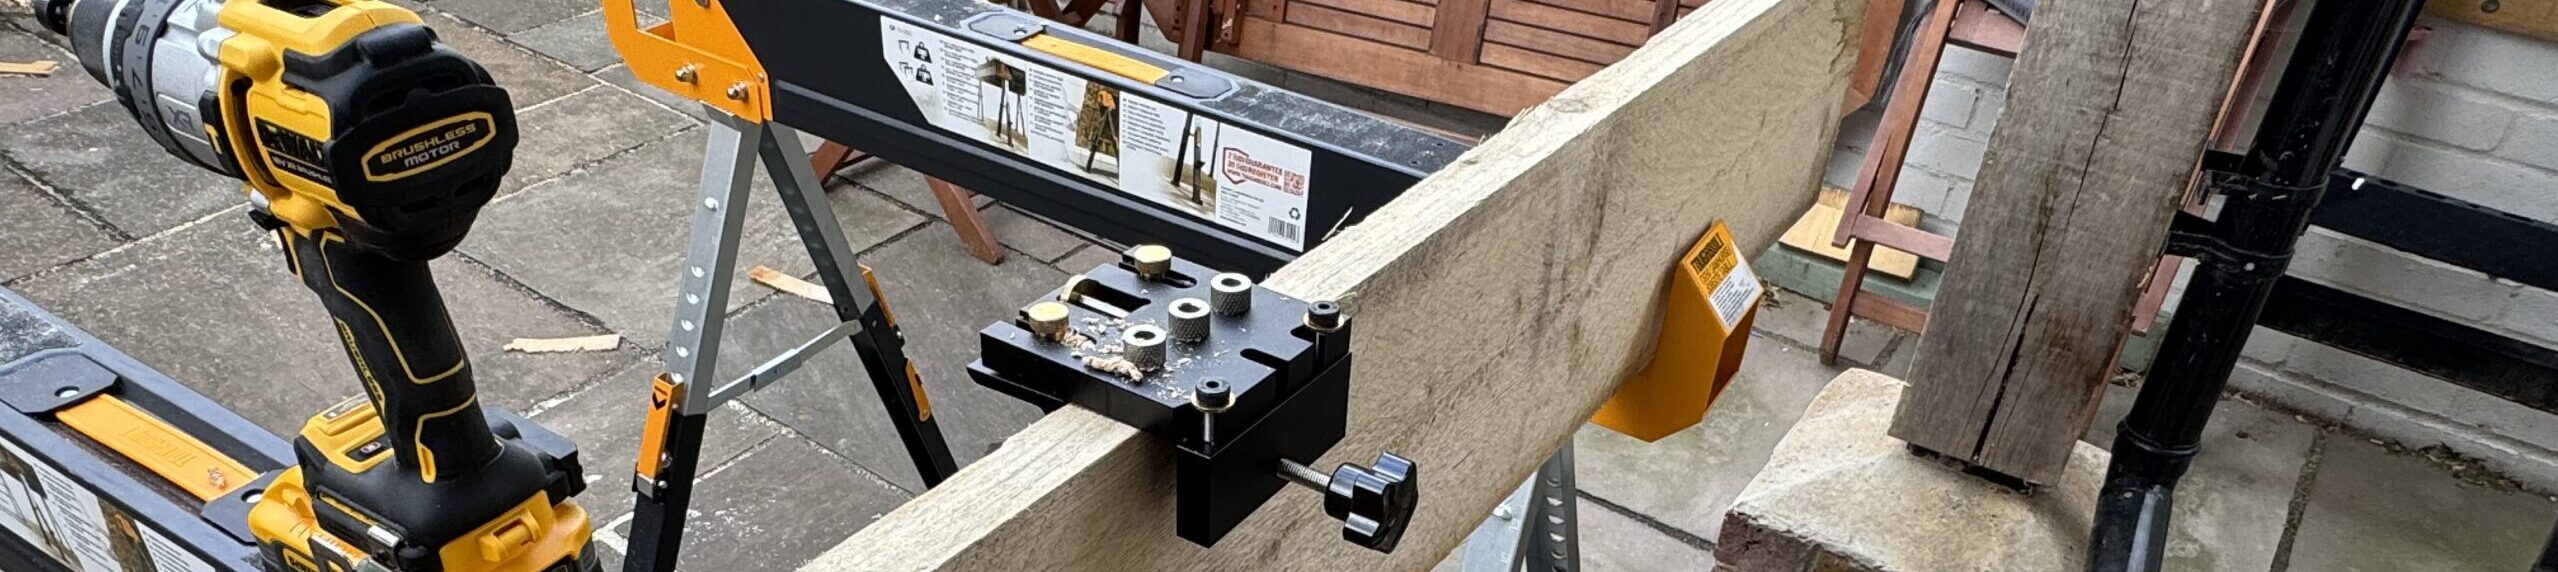
10 | Custom Shelving Builds | Design and making three custom shelving units. | 4, 6 |
11 | Sink Side Counter Sealing | Sanding down and re-sealing of the sink countertop. | NA |
12 | Cut, sand, stain and install counter upstands. | Cutting, sanding and staining of the upstands for the main food preparation counter top. | 6 |
Challenges & Considerations
Whilst I now had all the bits of this project defined and a sequencing that made sense – I had to consider some of the challenges – or – at the very least things that I needed to think about whilst doing the work.
The biggest of which was how to secure the drawer units, cupboards, extractor and electrical fixtures to the walls.
As the kitchen had been tanked and then skimmed – drilling into the walls to fit Rawl plugs could create a bridge between the damp layer and the tank, so whilst knew that I was going to have to drill some holes – I needed to strike a balance between as few as possible, but also ensure everything was secured safely.
My gut feeling was to drill required holes, clean them out, fill with a waterproof silicone sealant, insert the Rawl plug and then carry on as normal with the fixings – but I needed to check that was the right approach with the company who had done the work as I could invalidate the guarantee on the tank.
Thankfully they agreed with the idea and said that was actually the approach they recommend to customers to maintain the integrity of the installation – they even recommended Sika Stixall Extream Power Sealant which, from my experience is very good – it’s messy as hell – but, if you are drilling into slurry based tanking – use this stuff to fill the holes before you put the Rawl plug in.
Just as an aside on Rawl Plugs – on this project, in fact on pretty much every project which needs fixing into a wall, ceiling or fixed structure I use Fischer Duo – they are expensive – but they are worth the money as I have found that aside from being solid with great load bearing per plug potential, the wastage on insertion (e.g where you have to give it a little bit of encouragement with a rubber mallet and the bloody thing collapsing) is very, very low.
Tools used on this project:
Tools | Purpose | Model / Product |
Drill Driver | Drilling pilot holes for the screws and then driving those into place. | |
Electric Mitre Saw | Used as a chop saw for the shelving. | |
Palm Jig Saw | Used to cut notches for the shelving frame and also used to cut out the hole for the hob on the counter top. | |
Orbital Sander | Used to take timber from 80g to 180 and then finally 240. | |
Rubber Mallet | Used for fitting the shelving into position without leaving dents in the wood, also used for sending home the Rawl Plugs into the wall. | |
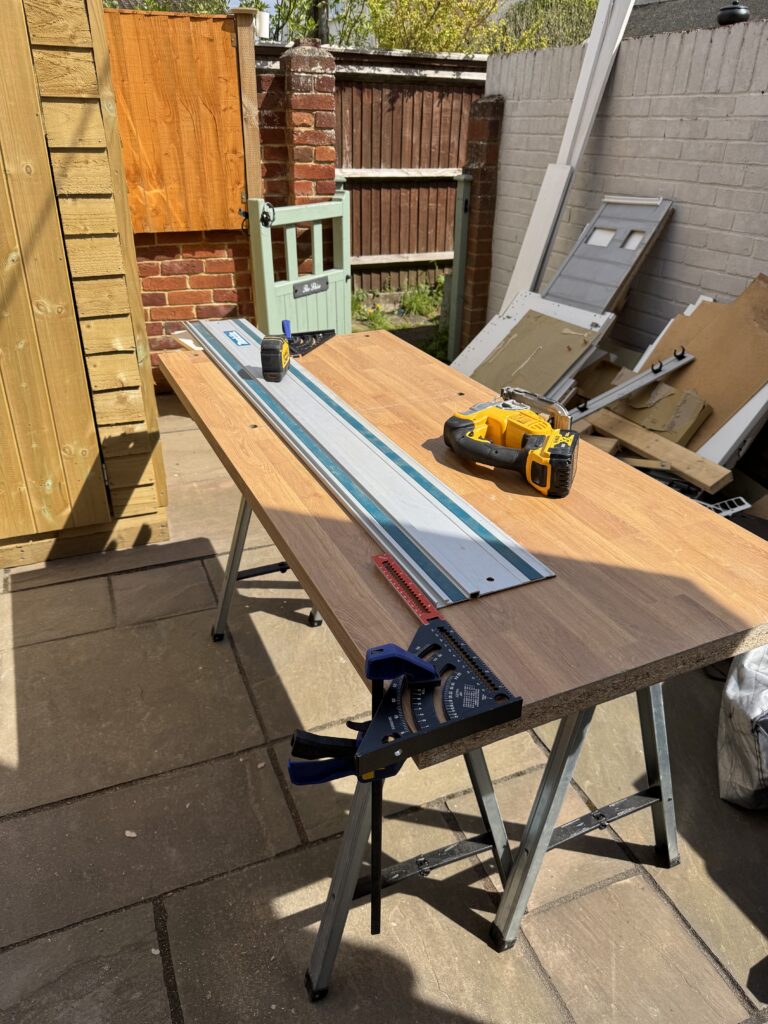
Circular Saw | Used for cutting the shelving frame boards to the correct size. | |
Irwin Clamps (x 6) | Used to clamp down material being worked on. Also used to hold material in position and level when being joined. | |
Speed Square | Used to make sure that elements are square before and after joining and hanging. | |
Spirit Level(s) | Used to make sure that various components were level. I used a number of different sized levels depending on the task they were being used for. | |
Magnusson Green Self-Levelling Cross-Line Laser Level | Used the ensure that the Cooker hood, cupboards and shelving was level. | |
Saw Horses | Used as the main base to support all the materials whilst being worked on. I have a new set of ToughBuilts which will appear in the list on future projects. | |
Wera Kraftform Kompakt 17 Extra Slim 1 Tool Finder VDE Interchangeable Insulated Screwdriver Set 17 Pieces | Part of my electrical tool set - used to terminate outlets and with the Knipex pliers which are supplied strip and manipulate cable. | |
Fluke Non-Contact Voltage Detector Pen 1000V AC | Used to do a first check of the presence of voltage whilst re-fitting the kitchen ring. However NOT used to confirm that current is present. | |
Fluke AC/DC Electrical Tester 100A | Used to confirm end point safe isolation - e.g. using the probes and clips to ensure that the wire that I might have been working on were dead. | |
Knipex Self-Adjusting Wire Strippers 7" | Used to accurately strip the T & E inner conductors. | |
DEWALT 10m Tape Measure | Used to measure just about everything! Bulky but accurate and very clear markings! | |
Werner Aluminium 500mm x 1.15m Folding Work Platform | Stable, lightweight raised platform for working at height - also used as a horse for working with materials inside. | |
Milwaukee SHOCKWAVE 1/4" Hex Shank Mixed Impact Duty Bit Set CD D/Drive 40 Pieces | Cracking bits set which includes pilot drill bits and extended shaft adapters for getting into difficult spaces. | |
DEWALT Right Angle Drill Adaptor, FlexTorq, 4-in-1 System, Compact, Straight Flexible Shaft, 12-Inch | Used for fitting shelving in very tight spaces. |
Project Part Gallery:
Summary for this part:
Well that is the scene set for what was one of the biggest projects that I have taken on to date!
Between April and July 2025 my lad and I were without a Kitchen which was quite entertaining on so many levels. Our living room looked like a warehouse for Ikea and Wickes, but ultimately we got there. In the next parts I will take you through how we did it.