In part 1 of the write up of this project I took you through the design and basic build stages and in this part I will cover the installation of the Kindling basket, the staining and fitting into place in the living area.
Well, I say that I will cover the staining – I won’t … that’s just boring and who wants to look at pictures of that? What I will say is that if you want to know the type of Stain that I use have a look at Part 1 and I apply it using these Foam Brushes.
The key tips that I would pass on about this Osmo stain is:
- Sand the material to no more than 240 grit.
- Apply it thinly.
- Go with the grain.
- Get some lint free clothes to remove excess and do that again along the grain of the wood.
- Always use gloves during application. Its not dangerous stuff per se (e.g you wouldn’t want to drink it), but it can irritate and hang around on your skin for a while.
Anyhow – back to the film ….
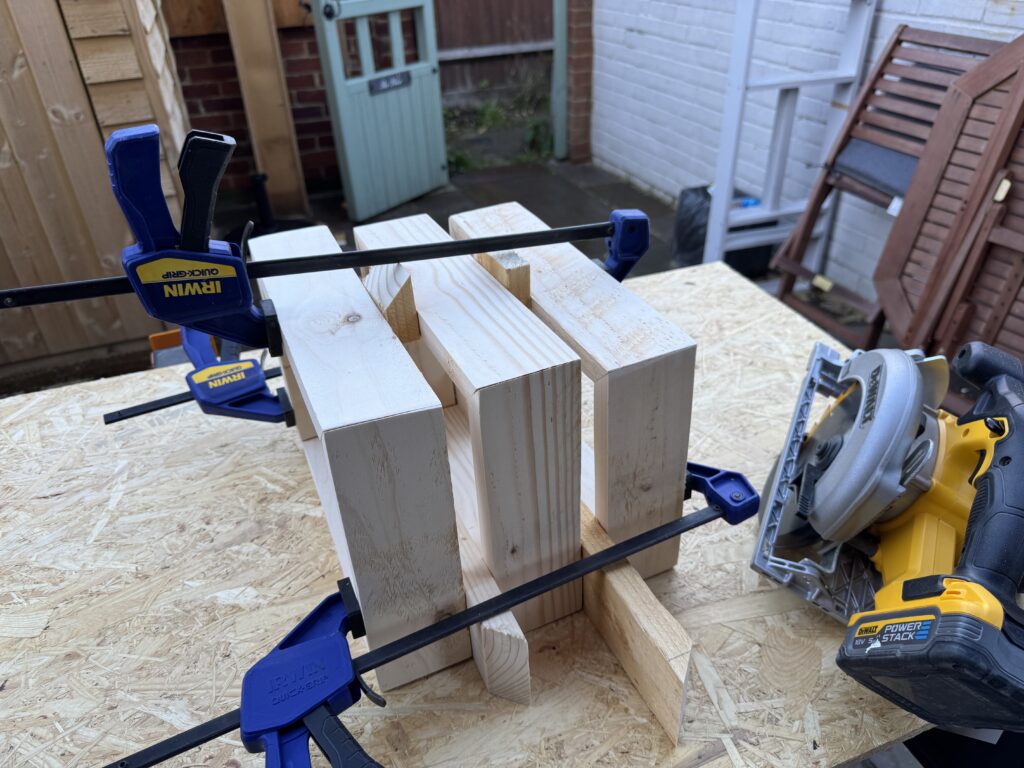
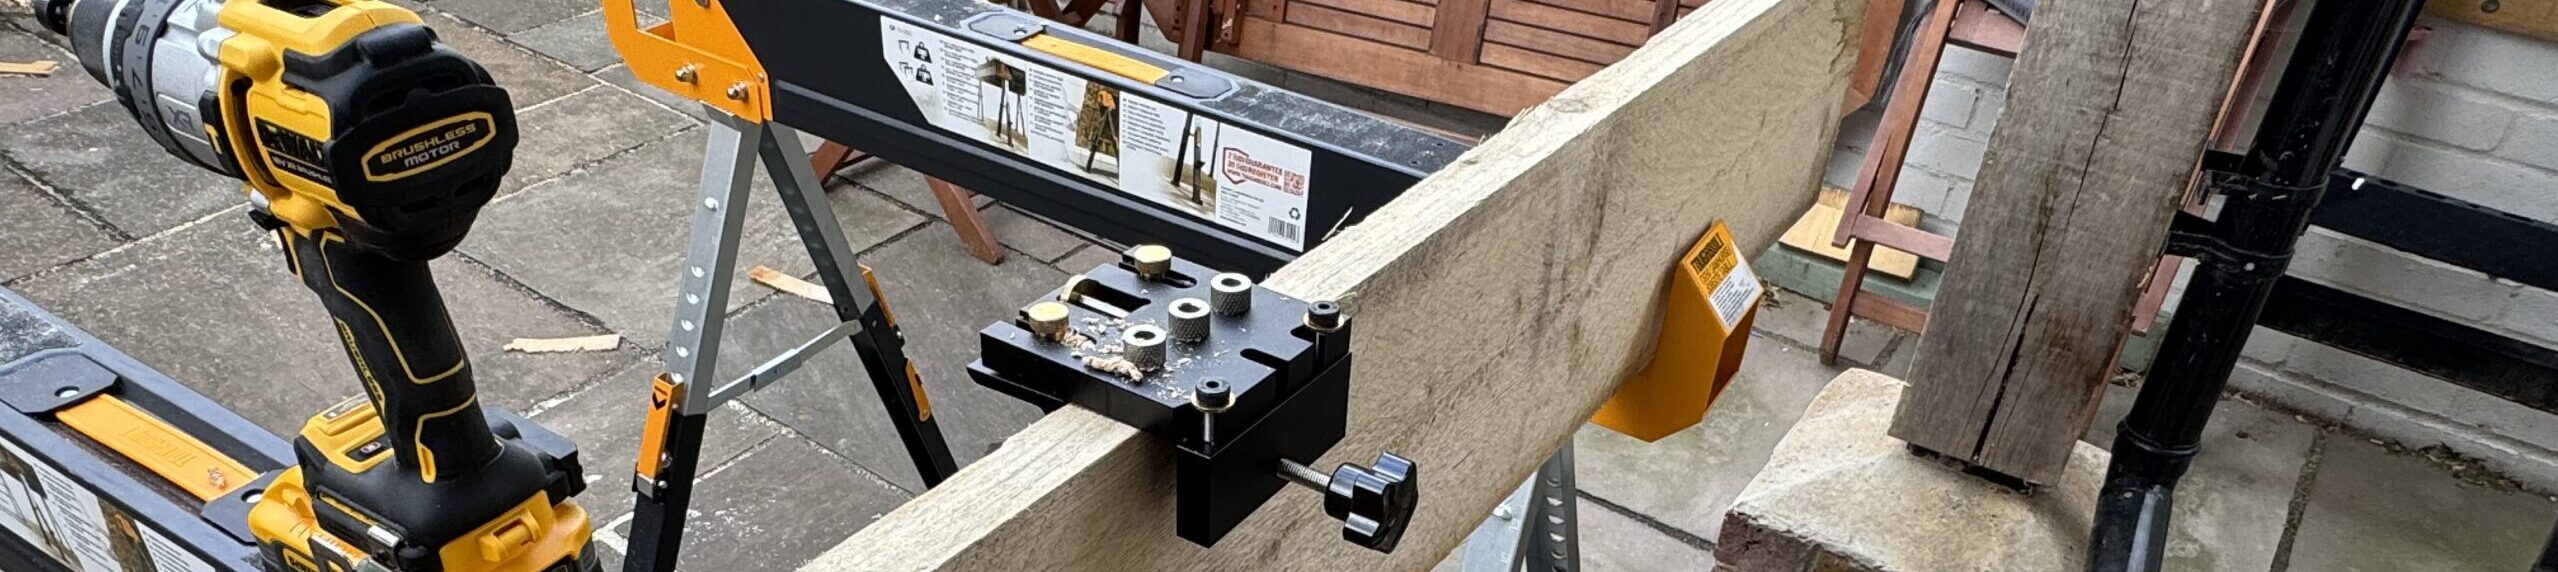
I needed to trim the frame down as when I originally measured up I wasn’t going to flush the edges of the outer frame into one another using the trim router. Doing this added about 1 inch to the overall height of the frame which I needed to take down using the Circular Saw. So, after I had done that I needed to check that it still fitted the area – and confirm that my Math was correct (believe me, being dyslexic it is always good to double check my Math).
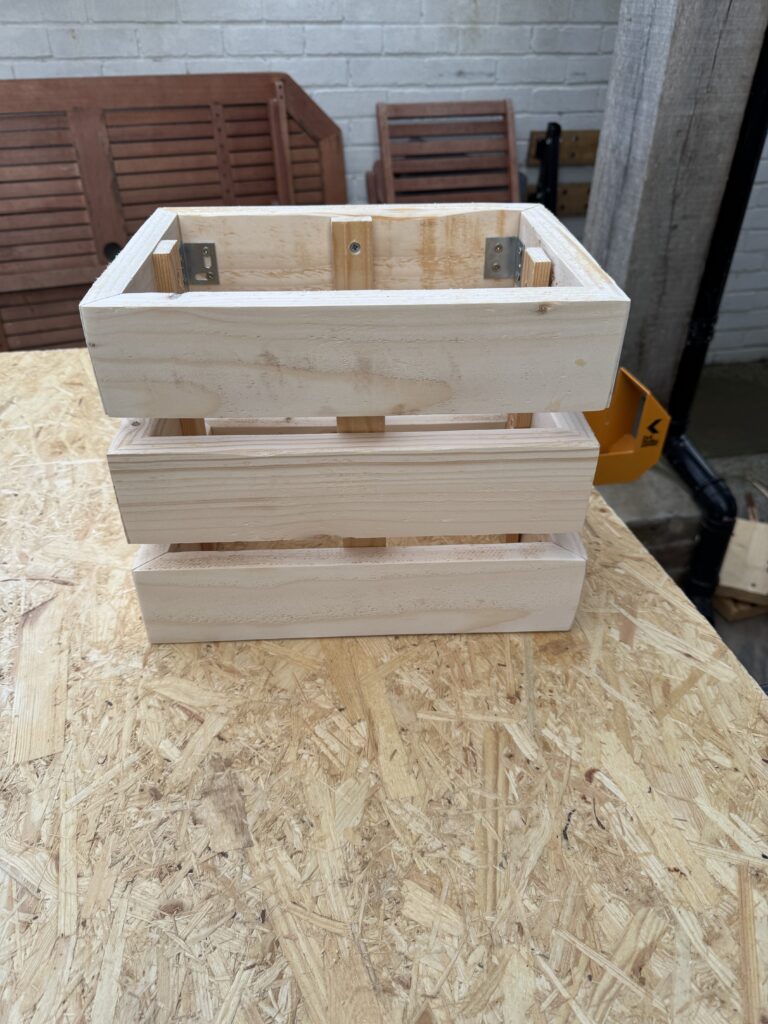
Once that all checked out I was ready to move onto assembling the Kindling basket. You might remember from Part 1 that I had cut three mitered frames consisting of 12 slats and fixed them together using wood glue and brackets. I now needed to put them together in a “slatted” configuration (as per my original drawings) so they formed a basket (or box). I used some off cuts from the slats to use as spacers to ensure that they were evenly spaced on the support struts that I had cut.
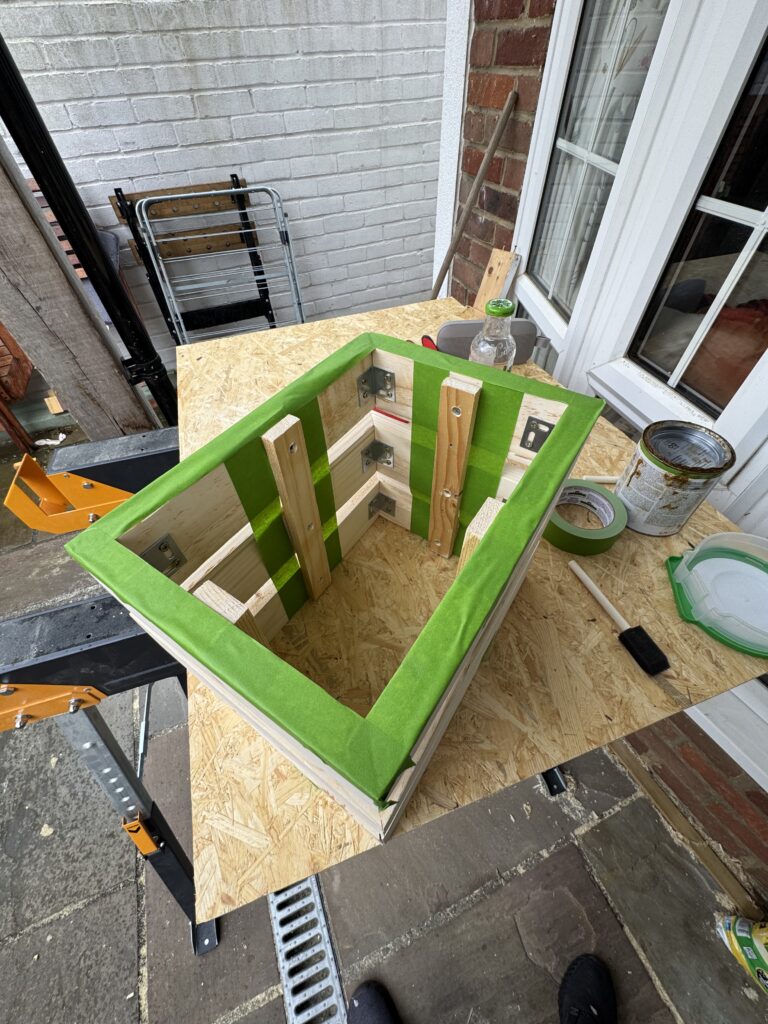
After I had fixed all the pieces together it was time to mask the box up ready for waxing (the slats) and staining (the supports). Now – this was me being impatient … and stupid. I really wanted to see what the basket looked like in the wood store frame, but, it was such a bastard to put together I could not be arsed to take it apart again. Which would have been much easier and meant that I didn’t need to spend 30 minutes of my life applying Frog Tape to the piece.
It might have been easier for me to also have opted to just stain the basket and supports – but I wanted a two tone effect between oak stain on the supports and satin wax on the slat – which isn’t immediately visible, but I would know it is there.
Once that was finished it was time to wait for all the stain and wax to cure (which normally takes about 8 – 10 hours or 16 – 20 if you apply two layers of the wax after the first coat has cured).
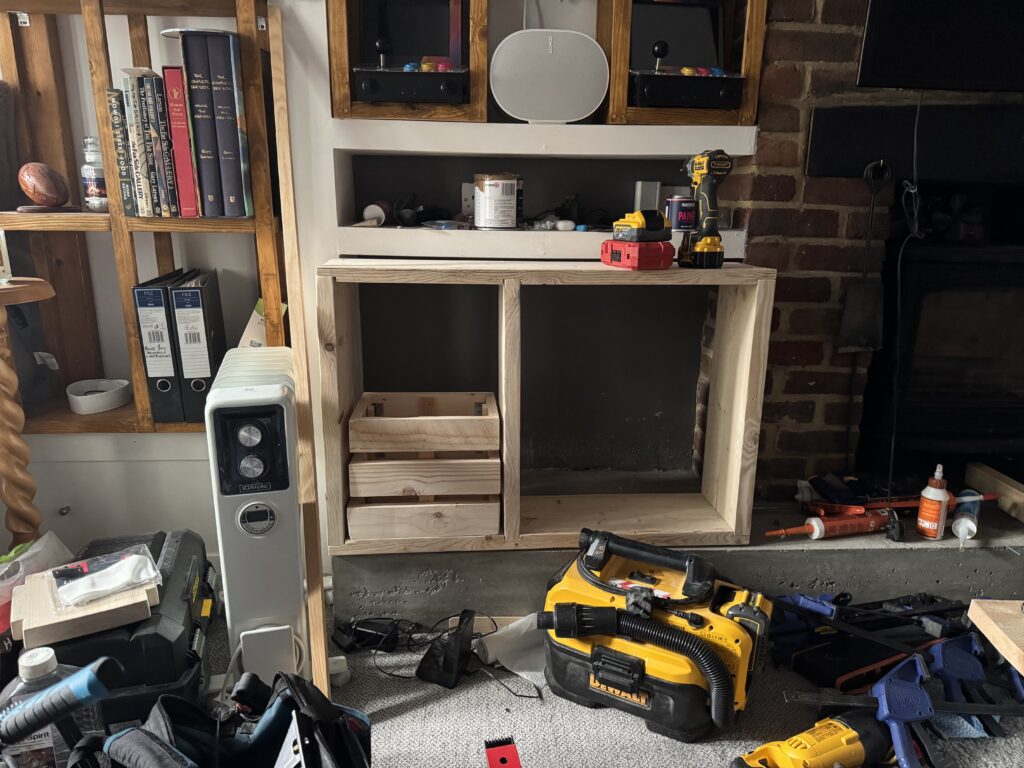
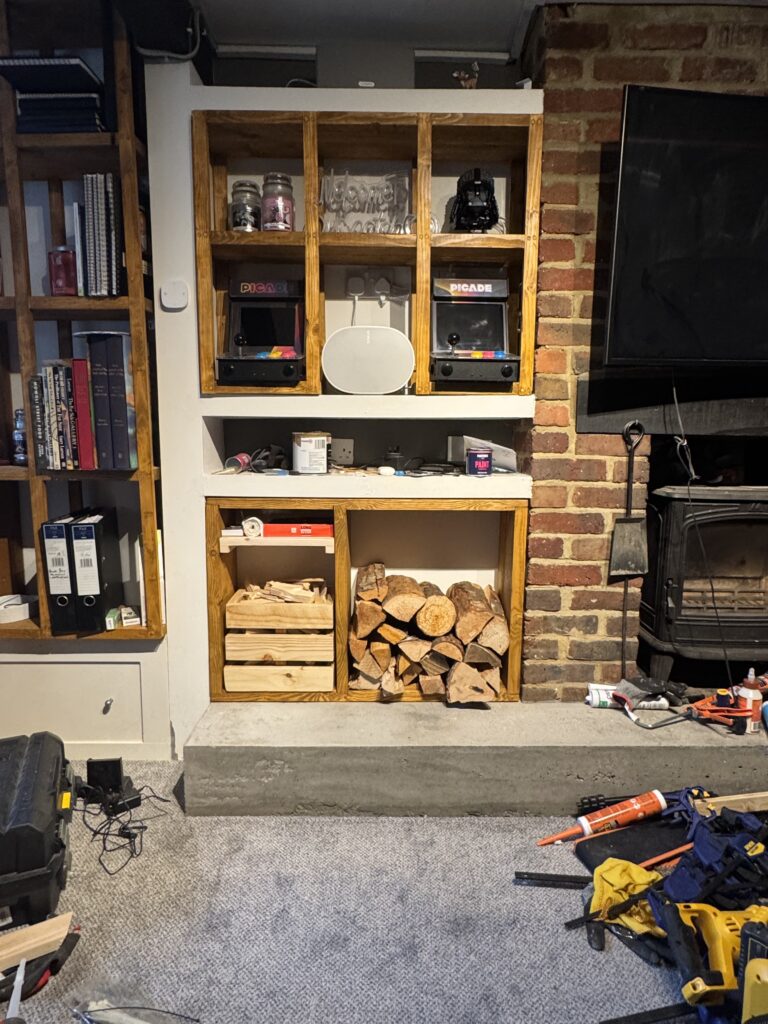
After that it was time to fit the unit and secure the basket into its place within the frame. That was as fiddly job and due to the dimensions of the basket I needed to break out my trusty Dewalt Right Angle drilling set if you don’t have one of these in your tool bag, then I can highly recommend it as for difficult to reach places it is a godsend!
Whilst I was pleased with the outcome, I couldn’t stop looking at it as, for me there was something missing. After staring for about 10 minutes – it hit me, I needed a small shelf to hold things like firelighters, matches and rubbish bags for clearing ashes from the burner when needed.
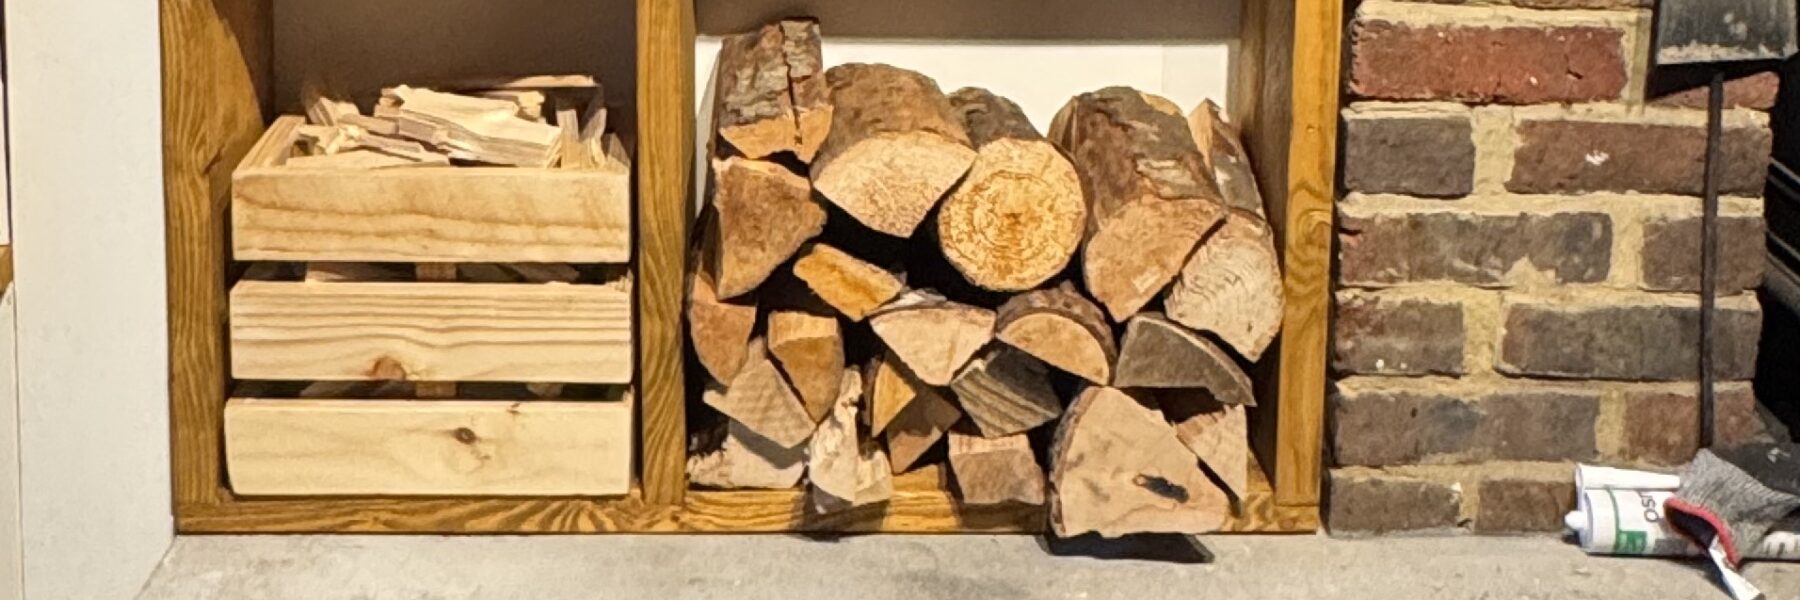
So, outside I went on a rainy Sunday to make a little shelf which took me about an hour and I think that it really completes the whole piece.
I can store around one large bag of Kindling in the basket (which for me is about a week to two weeks worth) and around 40 – 50 mixed logs which, give or take is about 1 week of use – so not too shabby.